Most young children are very interested in their name and it is incredibly personal to them. Often, a child’s name is the first word they learn how to read and write, which leads to further interest in reading and writing activities. When a child starts kindergarten or in the lead up to school, this is a great time to start fostering an interest in name recognition. This often helps children settle into their learning environment as they feel more confident being able to recognise their named belongings amongst their peers. In a school setting, there are lots of times where a child will need to recognise their named belongings, for example, when trying to find their school hat or bag. At the beginning of Prep (or first year of school equivalent), there will be a big focus on name recognition and writing, which will help support students with this learning.
Whether your little one is becoming interested in their name or if you’re a teacher looking for some ideas on how to support your students, the following blog will share many ideas and activities that will develop children’s ability to recognise, write and spell their name.
Sign In Area

This ‘sign in area’ was a set-up I had in my kindergarten classroom a few years ago where children could practise writing their names each morning when they came to kindy. Not only was this developing children’s ability to write their name, it also fostered a sense of belonging in the classroom and formed part of the morning routine. Children also developed their name recognition skills as they had to find their own name card in the class pile.
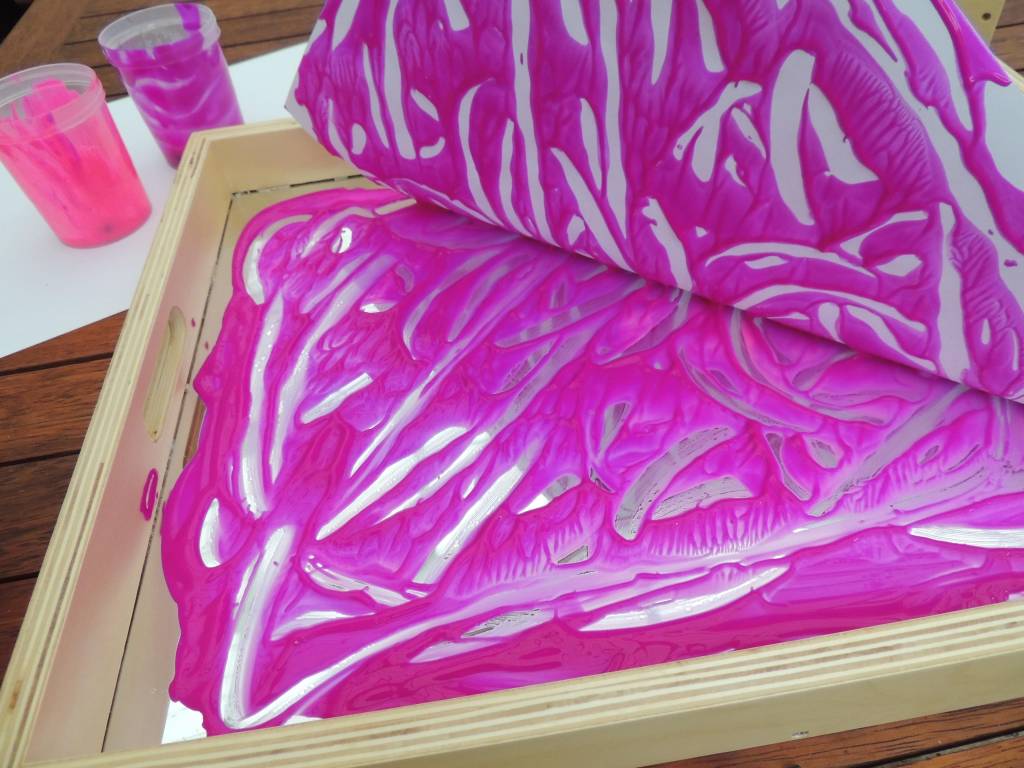
Playdough Stamping
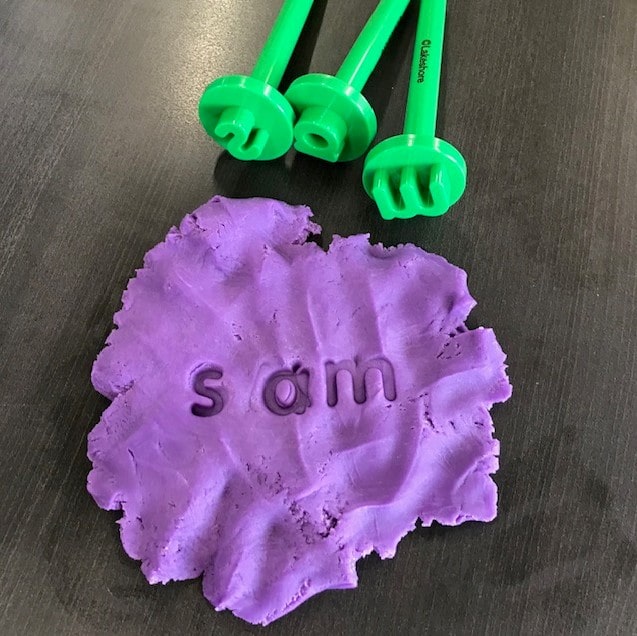
Many early childhood teachers would argue that there is no better resource than playdough. It is such a fabulous manipulative that can help develop fine motor skills and it can be used in so many different ways. In my classroom, we love using our Alphabet Dough Stampers to stamp out our names, which builds children’s confidence in recognising and spelling their names.
Featured Product:
Alphabet Dough Stampers
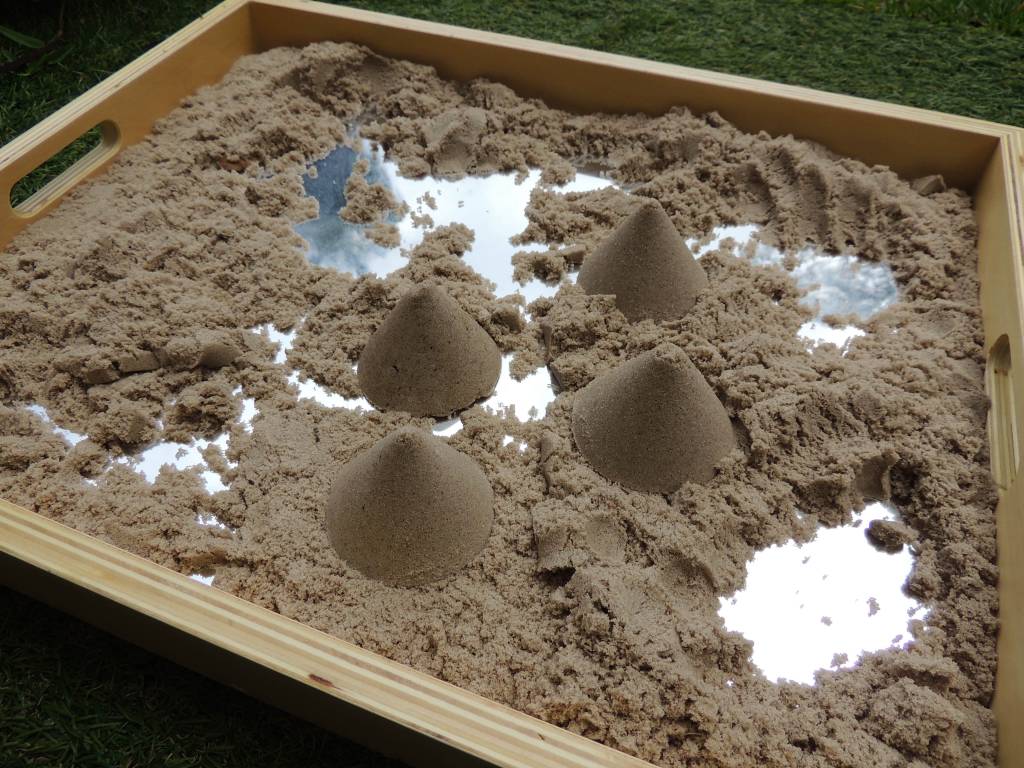
Sensory Tray Sand Writing
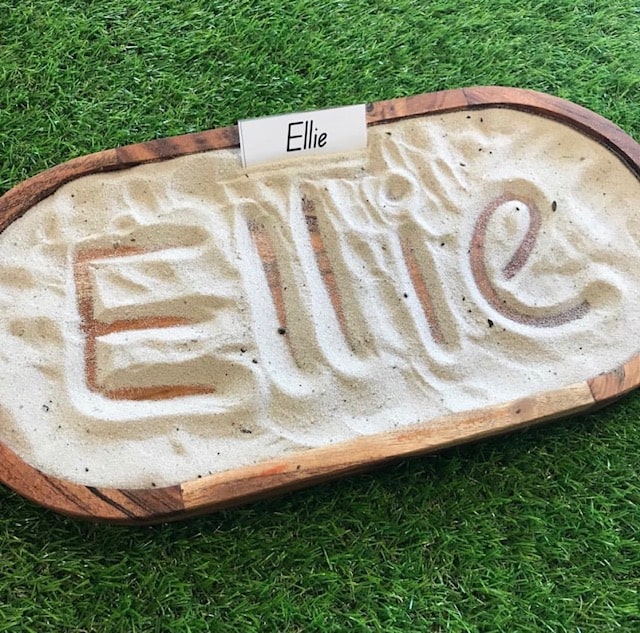
Sensory writing trays are a great way for children to explore writing and drawing, without the stress of holding a pencil. There are many materials you can put in a sensory writing tray, such as sand, salt or even coloured rice. At the beginning of the year, I usually set up sensory trays containing sand during our daily English rotations where students can have the opportunity to practise writing their names.
Can You Spell Your Name?
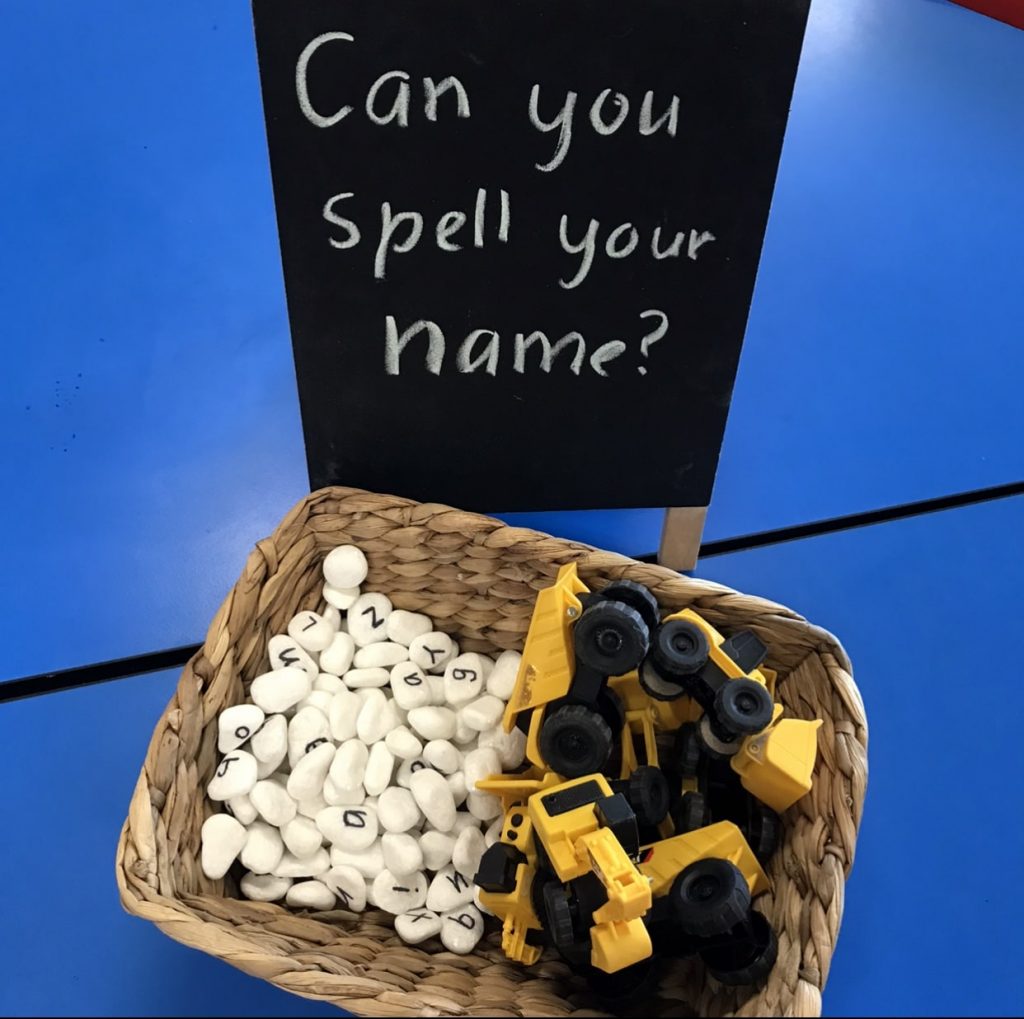
This is one of my students’ absolute favourite name activities! They love using the diggers and dump trucks to find and transport the alphabet rocks they need to make their names.
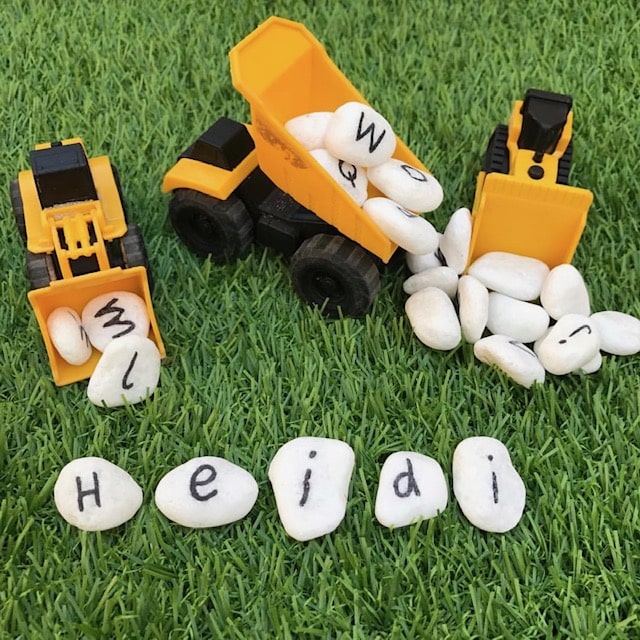 It’s a super fun and engaging activity that encourages students to recognise and find the letters in their name and then assemble the alphabet rocks in the correct order.
Threading With Letter Beads
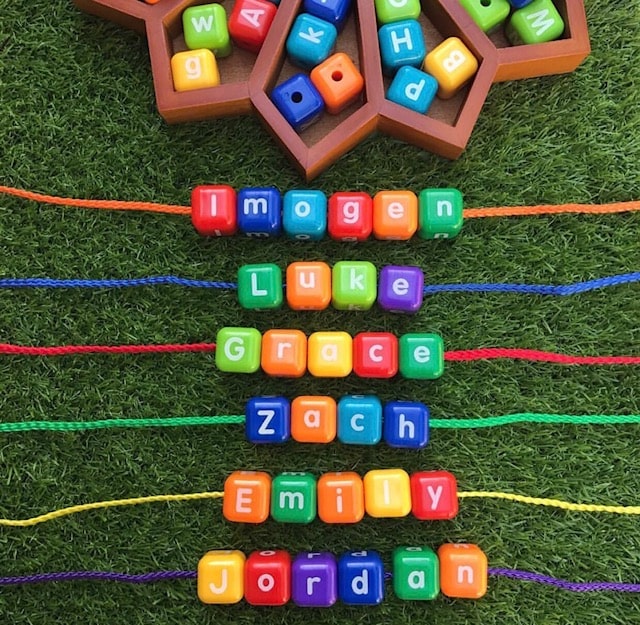
I use beads in my Prep classroom a lot as it gives students the opportunity to develop their fine motor skills, as well as whatever additional skill we are practising at the time. My students often use these Chunky Alphabet Beads to spell their names and they’re perfect for this task because they come in uppercase and lowercase letters, so children can practise spelling their names the proper way with a capital letter at the beginning, followed by lowercase letters.
Featured Product:
Chunky Alphabet Beads
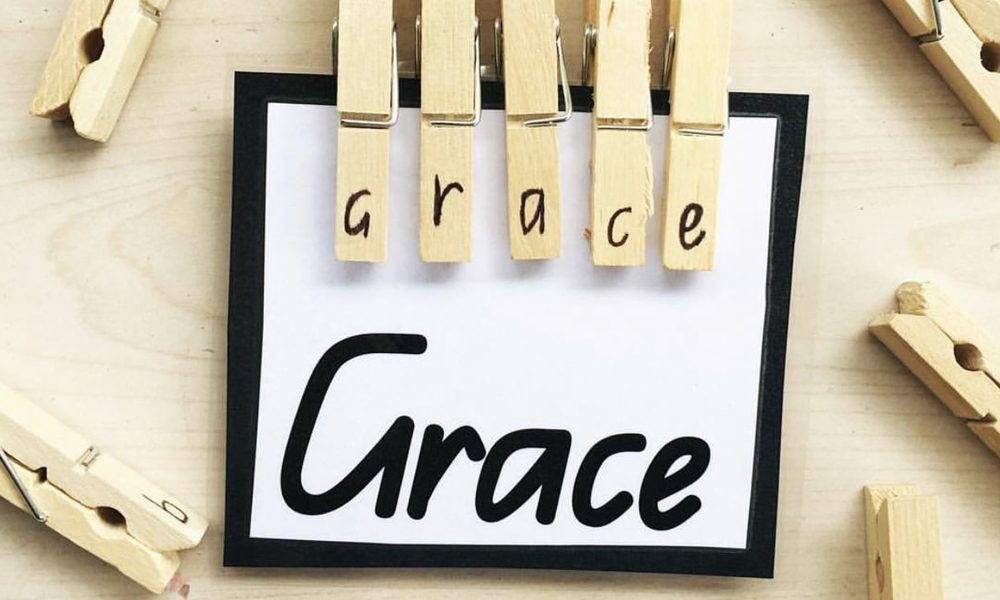
Peg It!
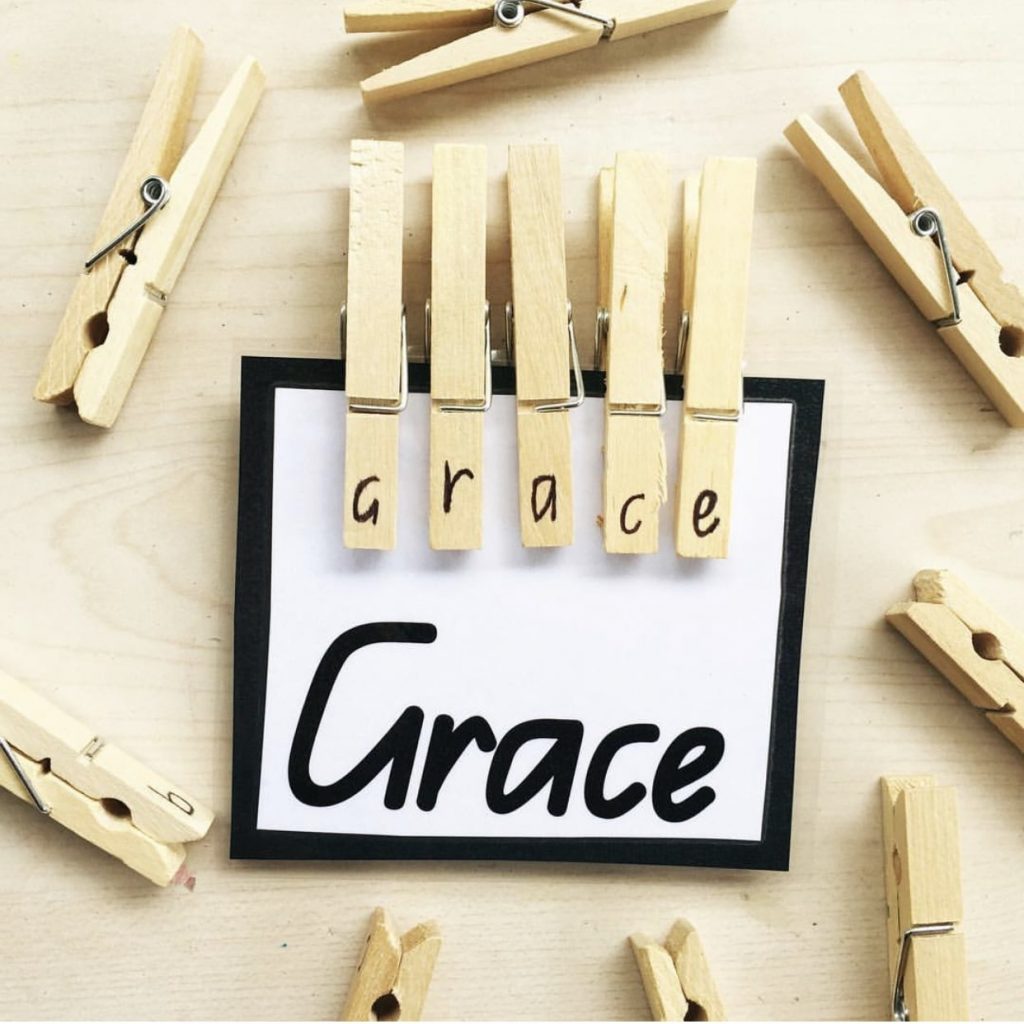
I’m all about the fine motor skill activities, can you tell?! Pegs are a great manipulative to help with the development of fine motor skills. Making these alphabet pegs was super simple and I use them in my classroom for a range of activities. One of the ways they are used is for name activities at the beginning of the year. I love this activity because students build their confidence with recognising and spelling their names, all while building their fine motor skills!
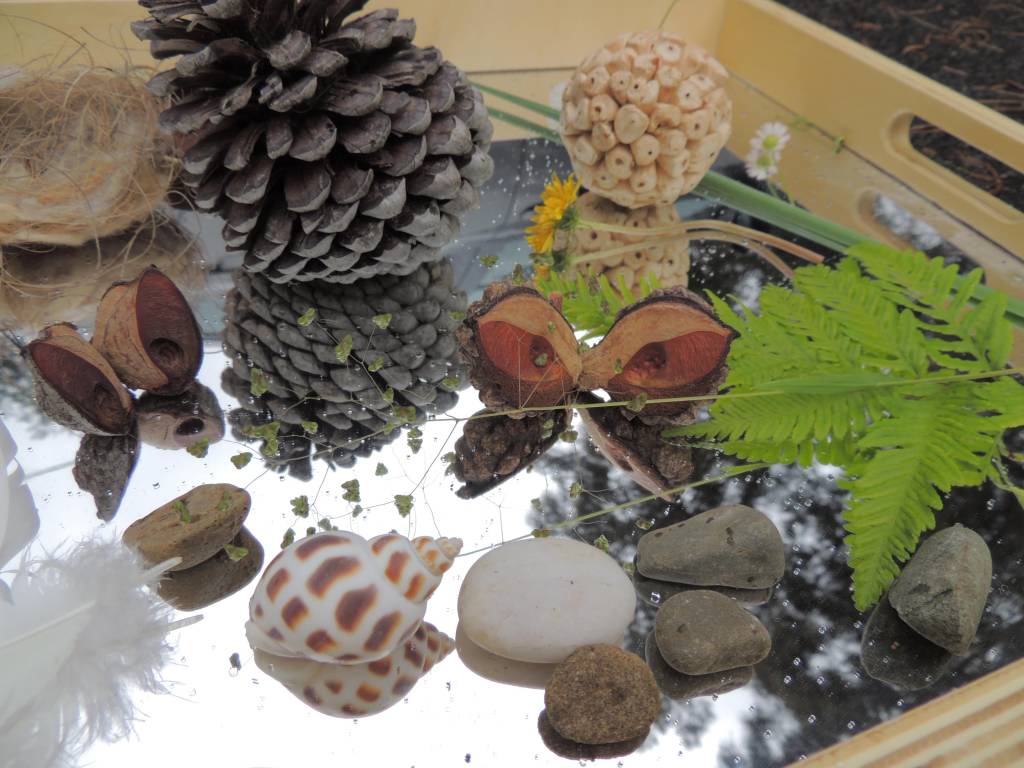
Nature Names
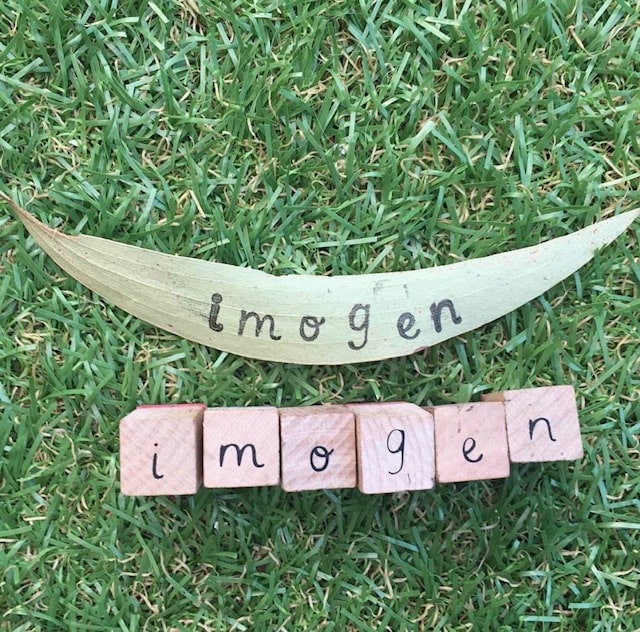
This is a fun name activity that can be done outdoors and is an opportunity for children to engage with nature. It’s as simple as it looks – children can find and collect leaves and then stamp their name onto the leaf. Much more engaging than stamping onto plain paper!
Fine Motor Name Craft
Yep, you guessed it, another fine motor focused activity! A lot of the name activities I am suggesting in this blog have a fine motor aspect to them because of my experiences as a Prep teacher. At the beginning of the school year there is a huge focus on name activities as well as developing fine motor skills, so being able to integrate them together is ideal when there is only so much time during the day! This name craft activity is great for developing both of these skills and they are perfect for brightening up the classroom at the beginning of the year!
Make It and Write It!
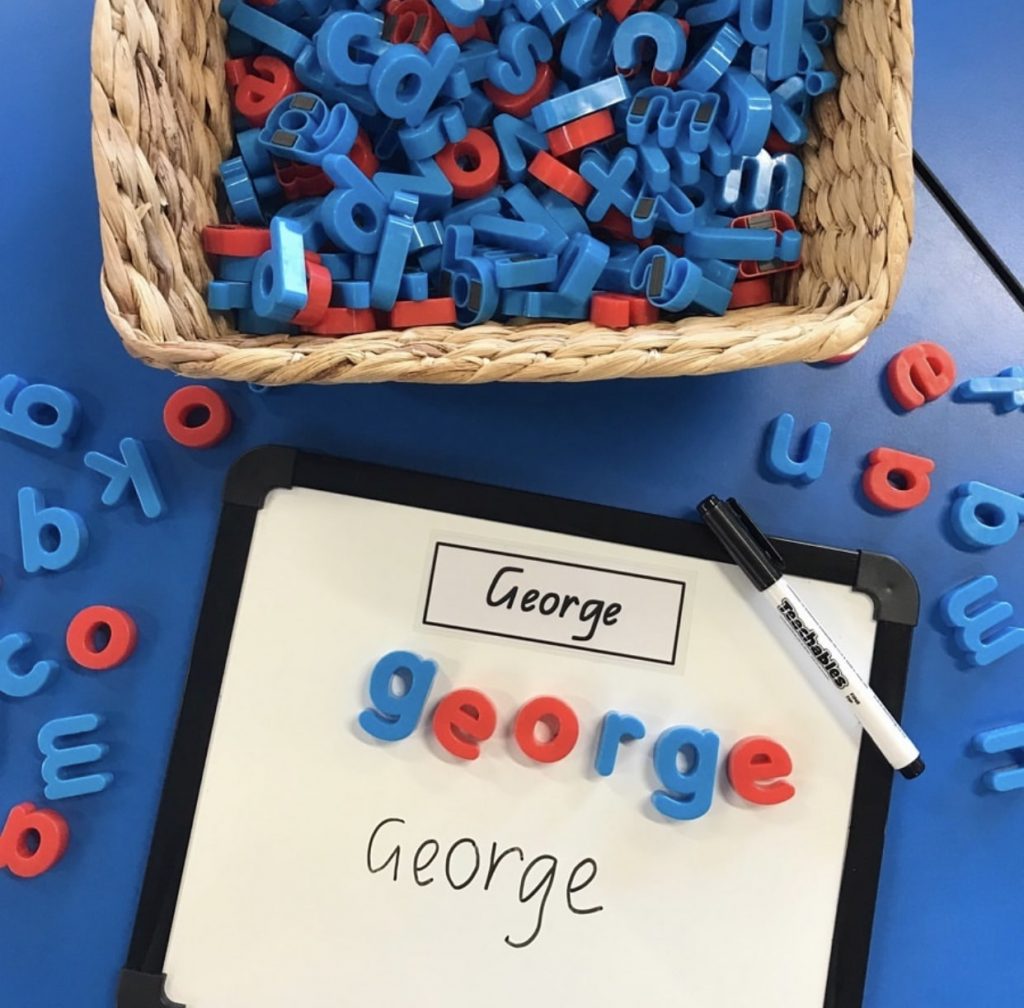
This is another favourite activity of mine that is usually implemented during our daily English rotations at the beginning of the year. Students can use the magnetic letters to make their name and then write it underneath on the whiteboard. I love that these magnetic letters differentiate the vowels and consonants by colour and children can easily recognise the different types of letters in their name.
Featured Product:
Teachables Magnetic Whiteboard and Letters Set
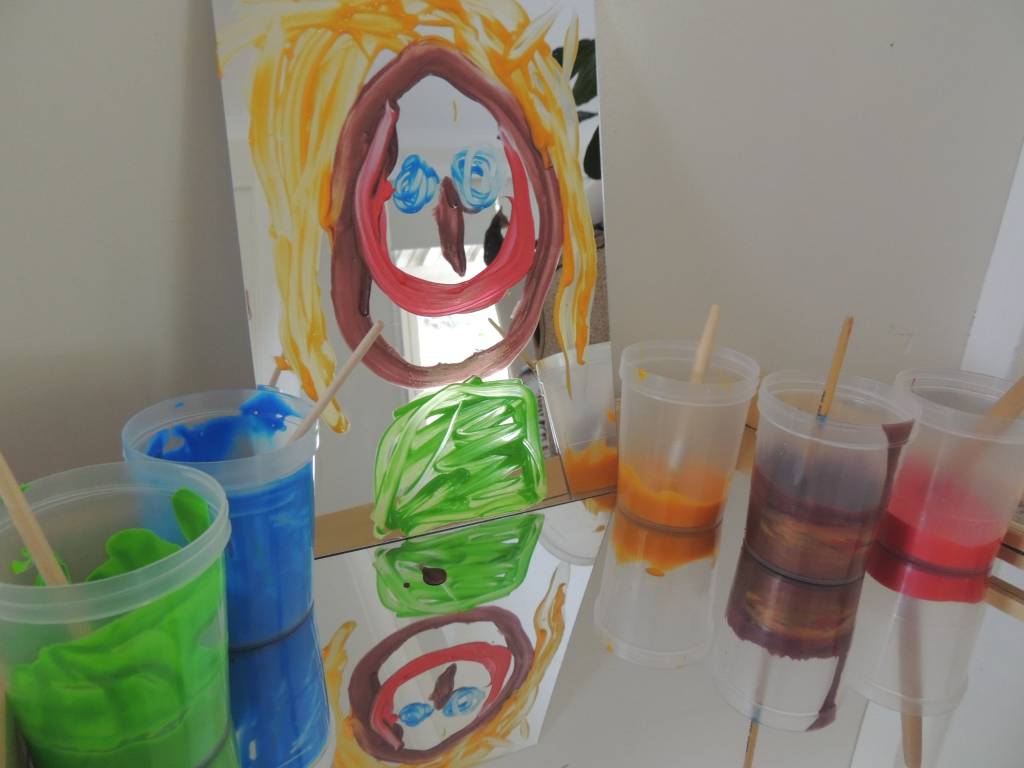
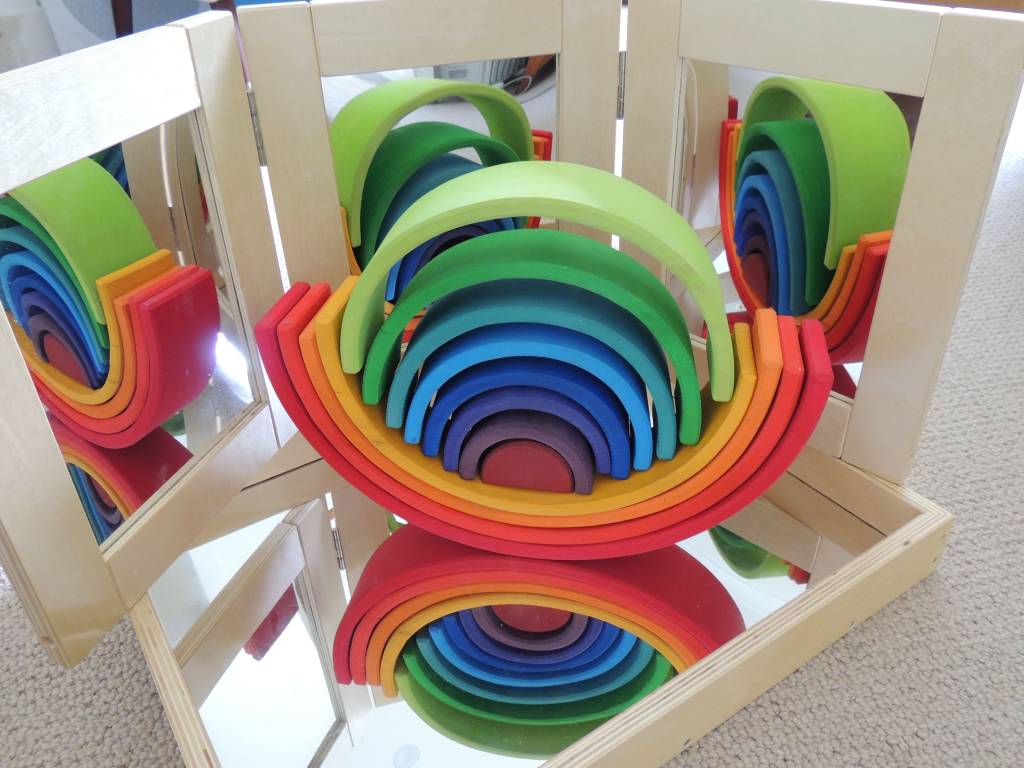
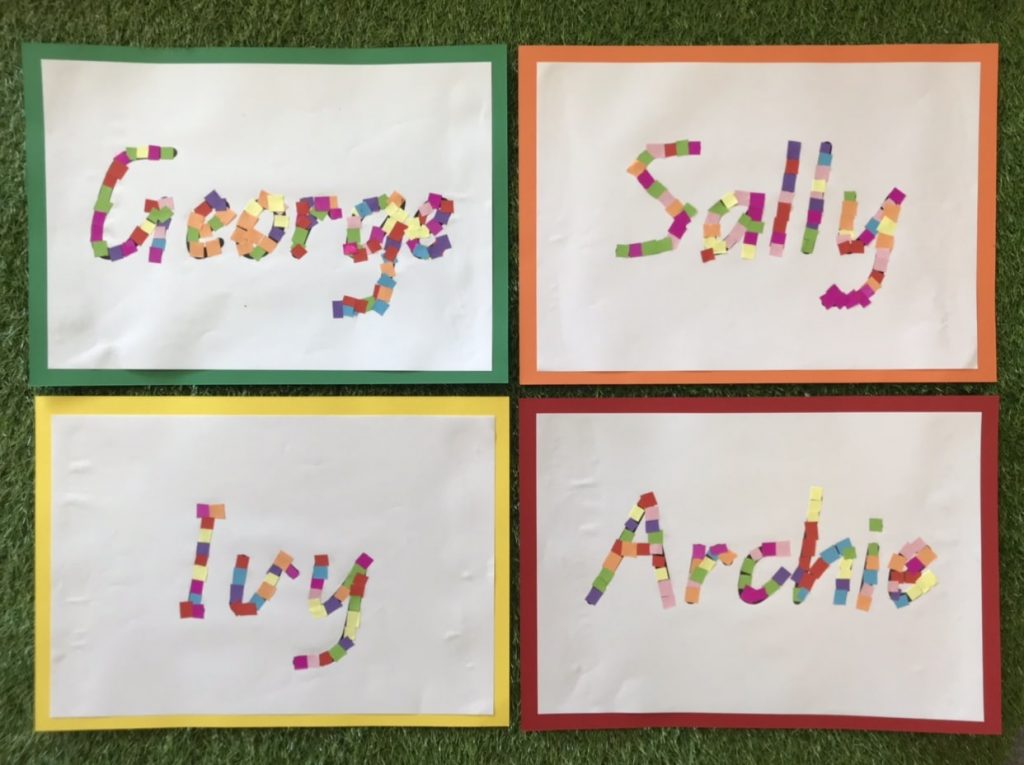
Rainbow Names
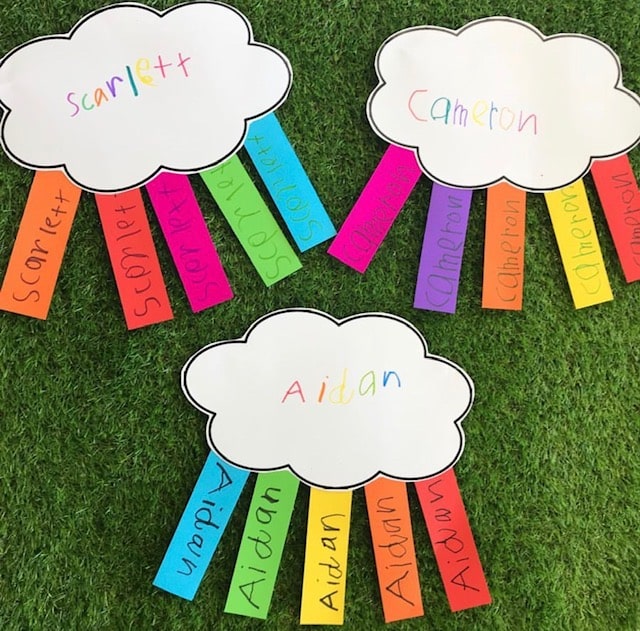
A few years ago, my class made these rainbow name crafts and I loved them so much that we proudly hung them in our room for the entire year! This was a great activity for my students to practise writing their names, with the focus being on starting with a capital letter followed by lowercase letters, as well as forming their letters correctly. Plus, anything rainbow is just awesome, right?!
What is your favourite Name Activity for Early Learners?
We would love to hear from you!
Featured Products:
Teachables Magnetic Whiteboard and Letters Set
ABOUT HEIDI:
Heidi Overbye from Learning Through Play is a Brisbane based, Early Years Teacher who currently teaches Prep, the first year of formal schooling in Queensland. Heidi is an advocate for play-based, hands-on learning experiences and creating stimulating and creative learning spaces. Heidi shares what happens in her classroom daily on her Instagram page, Learning Through Play. See @learning.through.play for a huge range of activities.