The way we engage our students and support their learning continues to evolve as we move further into the 21st century. There are now many technological tools, resources and applications that can enhance our students’ learning when used to redefine their learning experiences.
The Sphero robot is one such tool that has positively enhanced students’ learning. The amazingly versatile Sphero robot will engage and empower your students with hands-on learning. A tennis ball-sized robot connected via Bluetooth to a mobile device, the Sphero can be used to transform teaching and learning across various curriculum areas. In this blog post, we will look at the range of Sphero products on the market and their varying capabilities and prices.
Sphero SPRK+
The Sphero SPRK+ can roll at a speed of up to 7km/h in any direction. It can also spin, flip and change colour. Using a range of apps, students can code the Sphero to direct its movement.

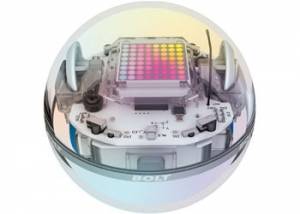
Sphero BOLT
The Sphero BOLT is the latest product in the Sphero range and includes all the features of the SPRK+ along with the addition of a striking LED matrix and advanced sensors to track speed, acceleration and directions. The Sphero BOLT also features infrared communication, allowing it to “talk” to other BOLTs.
Creatively designed lessons incorporating Spheros can develop many of the skills we want for our learners. Students will be designing and creating code to direct the Sphero while collaborating, problem-solving, testing and thinking critically and creatively, all fundamental characteristics of 21st-century learners.
Lesson Ideas:
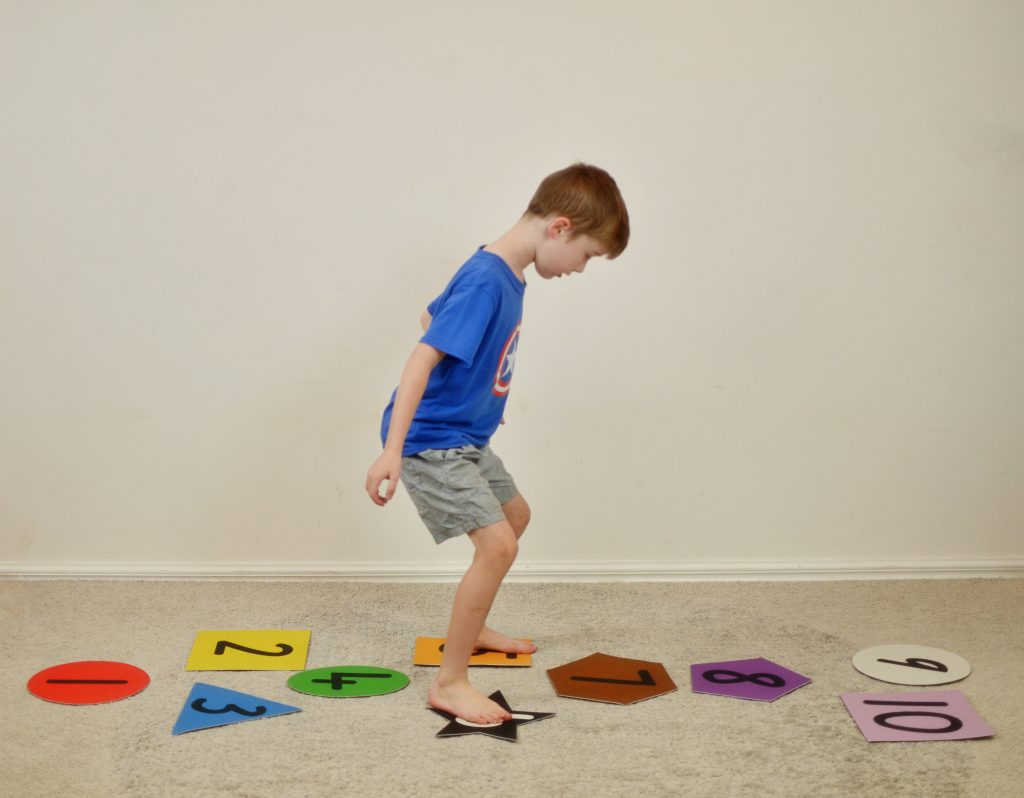
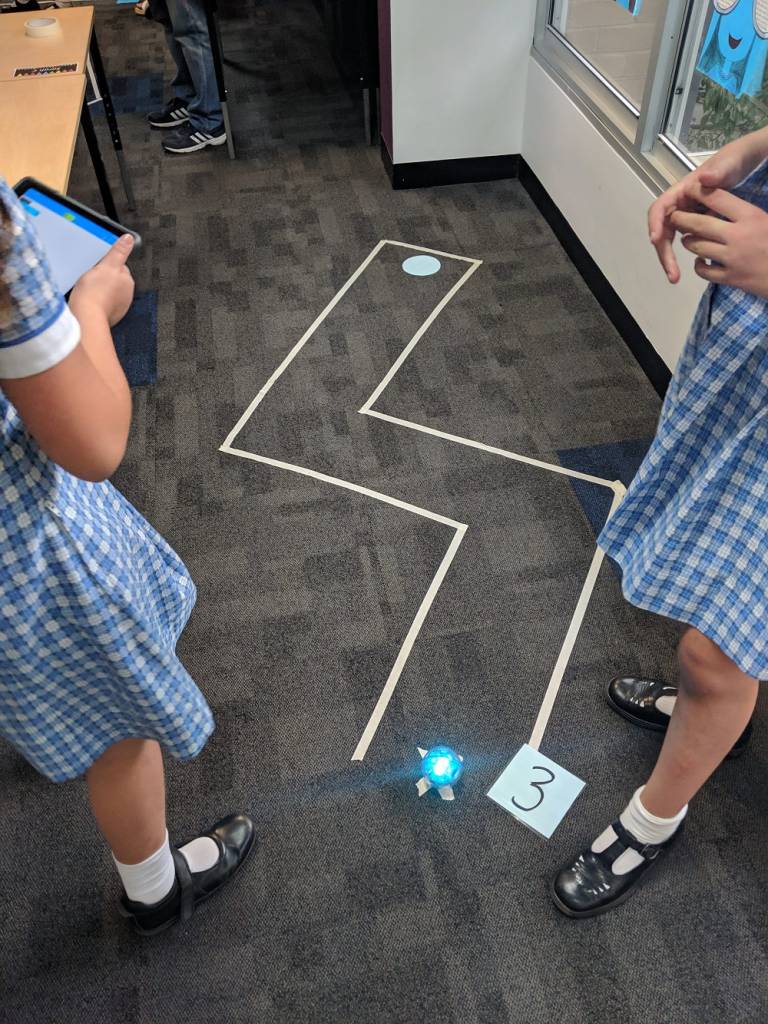
Sphero Mini Golf
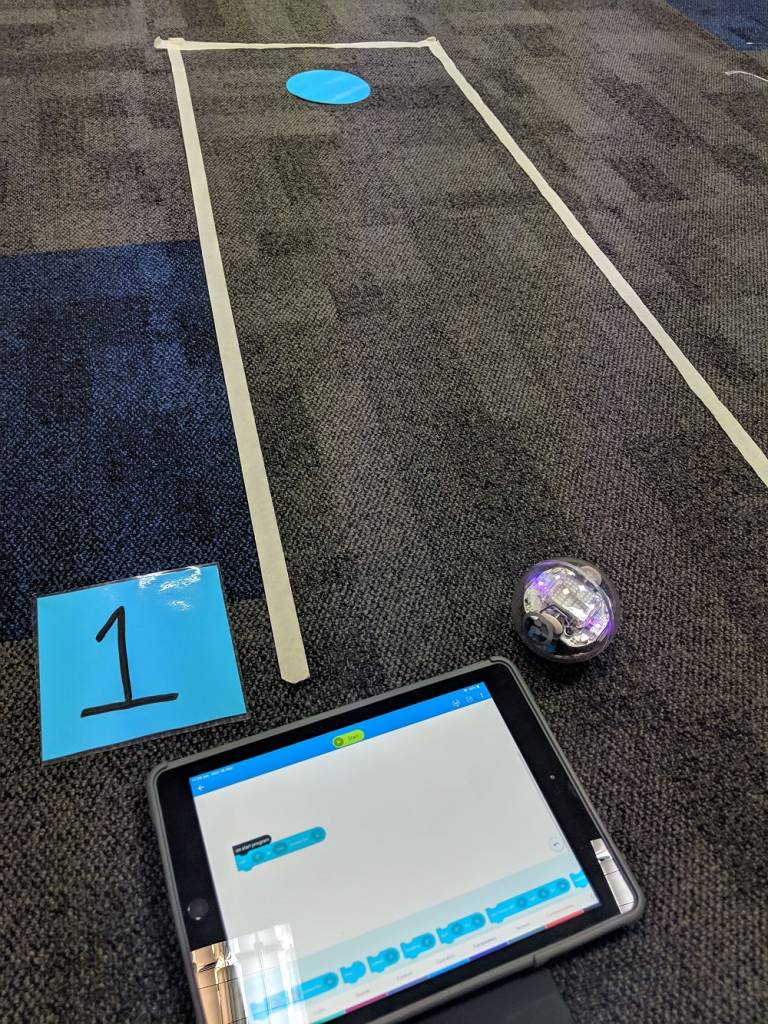
Students develop their coding skills by creating and playing a game of Sphero Mini Golf.
Materials:
-
- Spheros (one per group)
- Masking tape or chalk
- Kinder squares and circles
- Mini Golf template (free Sphero Mini Golf PDF download)
Procedure:
-
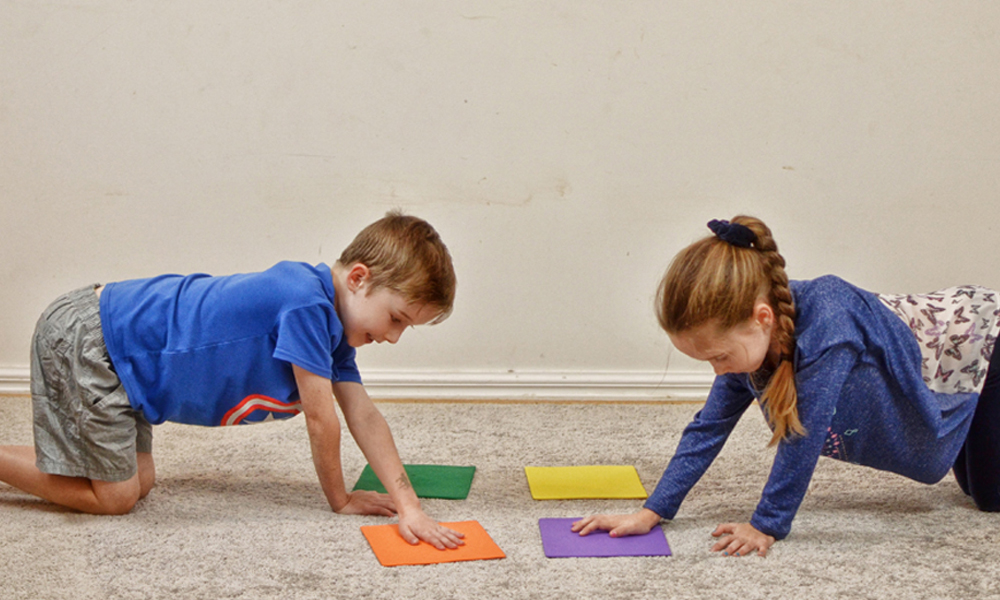
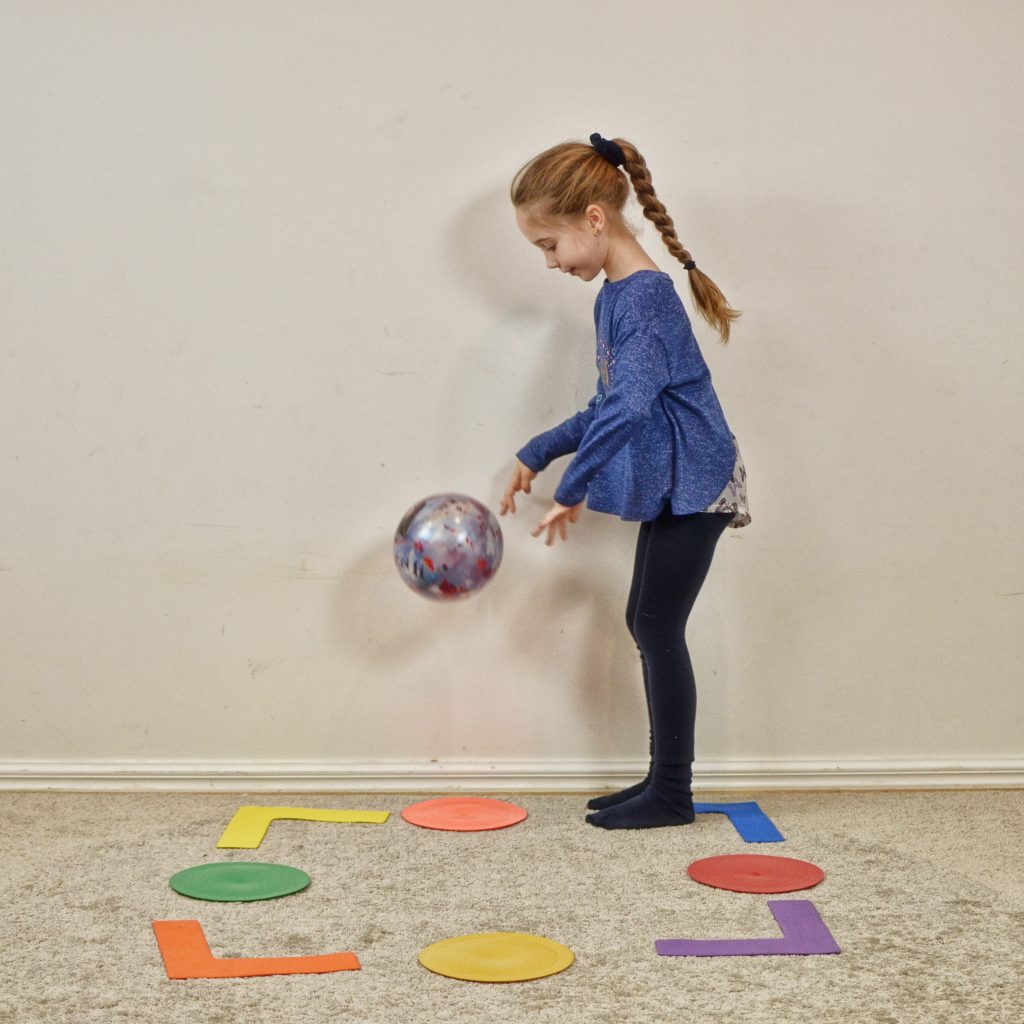
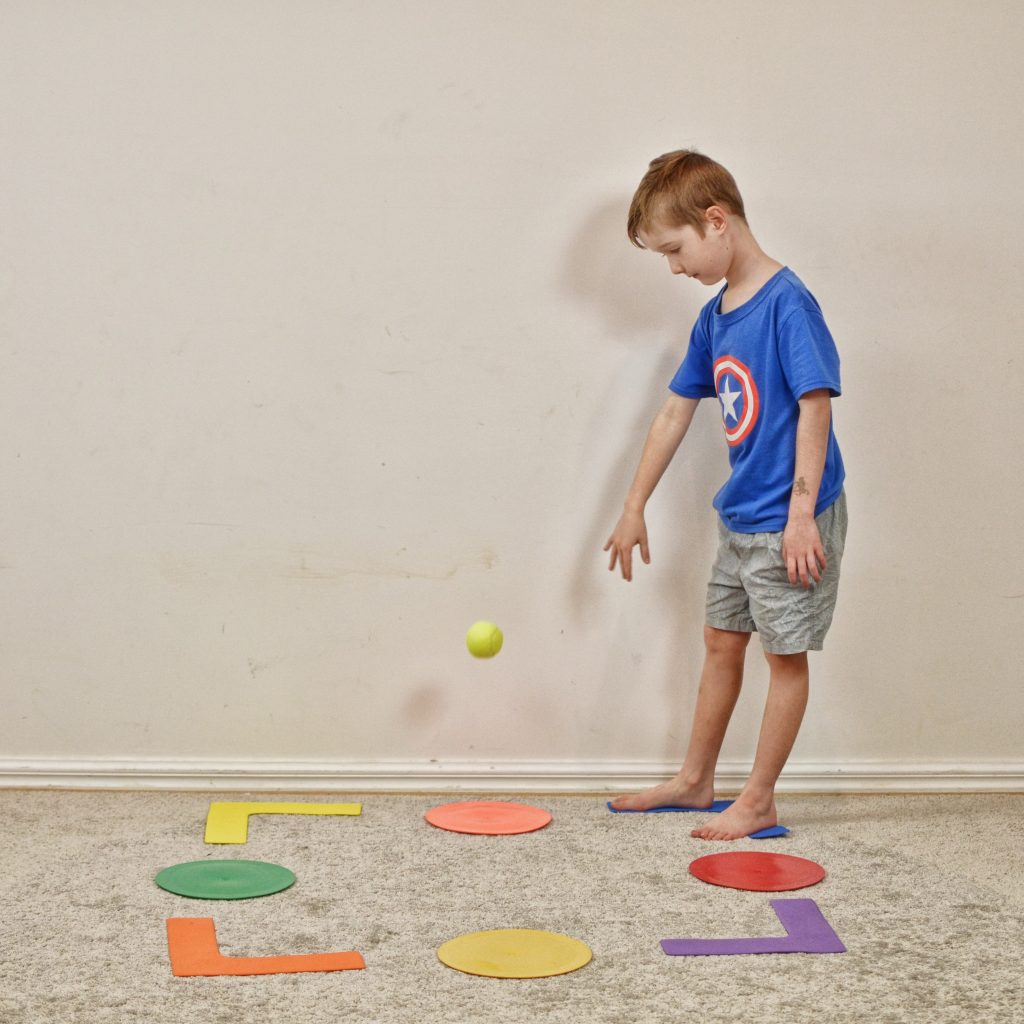
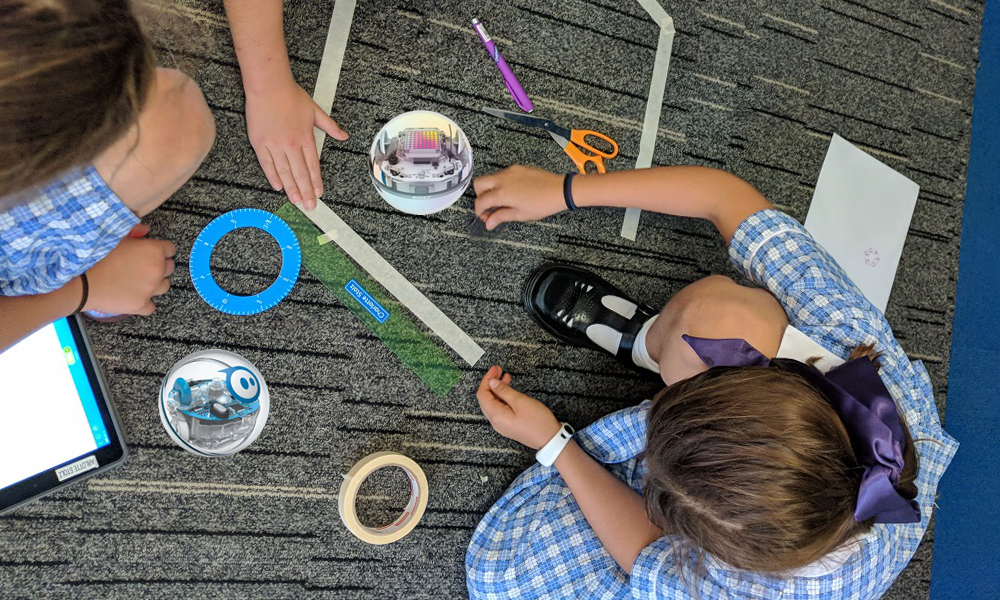
- Create nine mini-golf holes around the classroom. Using masking tape, chalk or other materials, clearly mark the outline of each hole and use a kinder circle to number each hole.
- Students code the Sphero in the Sphero Edu App to get it to make its way to the hole (coloured circle).
- Students record how many lines of code it took for them to code the Sphero to each hole on the scoring sheet.
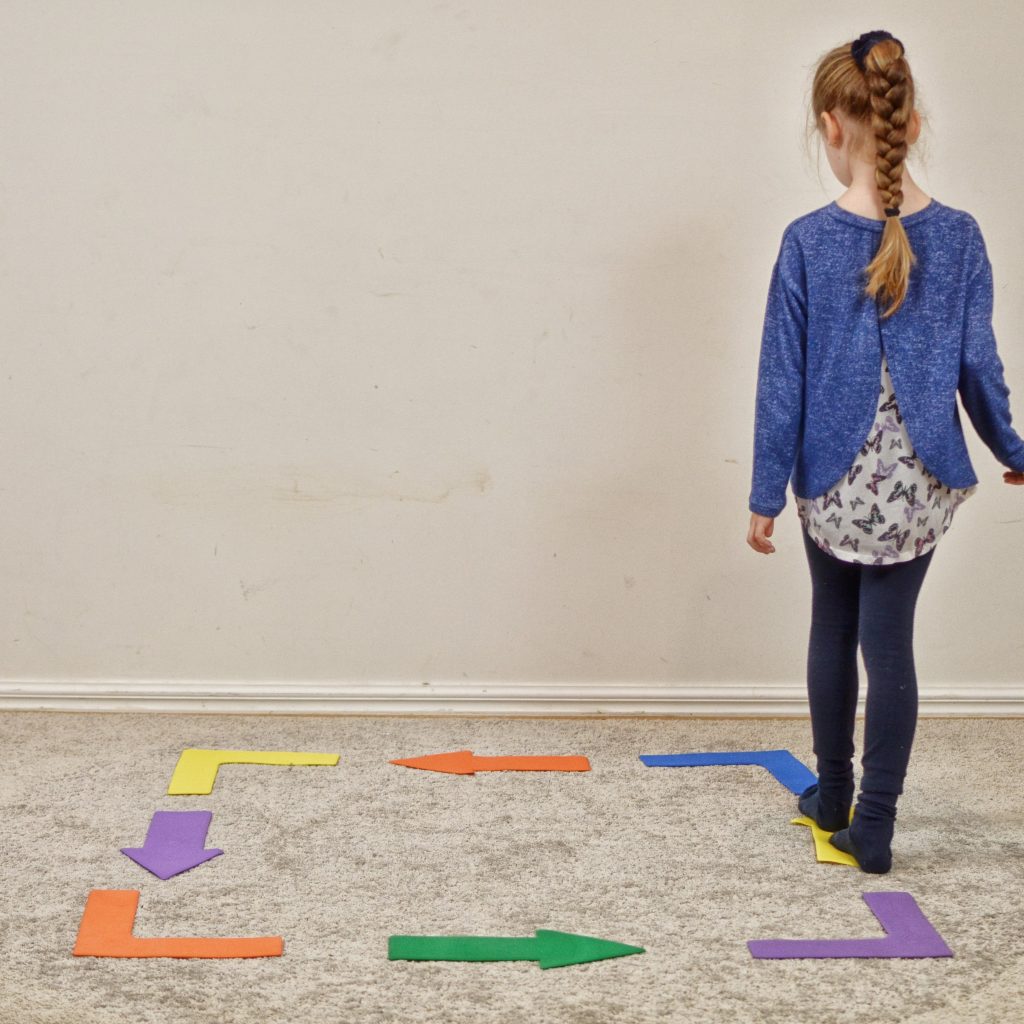
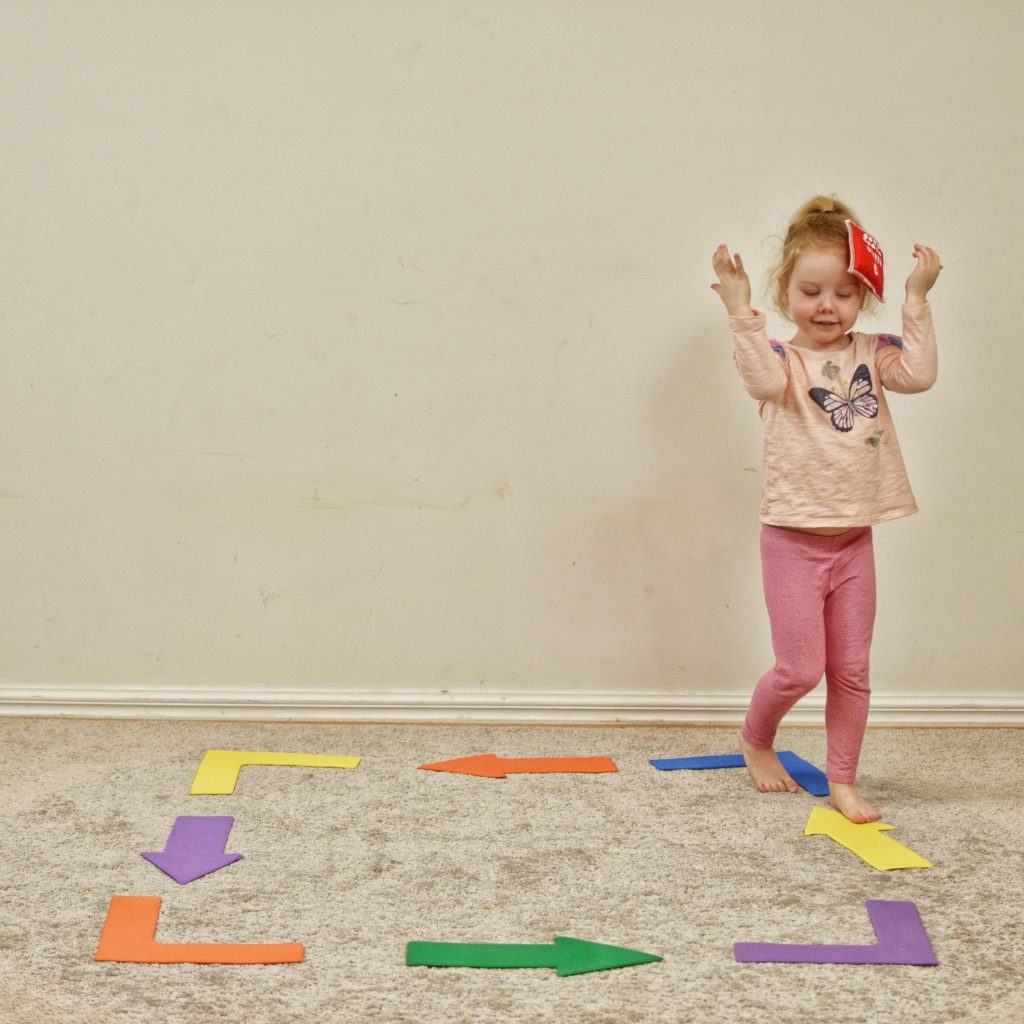
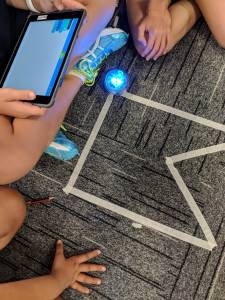
Angles and Shapes
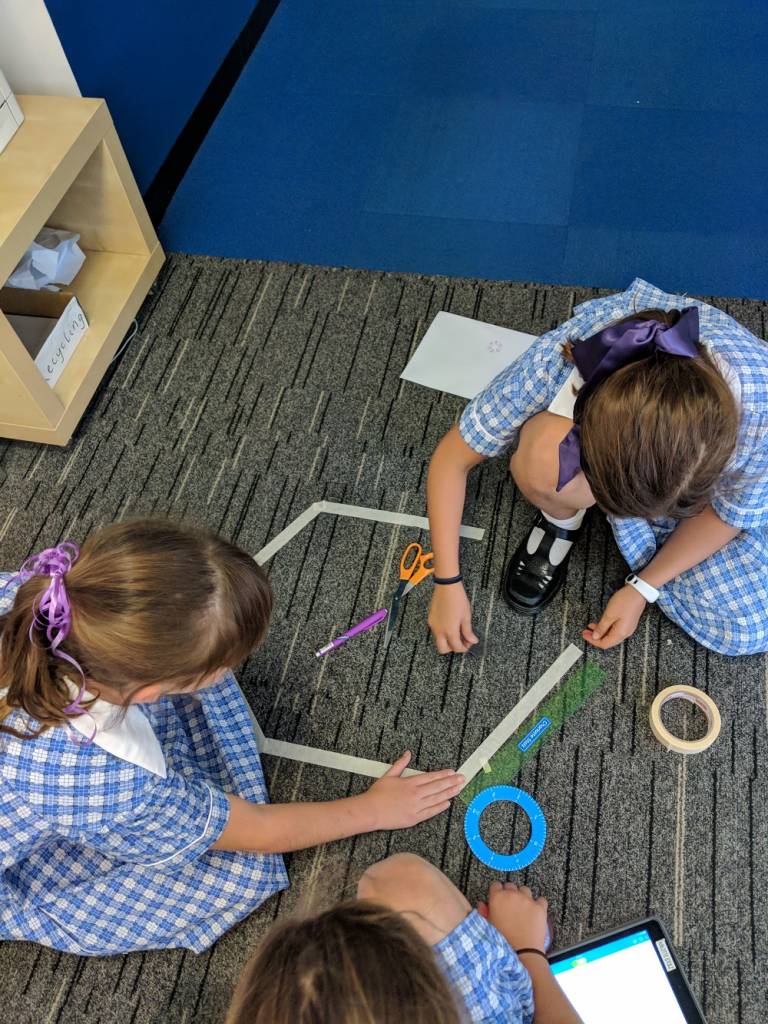
Students apply their knowledge and understanding of shapes and angles by creating them with the Sphero.
Materials:
-
- Sphero (one per group)
- Masking tape or chalk
- Protractor
- Planning sheet (Free Sphero Angle Shape Challenge PDF download )

Procedure:
-
- Design a 2D shape that includes three different types of angles on planning sheet.
- Create the shape on the classroom floor using masking tape or chalk and a protractor.
- Code the Sphero in the Sphero Edu App to manoeuvre around their shape.
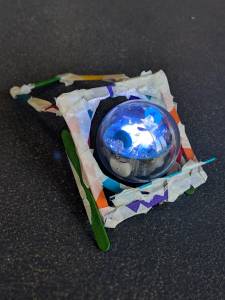
Chariots
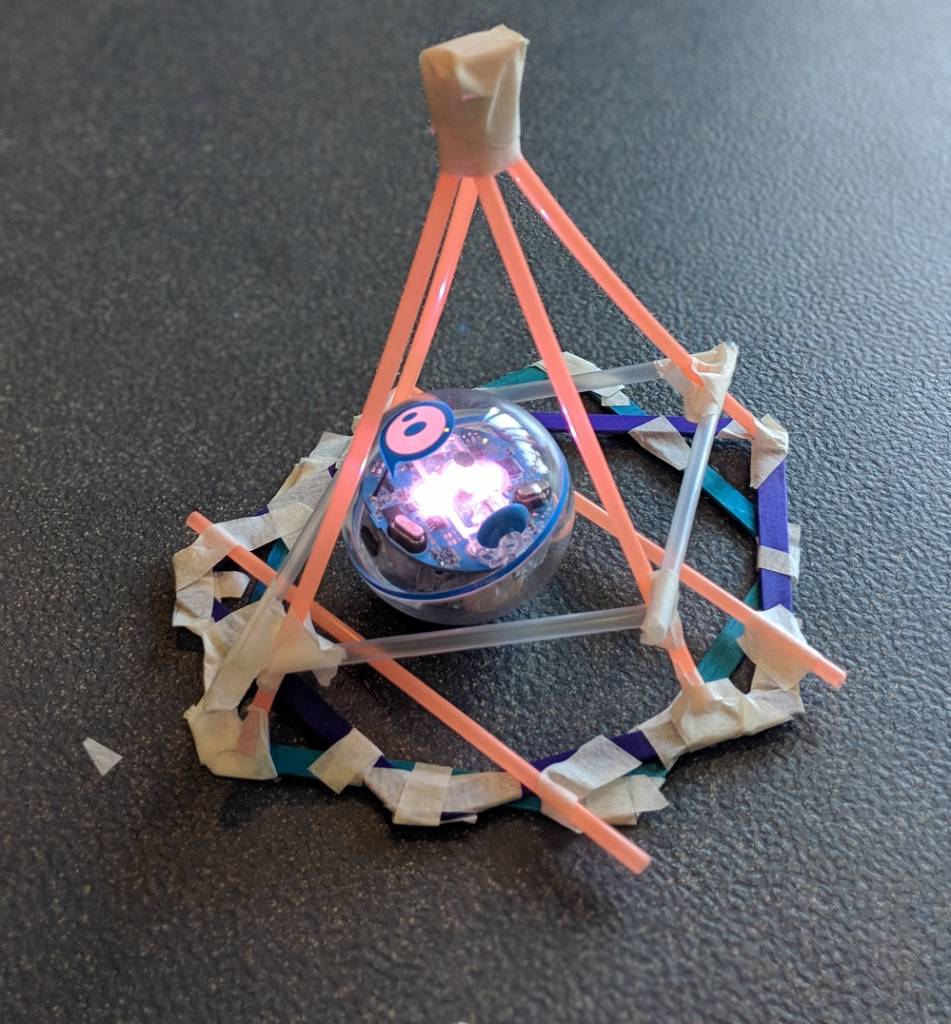
Students create chariots using various art and craft materials to dress the Sphero.
Materials:
-
- Sphero (one per group)
- Various arts and craft materials
Procedure:
-
- On paper, students design a chariot for their Sphero.
- Students create their chariot and place it on their Sphero.
- Students code the Sphero in the Sphero EDU app to race the chariots to find a winner and to test if their creations stay assembled.
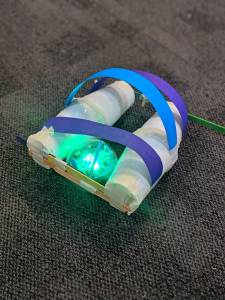
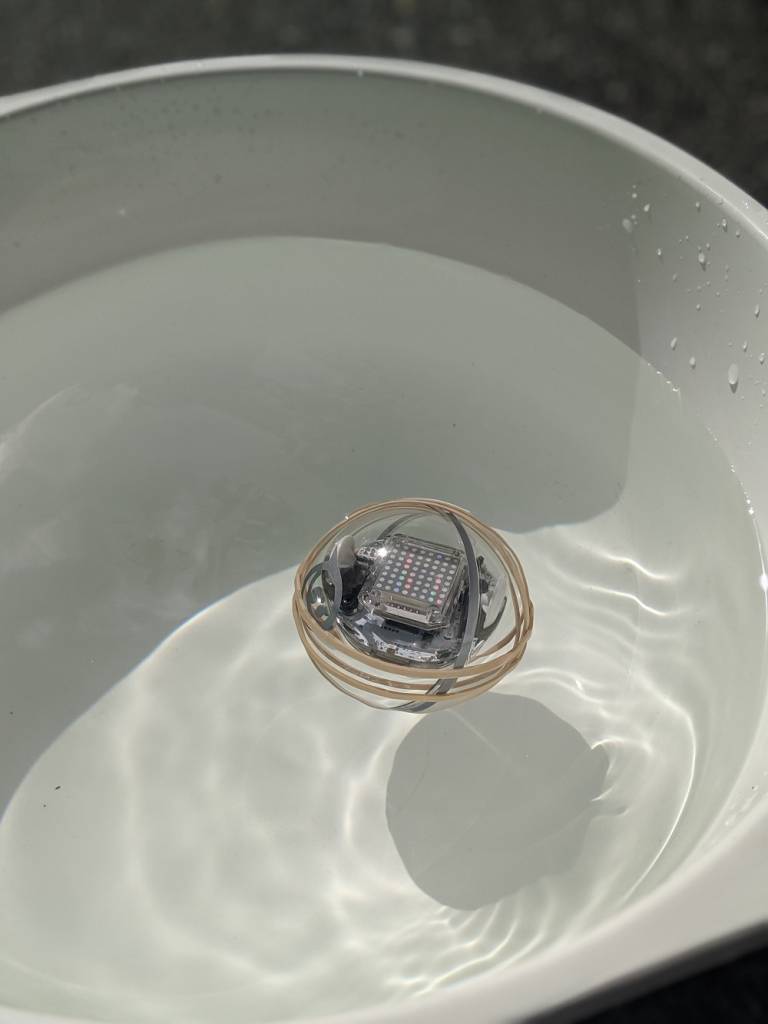
Sphero Swimming

As the Sphero robot is waterproof, you can design lessons that incorporate water.
Materials:
-
- Sphero
- Tub of water or school swimming pool
- Rubber bands
Procedure:
-
- Place the Sphero in a tub of water or school swimming pool.
- Have students predict what will happen.
- Add a rubber band around the Sphero and have students predict what changes may take place in the water and then test again.
- Explore what happens when you add multiple rubber bands to the outside of the Sphero.
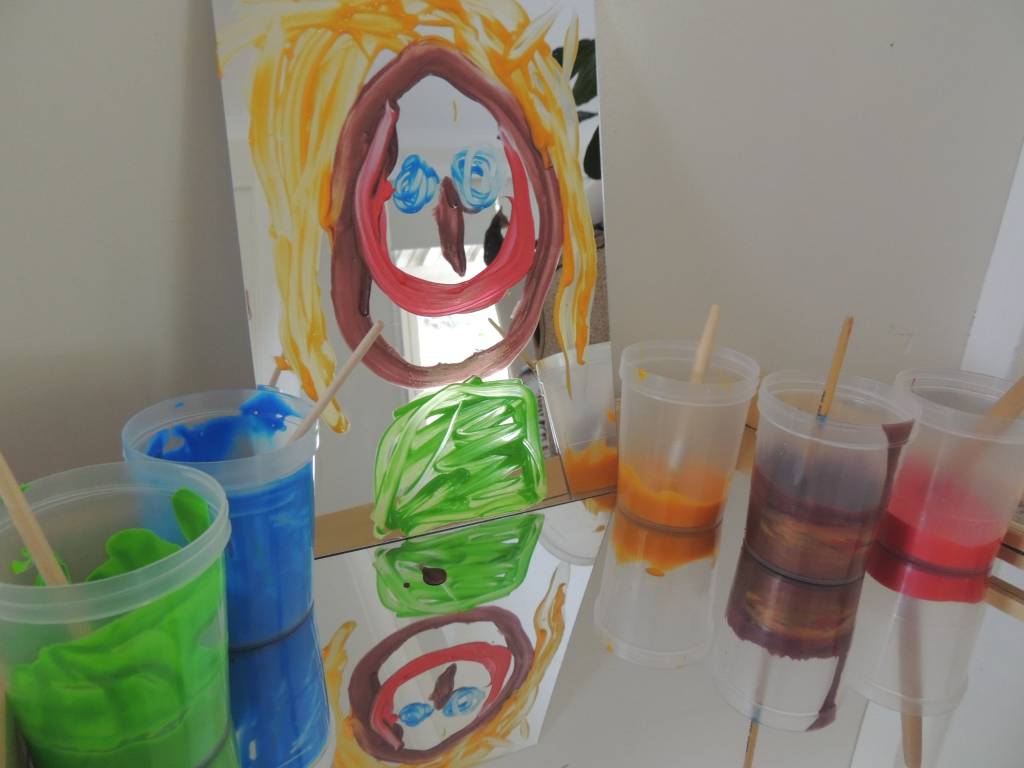
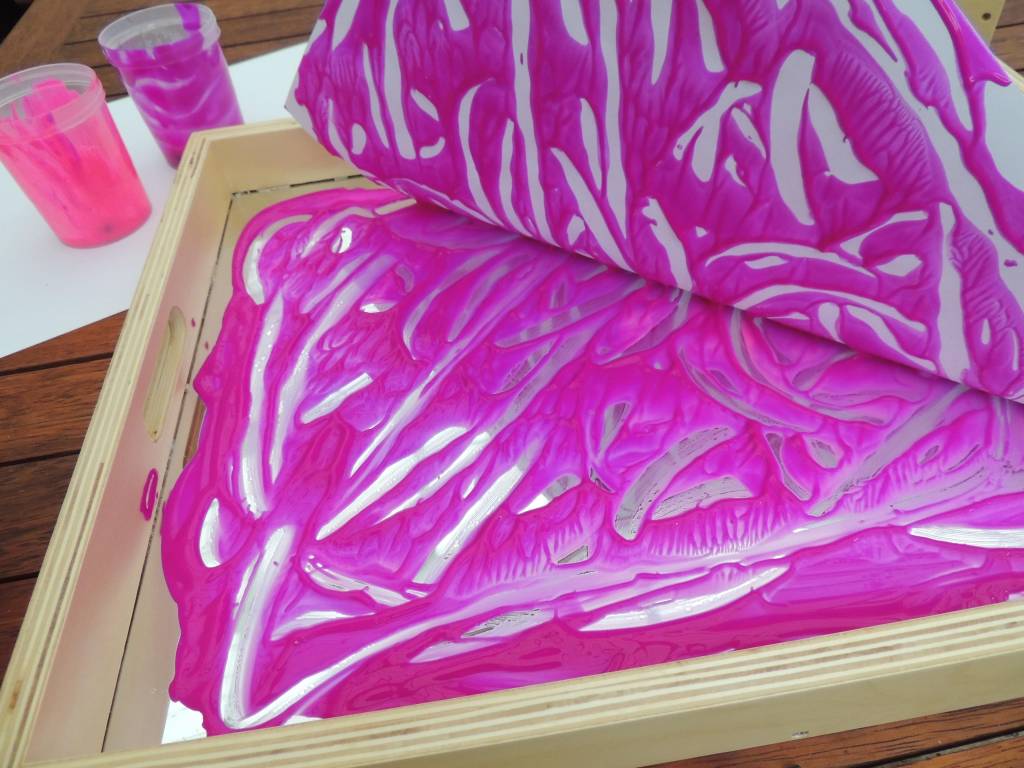
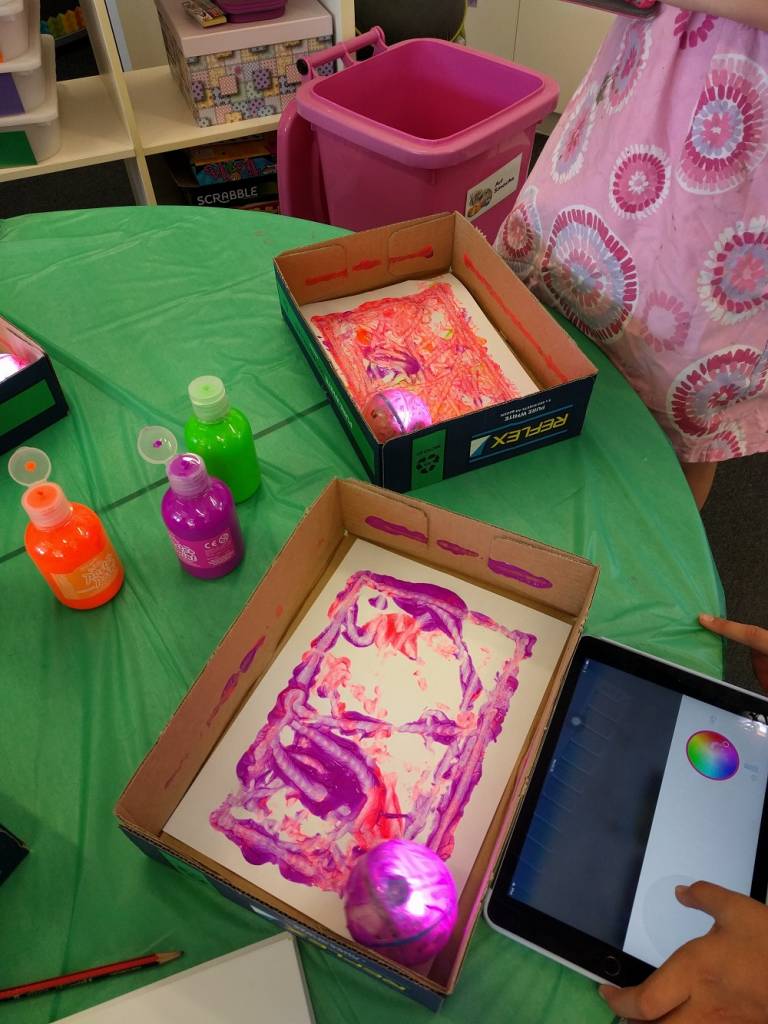
Sphero Art
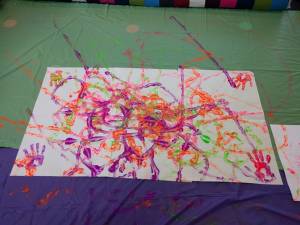
Using water-based paint, the Sphero can be dipped into any colour to then create a masterpiece.
Materials:
-
- Sphero
- Water-based paint
- Baby wipes (used for cleaning Sphero)
- Paper
- Walls to keep Sphero contained (I suggest using the lids of A4 or A3 paper boxes)
Procedure:
-
- Dip or cover the Sphero in paint.
- Students code the Sphero in the Sphero EDU app or drive the Sphero over their paper to create their masterpieces.
- Make sure you use baby wipes to clean the paint off each Sphero.
Integrated Learning
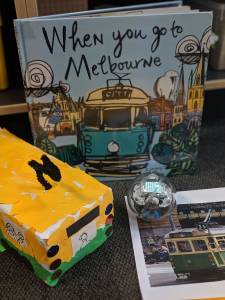
With creative lesson design, there are many ways to integrate the Sphero in your units of work.
Connecting to our Year 3 unit looking at the history of Melbourne, the Sphero was used to integrate these curriculum areas;
-
- History
- Mathematics – 3D objects
- Art – Design
- Digital Technologies
Materials:
-
- Sphero
- Newspaper
- Small boxes
Procedure:
-
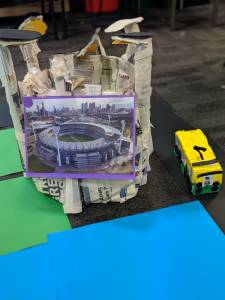
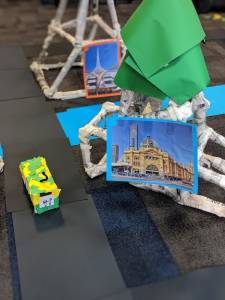
- Students use newspaper to design and create iconic Melbourne buildings or landmarks.
- Students use boxes to design and create a Melbourne tram.
- Situate the buildings and landmarks around the classroom to represent the city.
- Placing the Sphero inside the trams, students code the Sphero in the Sphero EDU app to manoeuvre to each building or landmark in the city.
Each of these activities demonstrates the versatility of using Spheros in your classroom and how they can be used creatively to support student learning. The hands-on learning experiences reinforce learned concepts while developing the key 21st-century skills of communication, problem-solving, creativity and critical thinking. There really are limitless possibilities of how Sphero can be integrated into student learning.
Featured Products:
How have you used Sphero in your classroom?
About the author
Eleni Kyritsis is an award-winning Year 3 teacher and Leader of Curriculum and innovation from Melbourne, Australia. Eleni facilitates professional learning workshops around the world that focus on unleashing creativity and curiosity in classrooms. You can contact her at elenikyritis.com and @misskyritsis


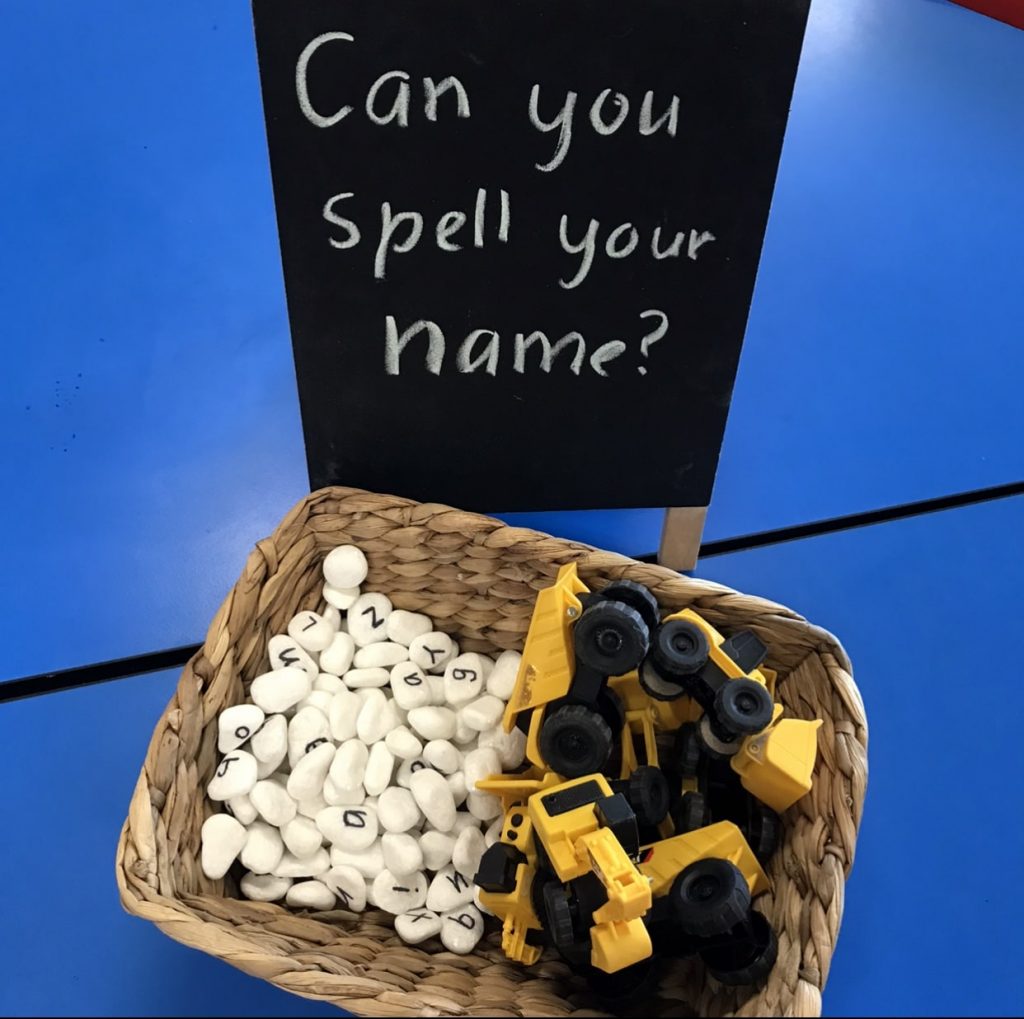
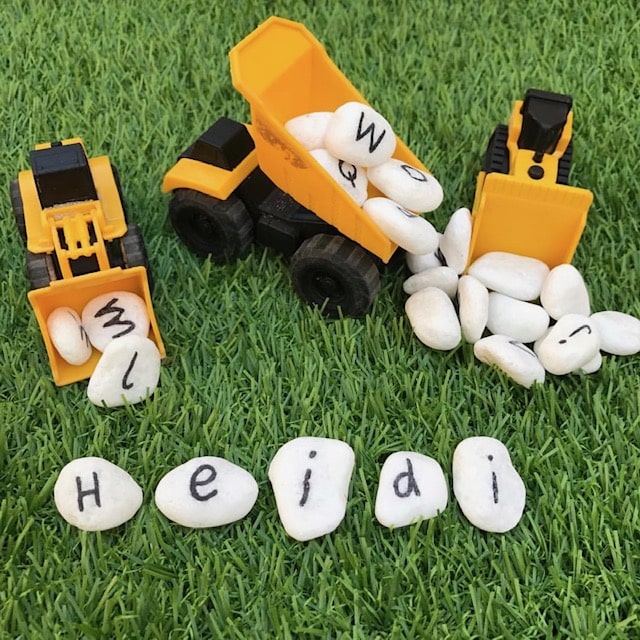 It’s a super fun and engaging activity that encourages students to recognise and find the letters in their name and then assemble the alphabet rocks in the correct order.