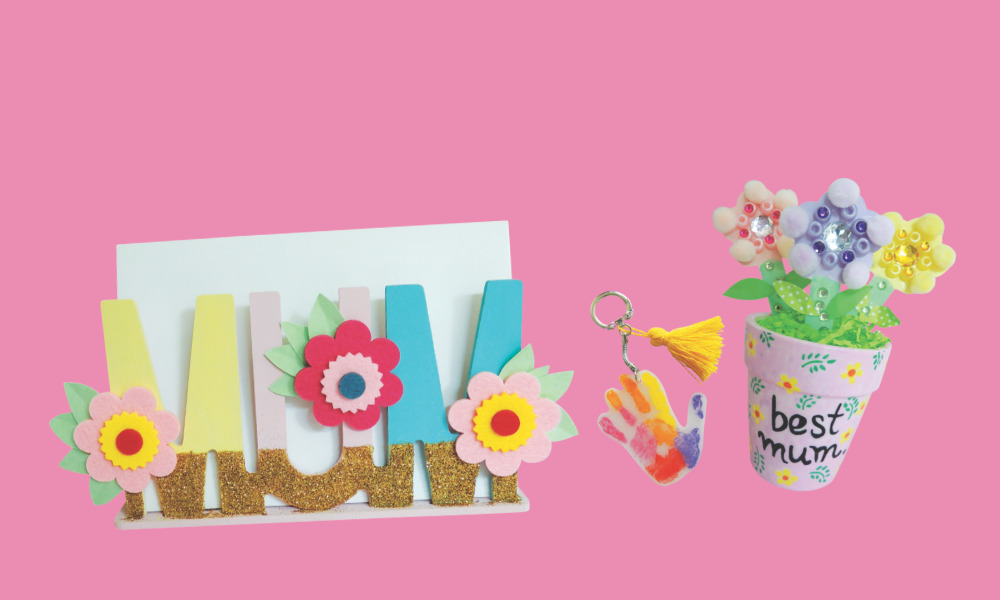
Every mum is a gift. But on Mother’s Day, it’s their turn to receive some love in the shape of a special gift.
Help your little learners say “I love you, Mum” with these super simple craft activities. Key tags in candy colours. Wooden flowers that always bloom. Sweet note holders that cradle special messages. These handmade gifts are an easy way for children of all ages to showcase their love and creativity and have been designed to make educators smile too! They’re colourful, fun ideas we take you through step-by-step.
Get ready to dive into a world of glitter, glue and gratitude as we turn this Mother’s Day into a magical moment for educators, children and mums alike!
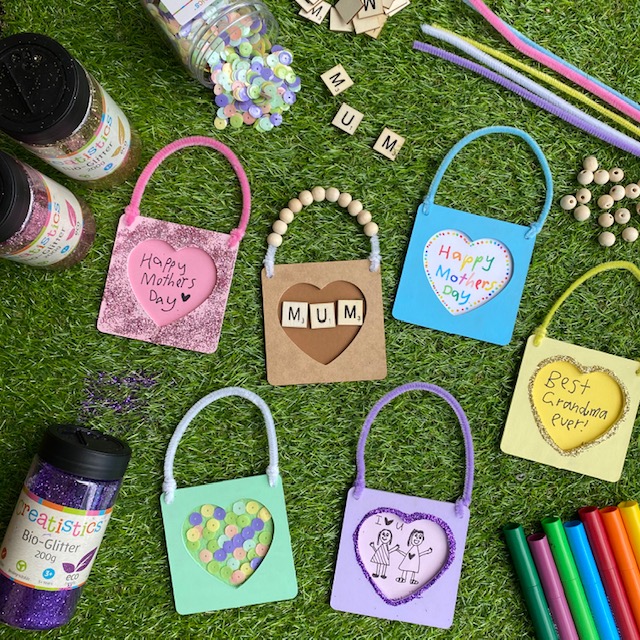
Mother’s Day Note Holder
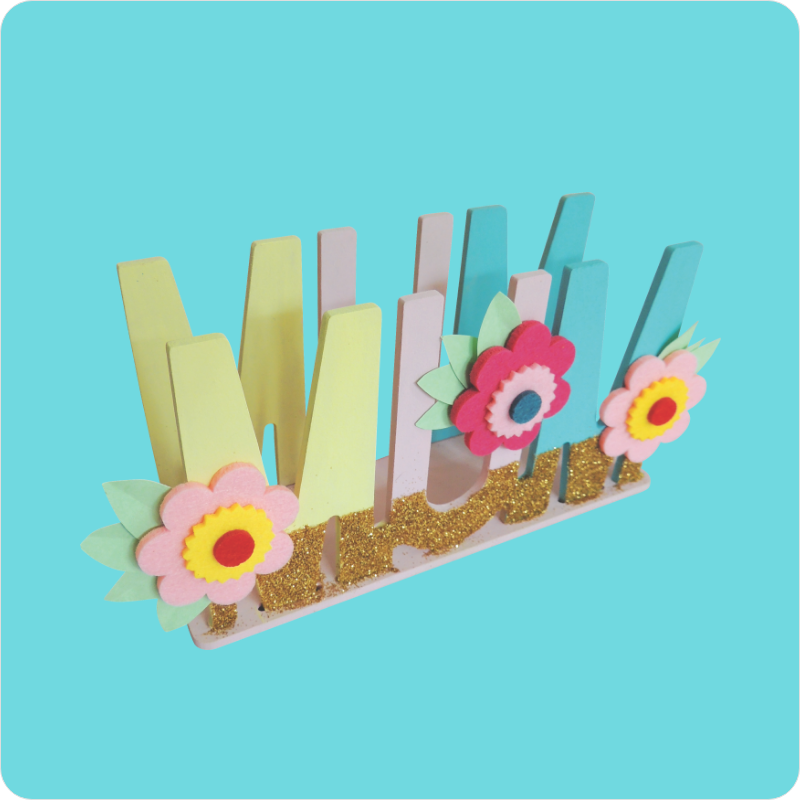
We all know that mums are busy bees. So, what better gift to give than a note holder that keeps notes and special messages organised and doubles as a colourful and floral appreciation of all the hard work they put in?
You will need:
Step-by-step
Assemble the note holder by slotting the two MUM sides into the stand.
Apply your desired shades of pastel paint to the sides and stand and set aside to dry. Repeat paint application as desired.
Lay a length of thin masking tape across the front of the MUM lettering roughly 2/3rds of the way down. Press down gently.
Spread a layer of glue to the MUM letters below the masking tape line and sprinkle Bio-glitter to cover the glue. Shake off excess and set aside to dry.
Use a pencil to roughly draw a small leaf shape onto the pastel paper, fold the paper several times (to a workable thickness to complement scissor skills) and cut out the drawn leaf. You will now have multiple leaves. Repeat as desired.
Use strong craft glue to adhere the leaves and the desired number of felt flowers to the note holder and set aside to dry.
Done! The perfect Mother’s Day Note Holder is ready.
*TOP TIP – When shaking the Bio-glitter over the MUM Note Holder, lay a piece of paper under it to catch the excess glitter. You’ll be able to put the glitter back in the bottle to reuse.
Wooden Flower Bouquet

To show everlasting love for mums on their special day, gift something that lasts just as long with an everlasting flower bouquet! Plus, the original wooden flower bouquet can double as a jewellery display for another crafty day.
You will need:
Step-by-step
Assemble the Flower Bouquet by slotting the flowerpot into the stand.
Apply your desired shades of pastel paint to the assembled flower bouquet and set aside to dry.
Snip 2 x green pipe cleaners into 3rds to make 6 x short flower ‘stems’.
Turn 6 x felt flowers upside down on a flat surface and squeeze a big blob of tacky glue to the back of each flower. Gently press the ends of the pipe cleaner stems into the tacky glue blobs and leave to dry overnight.
Weave and twist the flower stems through the pre-cut holes and twist around themselves to keep them in place.
Use small dabs of tacky glue to secure the paper leaves in place, making a bountiful-looking bouquet of flowers. Set aside to dry.
Use a small handful of white clay with a small amount of candy-coloured Magiclay to knead and press down onto the stand to add texture as desired (handy to press additional embellishments into as desired).
Done! The perfect Wooden Flower Bouquet is ready.
*TOP TIP – Extend the activity for older students by enlarging the flowers using matte paper squares. Simply draw larger flower shapes or thin strips to loop for petals and glue to the back of the felt flowers before adding the pipe cleaner stem.
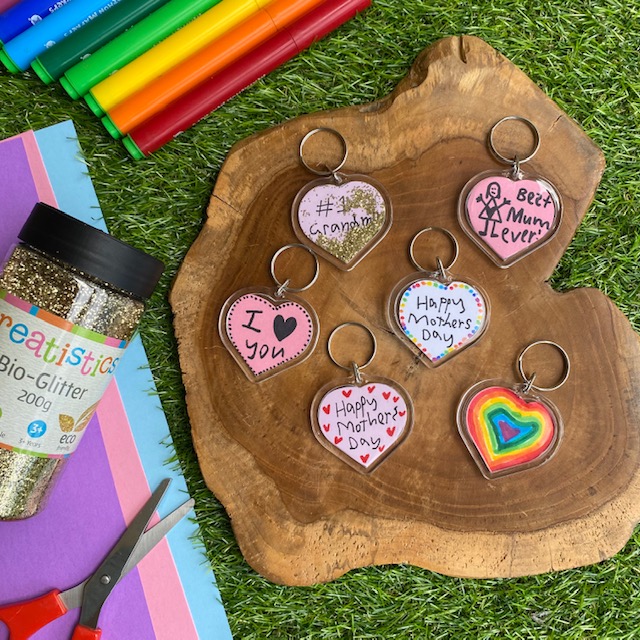
Rose Gold Key Tags
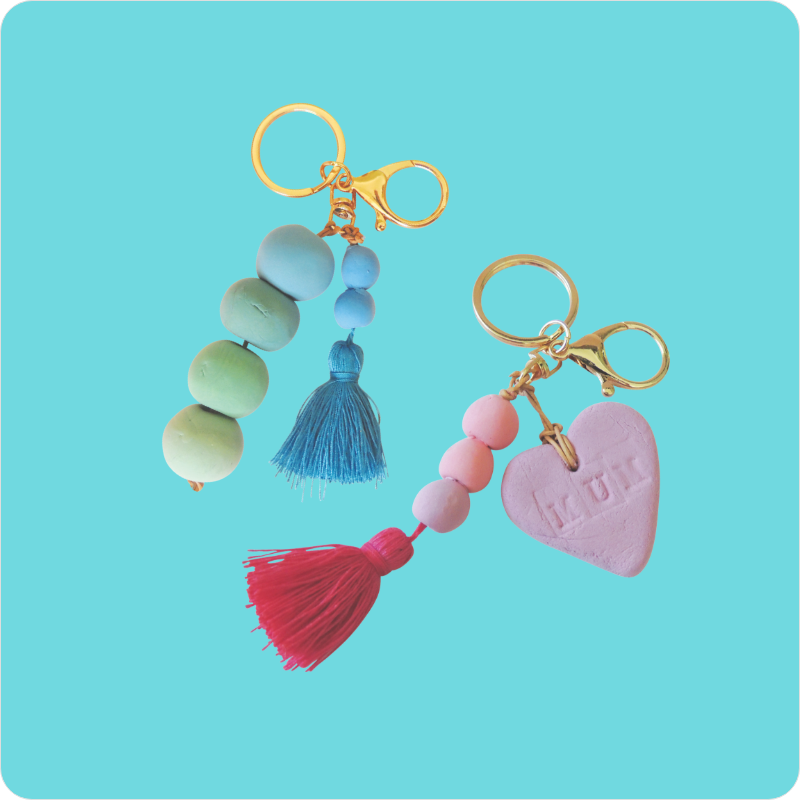
These personalised Mother’s Day keyrings turn an ordinary key chain into an extraordinary keepsake. What’s more, they’re super colourful and eye-catching, so mums can say goodbye to the days of misplaced keys!
You will need:
Step-by-step
Knead a portion of white clay with small amounts of candy coloured Magiclay to make pastel tones.
Use a small handful of your pastel silk clay to gently press flat, keeping the thickness roughly 1 – 2cm.
Use dough scissors to cut out a heart shape (Use a pencil or skewer to roughly mark out the heart shape to guide cutting lines if required). Gently press the edges to smooth them.
Press the Alphabet & Number stamps into the heart to imprint ‘MUM’ or ‘I LOVE MUM’ etc. as desired.
Poke a skewer through the top of the heart and wiggle around, making a hole large enough to thread the leather cord. Set aside to dry out.
With the offcuts from the heart and your remaining pastel coloured clay, roll into large round ‘beads’.
Poke a skewer through the centre of each hole and wiggle around to form a hole large enough for the leather cord to thread through. Set aside along with the heart to dry out for 24 to 48 hours.
Time to assemble! Cut a length of leather cord roughly 30cm and thread through the heart and secure with a knot. Thread on several beads (plastic lacing needles will assist the cord through the beads if needed) and then tie to the Rose Gold Lobster Key Tag. Tie off with several tight knots. Cut off excess cord.
Cut another length of cord to attach several beads to the lobster keychain, again tying off with several tight knots. Cut off excess cord.
Done! The perfect Gold Key Tag is ready.
*TOP TIP – For younger age groups feel welcome to omit the beads and use a cookie cutter to help form the clay shape.
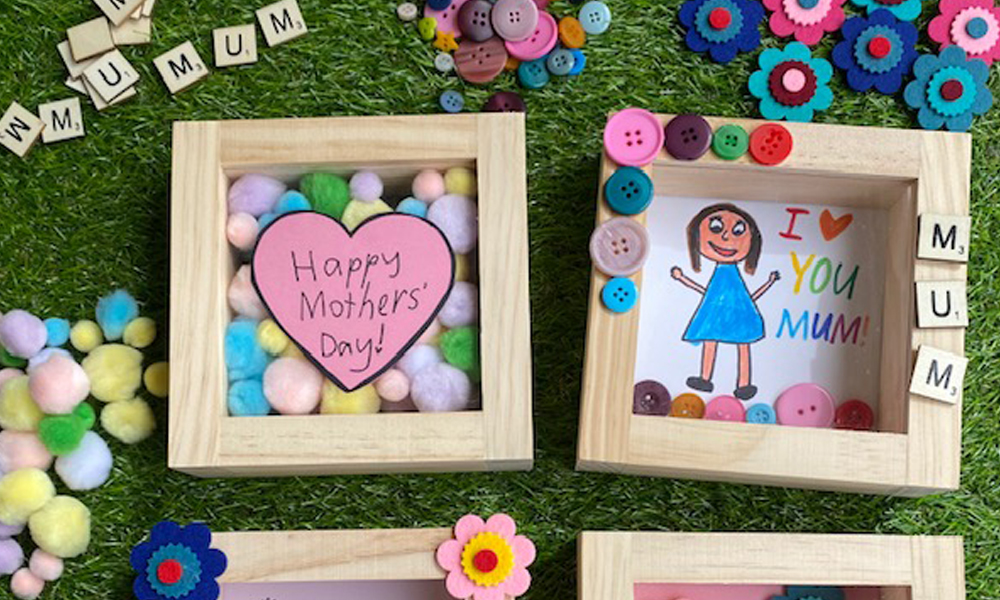
Wooden Flower Pop Mum Pot
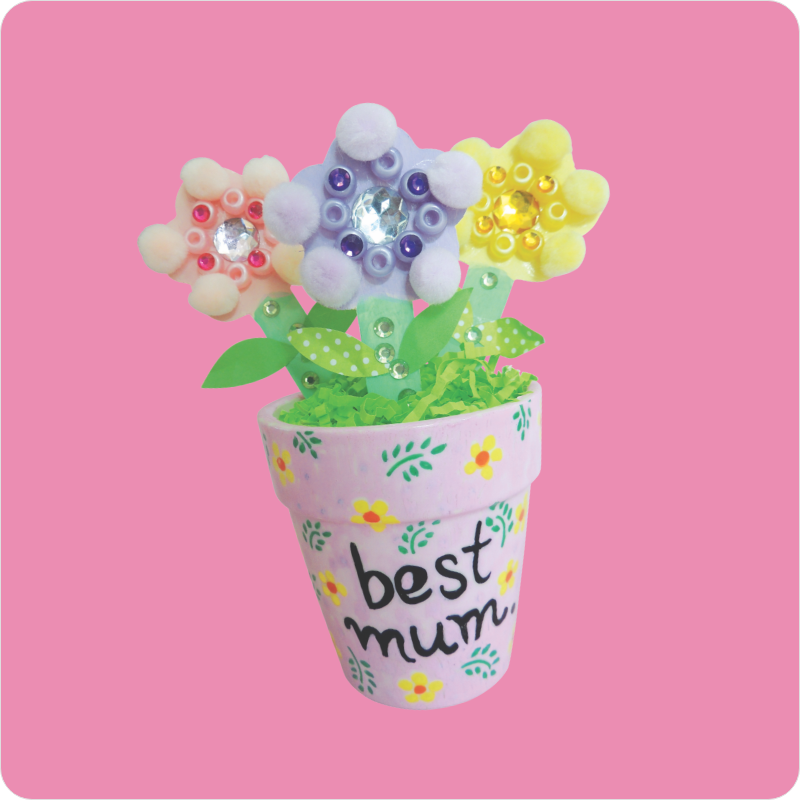
The creative possibilities are endless with the blank canvas of a flower-shaped paddle-pop stick and a flower pot. Children can write their sweetest Mother’s Day messages on the pots and then customise the beautiful flowers!
You will need:
Wooden Flower Paddle Pop Sticks
Creatistics Pattern Paper Squares
Step-by-step
Draw or write messages onto the porcelain pot using Glass & Porcelain markers and set aside a few hours for drawings to air dry.
Bake the pots in the oven at 150 degrees C for 30 minutes, turn oven off and allow to cool before removing (this ‘sets’ the markers to reduce wear and tear).
Apply pastel paint to the Wooden Flower Paddle Pop Sticks and set aside to dry. Repeat application as desired.
Use craft glue to decorate flowers with pastel buttons, beads, pom poms, rhinestones and pattern paper. Set aside to dry.
Fill the pot with Clay and gently press the flower pop sticks into the clay just enough to stand up.
Add a few squeezes of craft glue on top of the clay and gently press Green Crinkle Paper to cover the clay. Set aside to dry.
Done! The perfect Flower Pop Mum Pot is ready.
*TOP TIP – Personalise further by adding a photo to the centre of the Flower Paddle Pop Sticks. Simply print out in a small size and snip around the children’s faces to fit the centre of the flower stick.
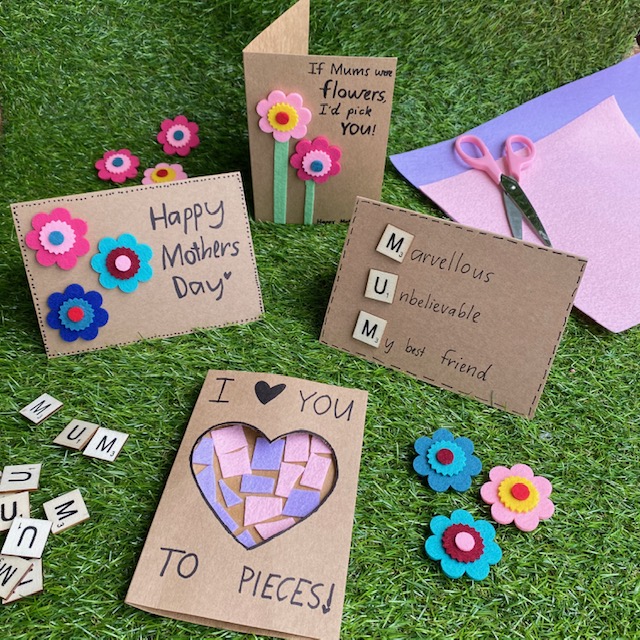
Mother’s Day Yarn Card
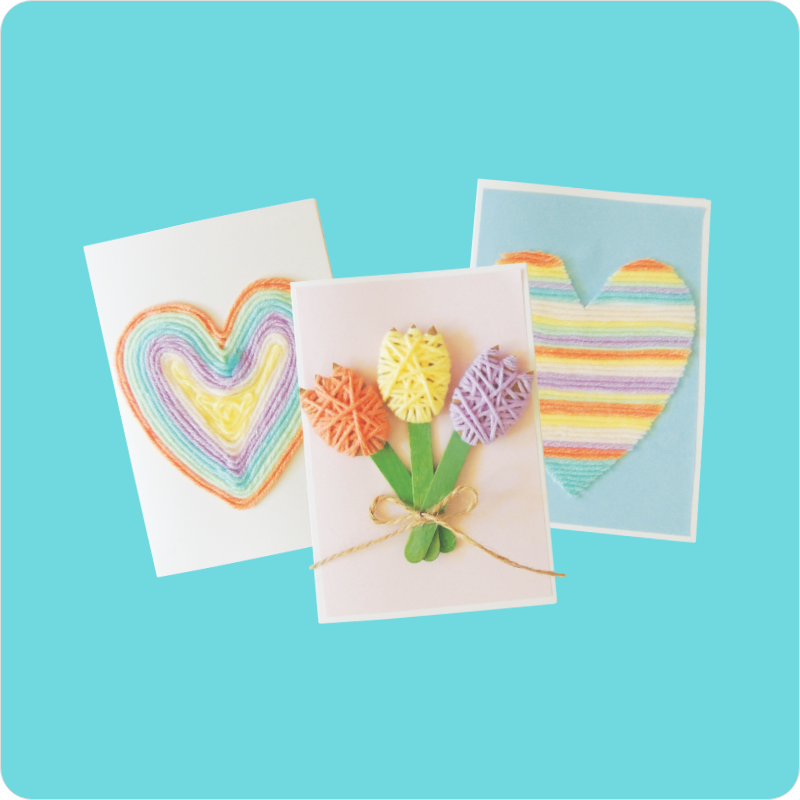
This activity is a two-for-one special! Children can pick between two beautiful options, but no matter which they choose, mums will love this heartfelt card.
You will need:
- TULIP CARD
Step-by-step
On an old cardboard box, draw 3 x tulip shapes and cut out carefully (alternatively, use coloured cardboard if you haven’t got any boxes handy).
Cut a workable length of pastel yarn and either tie around the centre of the tulip or use masking tape to attach yarn in place at the back.
Wind the yarn around the tulip until it looks full and colourful. Either tie off at the back or use masking place to hold down.
Repeat steps 2 and 3 for each of the tulips.
Cut a piece of coloured cardboard to fit the front of the card, roughly 14(L) x 9(W)cm, and glue to the front of the card.
Use strong craft glue to adhere 3 x mini green pop sticks and the 3 yarn tulips to the front of the card, along with a jute hemp twine bow around the pop sticks. Set aside to dry.
Draw/write MUM a Mother’s Day message inside the card.
Done! The perfect Mother’s Day Yarn Card is ready.
*TOP TIP – Cardboard boxes are thick enough to hold their shape for young children to wrap the yarn around. Young children might also enjoy working with a larger sized tulip shape to match their fine motor skills.
- HEART CARD
Step-by-step
Using a pencil, draw a heart onto the card.
Cover the entire heart shape with craft glue.
Snip workable lengths of pastel yarn and lay over the glue, working from the outside of the heart to the inside until all the glue is covered.
Set aside to dry.
Alternatively, draw a heart shape onto the coloured cardboard, cover in glue and lay shorter lengths of yarn horizontally across the heart working from the top to the bottom until all the glue it covered. When dry, carefully cut out the heart shape, snipping off the excess yarn at the same time. Your heart is now ready to glue onto the white card.
Done! The perfect Mother’s Day Yarn Card is ready.
*TOP TIP – This activity is for all ages! Younger children will enjoy working with short pre-cut lengths of yarn, sticking them into glue applied in a heart shape.
Handprint Shrink Film Key Chain
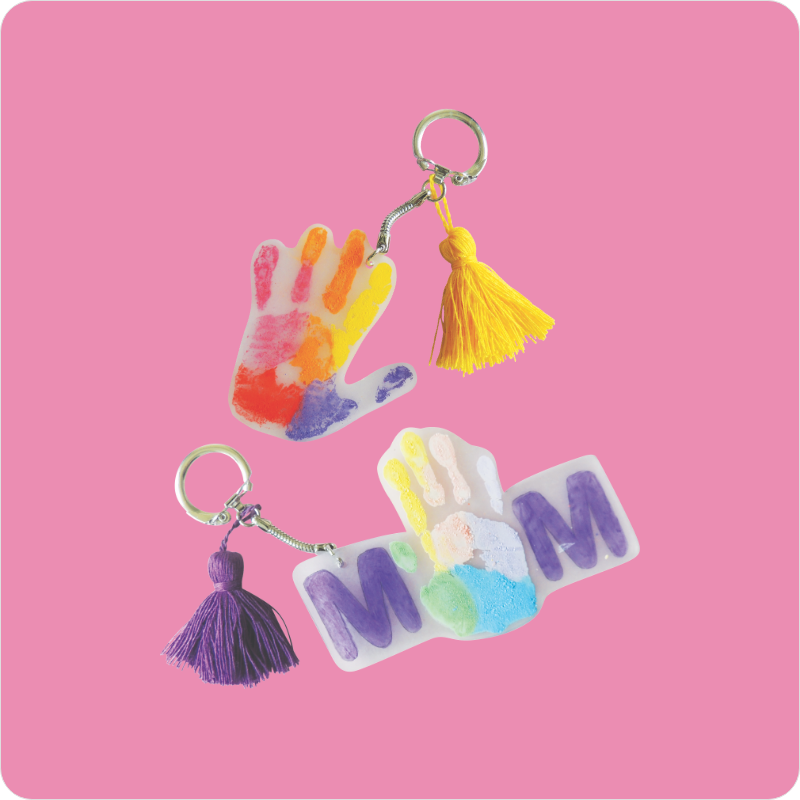
Kids grow up so fast! This Mother’s Day, give a personalised lasting memory with this handprint keychain. It’s a meaningful way to celebrate the connection between children and their wonderful mums.
You will need:
Step-by-step
Use a brush to apply paint to children’s hands (a brush will ensure an even coat of paint for a crisp handprint).
Press painted hand down onto the shrink film and lift hand off to reveal the print. Set aside to dry.
Older students might like to write the letter M on either side of the handprint, spelling out MUM with the handprint in place of the letter U.
Carefully cut around each design and punch a hole at the top.
Preheat oven to 150°C.
Place the design on a lined tray (matte side up) and bake.
Plastic will begin to shrink after 10 seconds, watch carefully! They will shrink to approx. 60% of the original size.
Remove from oven once plastic has flattened and set tray aside to cool completely before handling.
Thread the beading cord through the shrink film decoration, and tie firmly to a key chain.
Done! The perfect Handprint Key Chain is ready.
*TOP TIP – Coloured pencil markings will darken in the oven; a very light shading is all that’s needed for bright vibrant colour.
We hope you love getting crafty this Mother’s Day and creating these fun activities. If you’d like to download the step-by-step activity pack pdf, click here. Happy crafting, and please share your crafty Easter creations with us @modernteaching.