What is a Makerspace?
A Makerspace can be any space in your school where students are able to come together to design, experiment, invent, craft and create. Makerspaces typically have a STEM (science, technology, engineering and maths) focus, but can be tailored to apply to learning across all subject areas. Makerspaces encourage students to work collaboratively using high tech, low tech or even no tech!
Setting up your Makerspace
Your Makerspace might be in a classroom, library or even a standalone building, any space that allows for a flexible range of creative activities that support learning through exploration and experimentation.
When setting up your Makerspace you should ask yourself:
- Who will be using this space?
- What is the purpose of this space?
- What type of area would best suit their needs?
The first thing to consider is the maximum number of students that will be using the Makerspace at any one time. Keep this in mind when selecting your Makerspace setting to ensure that there is always enough room to work safely.
There will also need to be a designated area for displaying project ideas, as well as flexible furniture options that support inclusive and collaborative learning. Check out some examples of the types of flexible furniture pieces that are ideal for a Makerspace below:
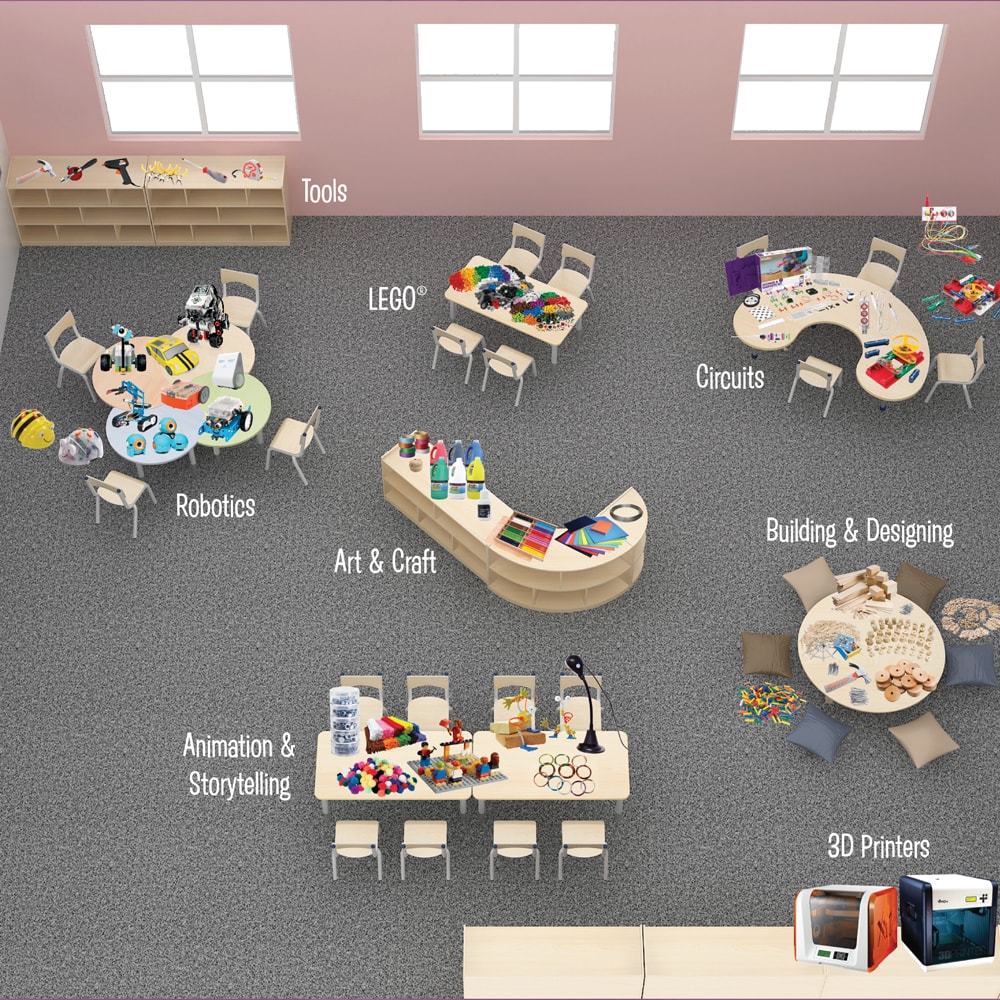
One of the great things about a Makerspace is that you can adapt it to fit your needs, your means and your space. When it comes to setting up a Makerspace there is no one-size-fits-all layout, but a typical space might include an:
- Art & Craft Station
- Circuits Station
- Building & Designing Station
- Robotics Station
- Animation & Storytelling Station
- LEGO Station
Once you’ve locked down the perfect space, the next step is to kit it out with the tools, equipment and materials that your students need to start bringing their projects to life. Within a Makerspace environment, students are encouraged to solve real-world problems with hands-on experiments that might use a mixture of high-tech and no-tech materials.
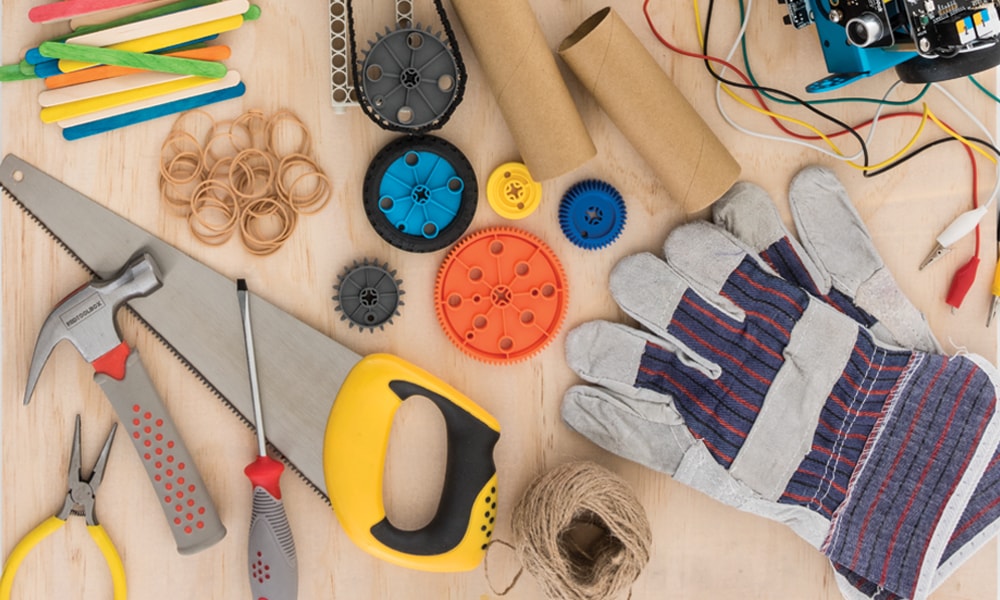
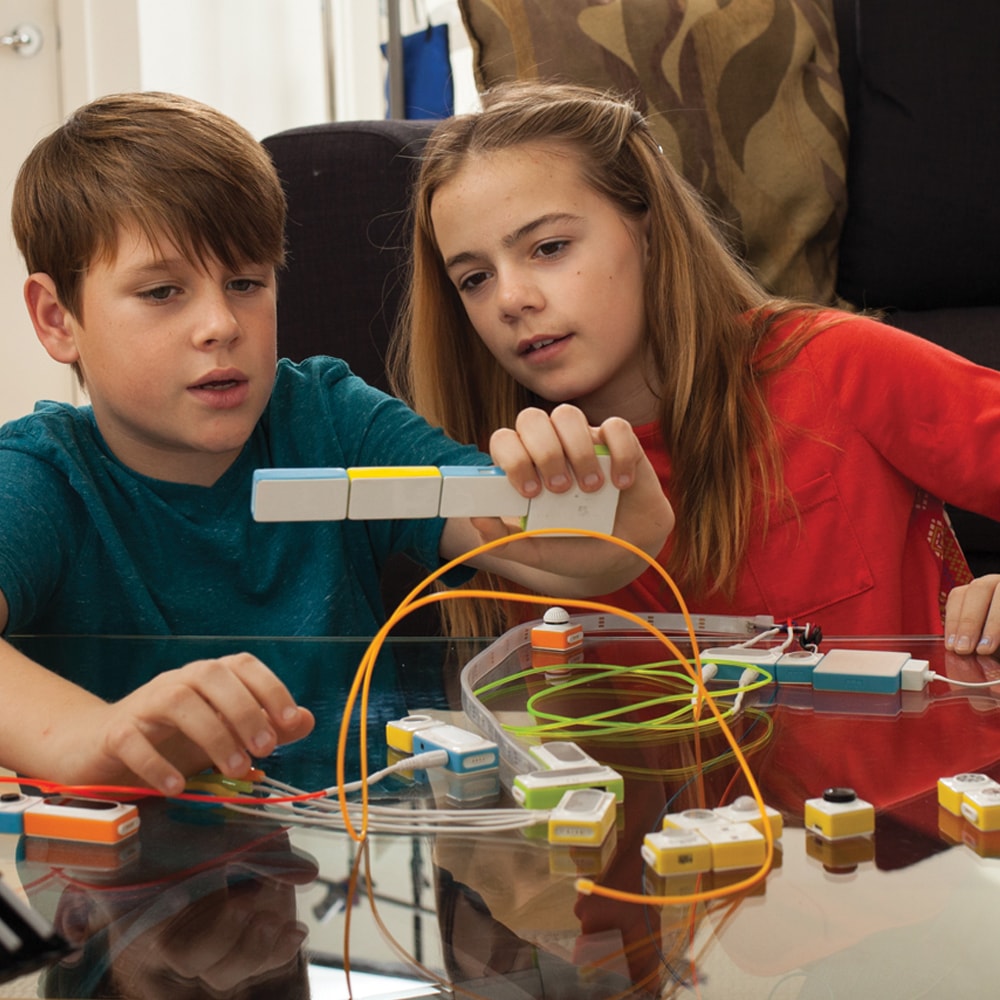
High-tech resources may include 3D printers, laser cutters, robotics and electronics.
No-tech resources could include a range of recycled materials such as paper matchsticks, bottle tops and modelling clay. It’s worth noting that, although these resources are similar to the kinds of materials you’d find in a crafting session, in a Makerspace context they are being used to develop students’ skills in the planning, design and execution of an idea towards a final project.

Your Makerspace doesn’t need to be complex, it all comes down to the needs of your students and the space and materials you have available.
What happens in a Makerspace session?
Now that you’ve set up your Makerspace area, it’s time to get creating. But where do you start? It may sound obvious, but a good first step is to introduce your students to the idea behind the Makerspace so that they are clear about the role it will play in their learning. It may also be useful to do a few basic demonstrations and group activities with the equipment and materials you have at your station.
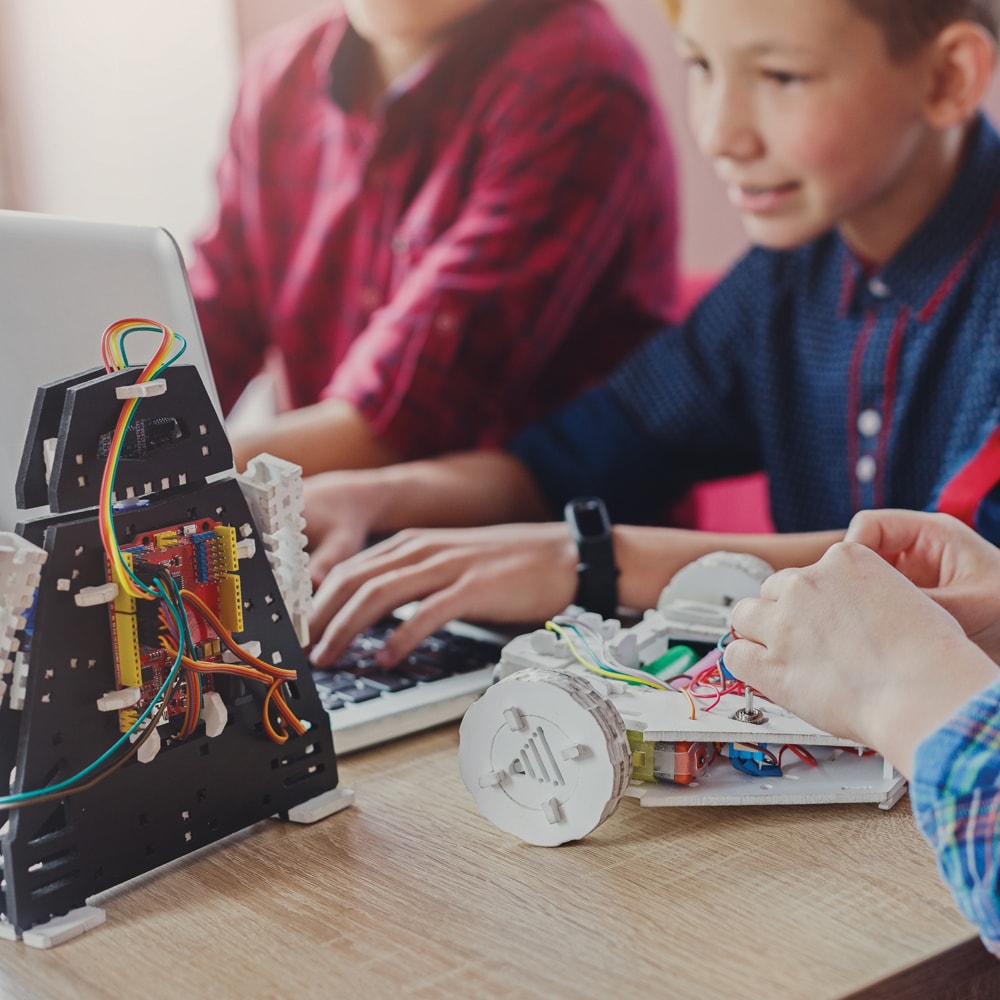
Once everyone is familiar with the station and its resources, you can get stuck in to your Makerspace sessions. You may choose to give your students an open-ended brief such as “Plan, design and create a new invention” within a certain timeframe, or you may choose a more structured, specific brief, like this Robotics Station brief :
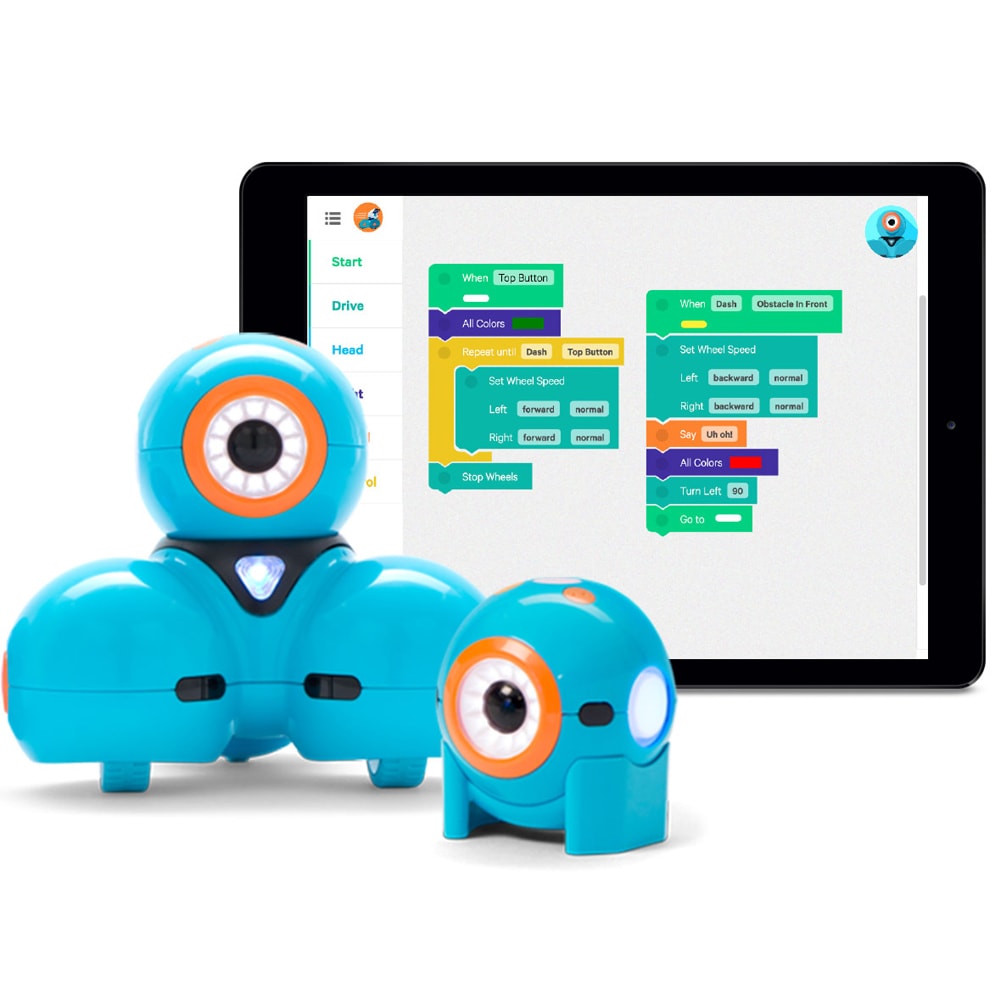
“Using a specific app, code a programmable robot such as Sphero, Cublet or Dash & Dot to emulate a human emotion or trait through its movement and behaviour.”
For older or more advanced students you could also give them the task of creating their own brief, then take on a support role to facilitate the exploration of their idea from concept to execution.
The role of the teacher
Depending on the ability, age and dynamic of your class, the level of instruction and guidance required will vary. The best way to view your role in Makerspace instruction is to think of yourself as a project manager, providing support and feedback on the quality of the work executed by the team. The teacher’s role is less about directing the students or explicitly telling them what to do and more about assisting them in their efforts towards the general goal of innovation.
Benefits of Makerspace
- Teaches basic problem-solving skills through creative tasks
- Facilitates ideas, innovation and encourages students to think outside the box
- Offers collaborative, authentic real-world learning experiences
- Helps students focus with a hands-on approach, connecting concepts they have learnt in class with the real-world applications
- Builds perseverance, “failure is a lesson not an end”
- Inspires further investigation
By experimenting with different Makerspaces, you can narrow down what does and doesn’t work regarding layout, instruction, style and equipment within your classroom. Through this trial and error you’ll be able to refine your Makerspace to fit your needs until it becomes the successful innovation generation station it’s destined to be!
Featured product: Dash & Dot Educational Robots Pack
Do you have a creative Makerspace in your school? We would love to hear from you!