Students must hold maths in their hands before they can hold maths in their heads”
(Anonymous)
Teaching mathematical concepts to young students can be done in a fun and engaging way through hands-on learning experiences. By introducing maths concepts through play-based learning activities, students can make connections by seeing and holding maths in their hands.
In this post, I will share a number of resources and ways you can teach mathematical concepts through play-based learning experiences.
Number & Algebra
Number & Place Value
Australian Curriculum:
Foundation:
Connect number names, numerals and quantities, including zero, initially up to 10 and then beyond (ACMNA002)
Year 2:
Explore the connection between addition and subtraction (ACMNA029)
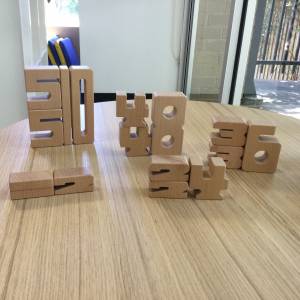
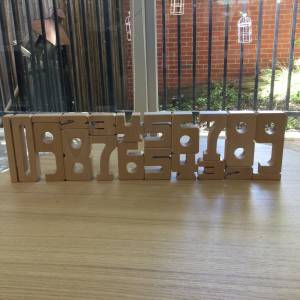
SumBlox
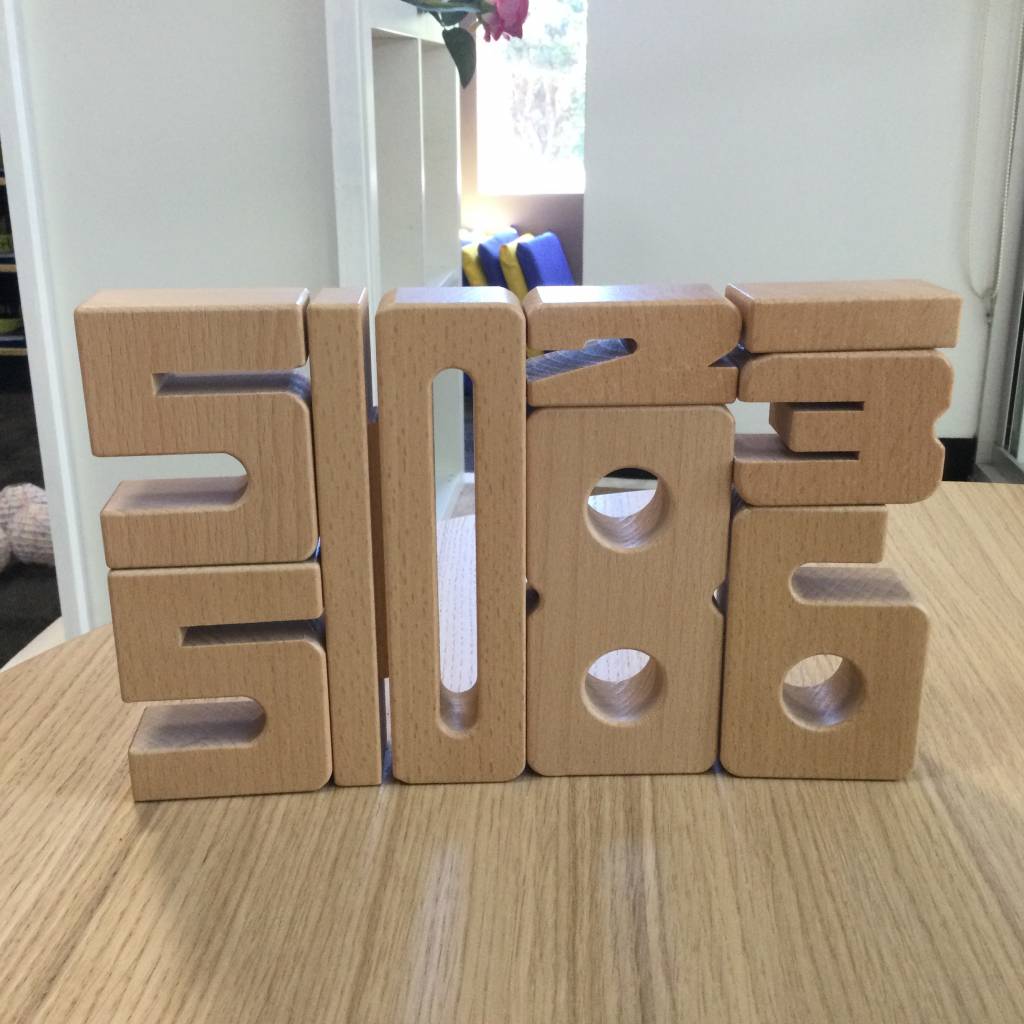
SumBlox are a great resource for the Junior Primary classroom. They are multi-sensory maths tools that allow students to visualise and understand the value of numbers through the various number block heights that increase with the value of the number. SumBlox help students build a strong understanding of maths concepts including patterns, addition and subtraction.
Money & Financial Mathematics
Australian Curriculum:
Year 1:
Recognise, describe and order Australian coins according to their value (ACMNA017)
Year 2:
Count and order small collections of Australian coins and notes according to their value (ACMNA034)
Money Play Through Shops:
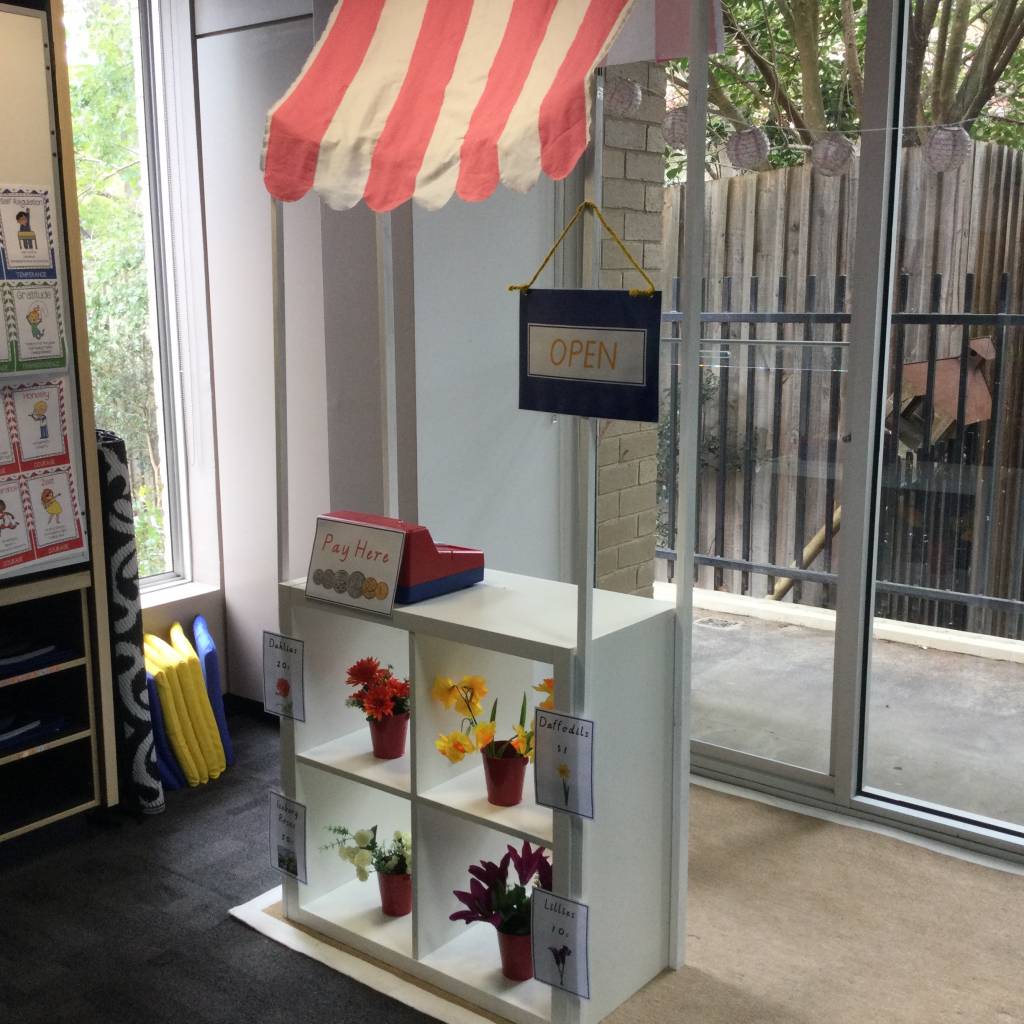
Setting up a class shop is a great way for students to understand the value of money. Each student can be given a set amount of play money, or be rewarded with money for completing tasks in the class, that they can then spend at the class shop. Students can take on the role of shopkeeper and customer to learn about the cost of items and the change that needs to be given to the customer.
Bee-Bot Money Mat:
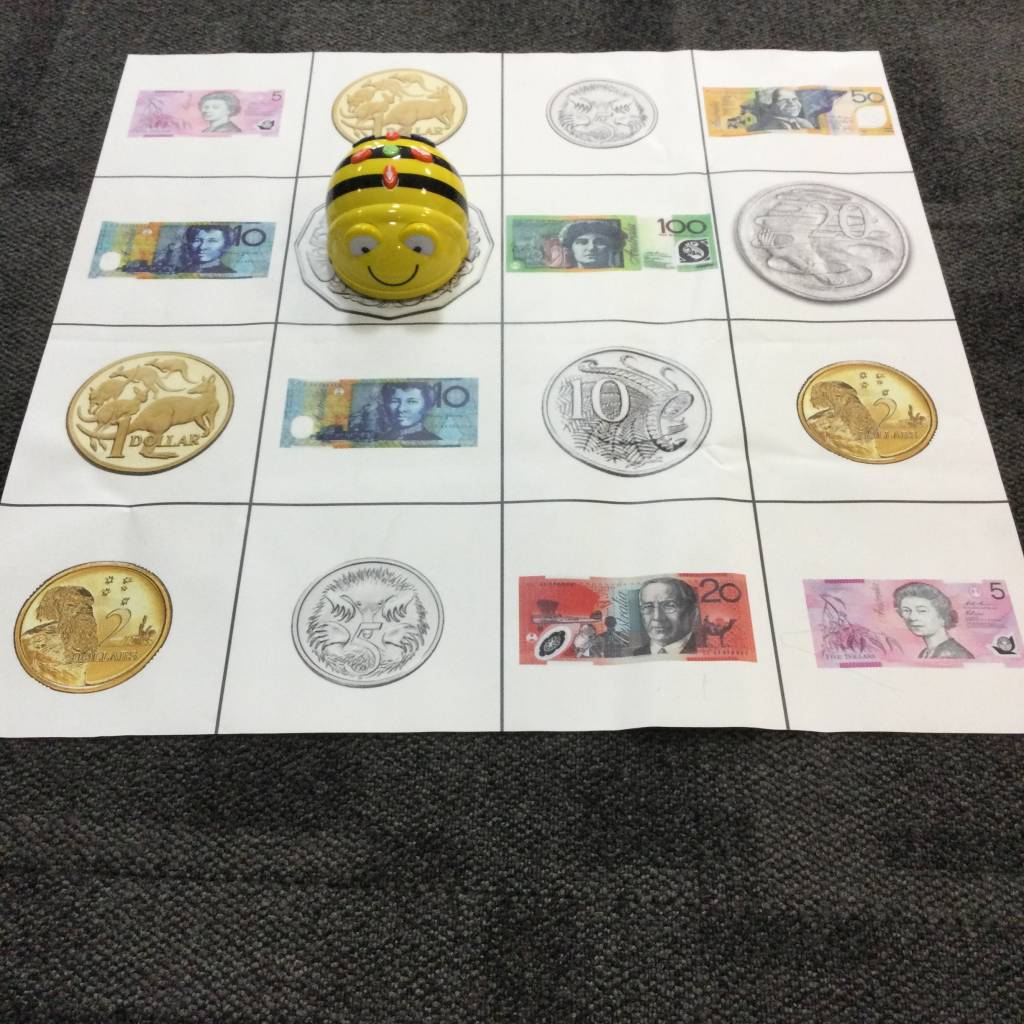
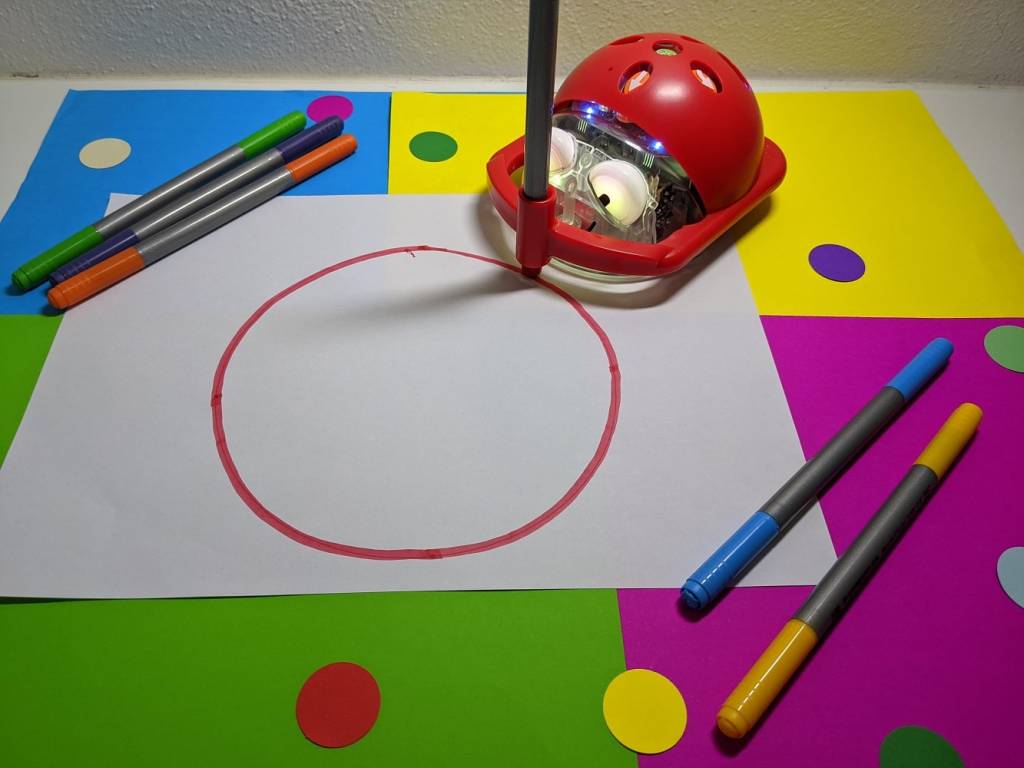
The Money Mat combined with a Bee-Bot, Blue-Bot, Dash, or other robot is a great way to incorporate technology into a maths lesson. Students can program their robot to manoeuvre to the different money amounts. To extend students’ thinking, they can add or subtract different money amounts together.
Both the Money Coin Spinner and the Money Note Spinner can be used to randomise the amount of money students need to program their robot to. Even without the Bee-Bot mat and robots, students can use the spinners to calculate the money amounts.
Patterns & Algebra
Australian Curriculum:
Foundation:
Sort and classify familiar objects and explain the basis for these classifications. Copy, continue and create patterns with objects and drawings (ACMNA005)
Year 1:
Investigate and describe number patterns formed by skip-counting and patterns with objects (ACMNA018)
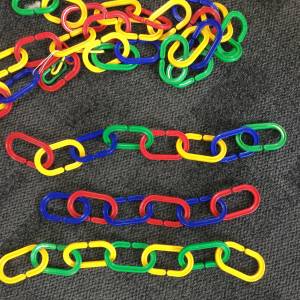
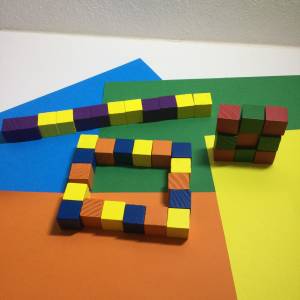
Exploring Patterns:
Having students explore and create patterns helps them visualise the maths concepts being taught. Using various items like the Bear Counters, Counting Links or Wooden Counting Cubes students can organise and create a variety of patterns to show their understanding.
Measurement & Geometry
Using Units of Measurement
Australian Curriculum:
Foundation:
Use direct and indirect comparisons to decide which is longer, heavier or holds more, and explain reasoning in everyday language (ACMMG006)
Year 2:
Compare masses of objects using balance scales (ACMMG038)
How Much Does It Weigh?
Students can explore the concepts of measurement through hands-on learning by physically holding the various objects to compare which item is heavier and lighter. First they can predict their answer, then test by holding the objects in their hands before finally measuring the exact weight of the items using the scale.
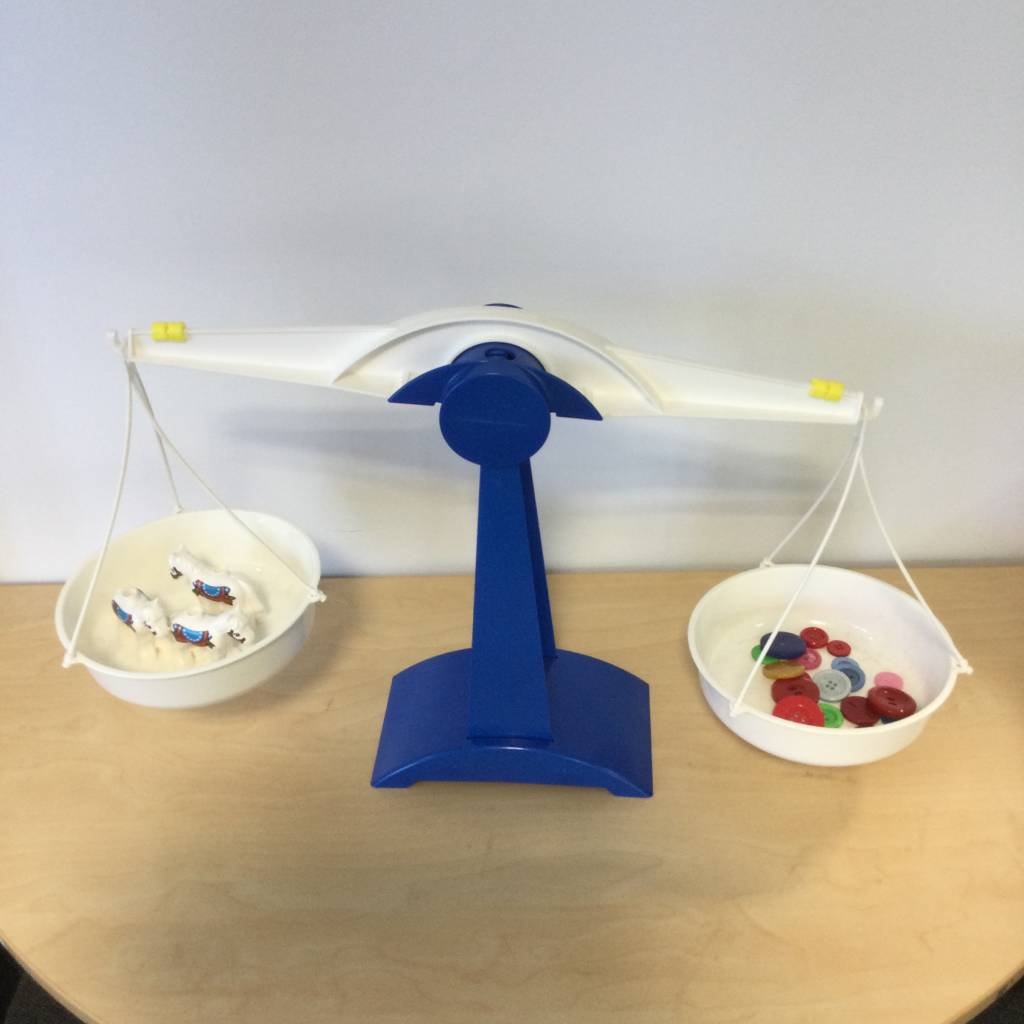 Featured Product: Rocker Scale
Shape
Australian Curriculum:
Foundation:
Sort, describe and name familiar two-dimensional shapes and three-dimensional objects in the environment (ACMMG009)
Year 1:
Recognise and classify familiar two-dimensional shapes and three-dimensional objects using obvious features (ACMMG022)
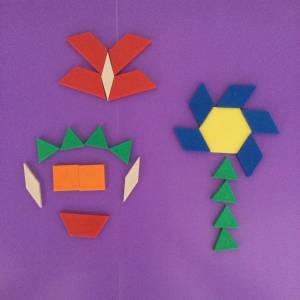
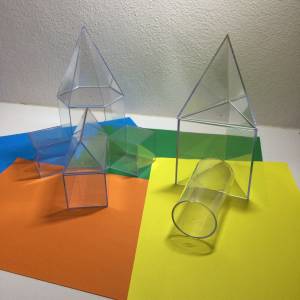
2D Shape / 3D Object Creations:
Exploring two-dimensional shapes and three-dimensional objects in the Junior Primary classroom is always fun. Having students create their own pictures using both 2D shapes and 3D objects can be supported and enhanced by using physical objects and shapes to construct their design and develop their creativity. It enables students to hold, move and create their individual characters or pictures exactly how they would like.
Students can further demonstrate their understanding by pointing out the various shapes and/or objects they used in their created picture.
Featured Products:
Freeform Play Shapes – 248 pieces
Small Geometric Translucent Shapes – 72 pieces
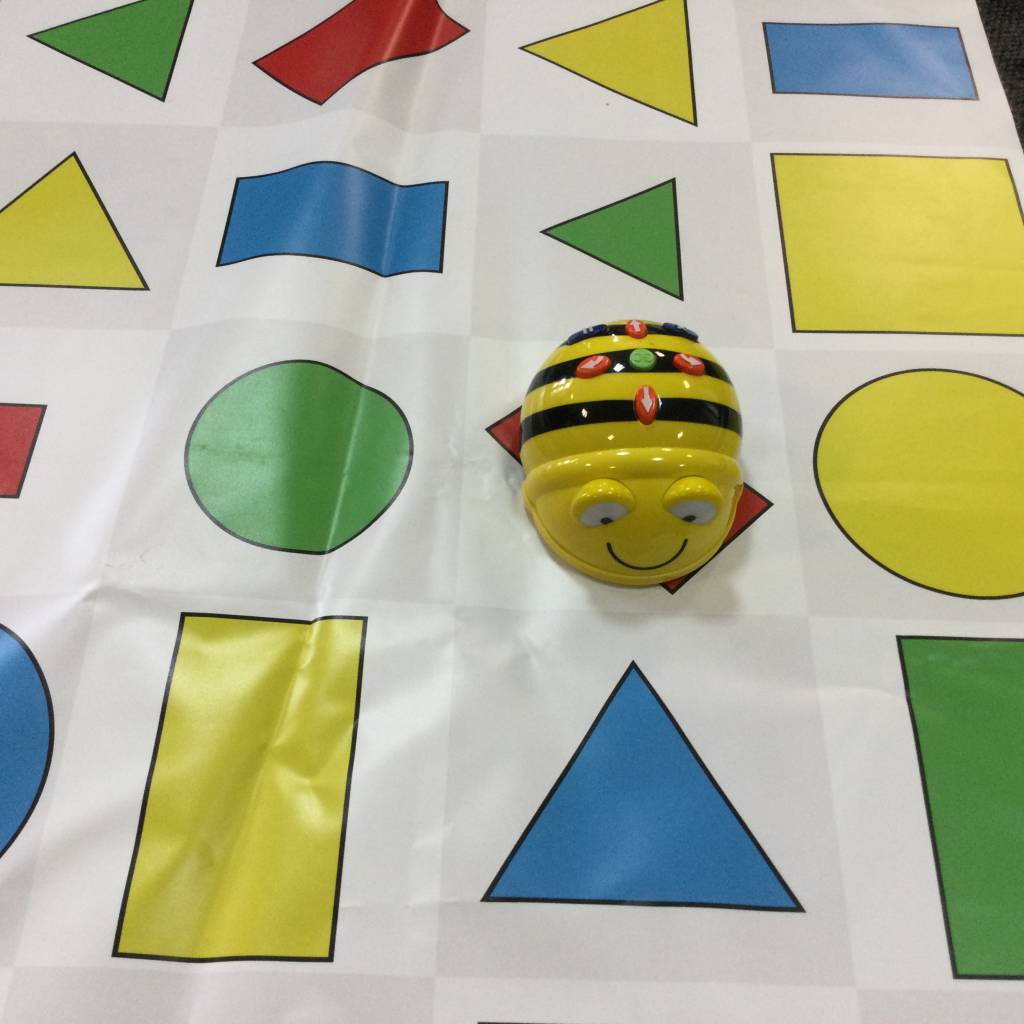
Bee-Bot Shape Mat/Cards:
The MTA Robotics Cards Set includes a set of shape cards which is another wonderful way to incorporate technology into mathematics. Using the MTA Shape Colour & Size Robotics Mat together with the shape cards, students can select a card from the pack, identify the shape and then direct their robot to that position on the mat. They can then describe and record the number of sides, edges, colours etc. of the shape they chose.
Featured Products:
MTA Shape Colour & Size Robotics Mat – Vinyl – 100 x 100cm
MTA Robotics Cards Set – 60 Double-Sided Cards
Location & Transformation
Australian Curriculum:
Foundation:
Describe position and movement (ACMMG010)
Year 1:
Give and follow directions to familiar locations (ACMMG023)
Year 2:
Interpret simple maps of familiar locations and identify the relative positions of key features (ACMMG044)
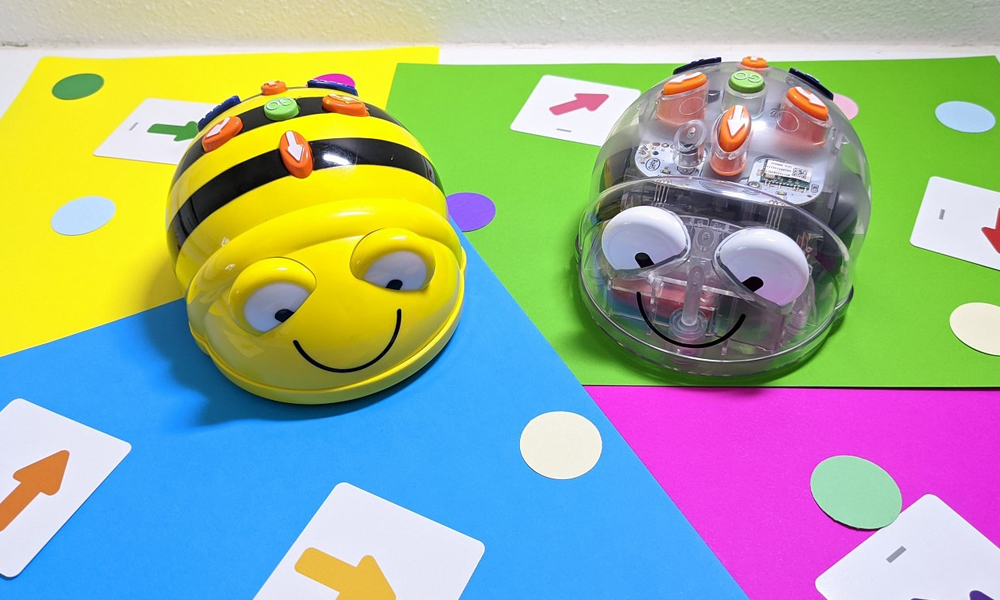
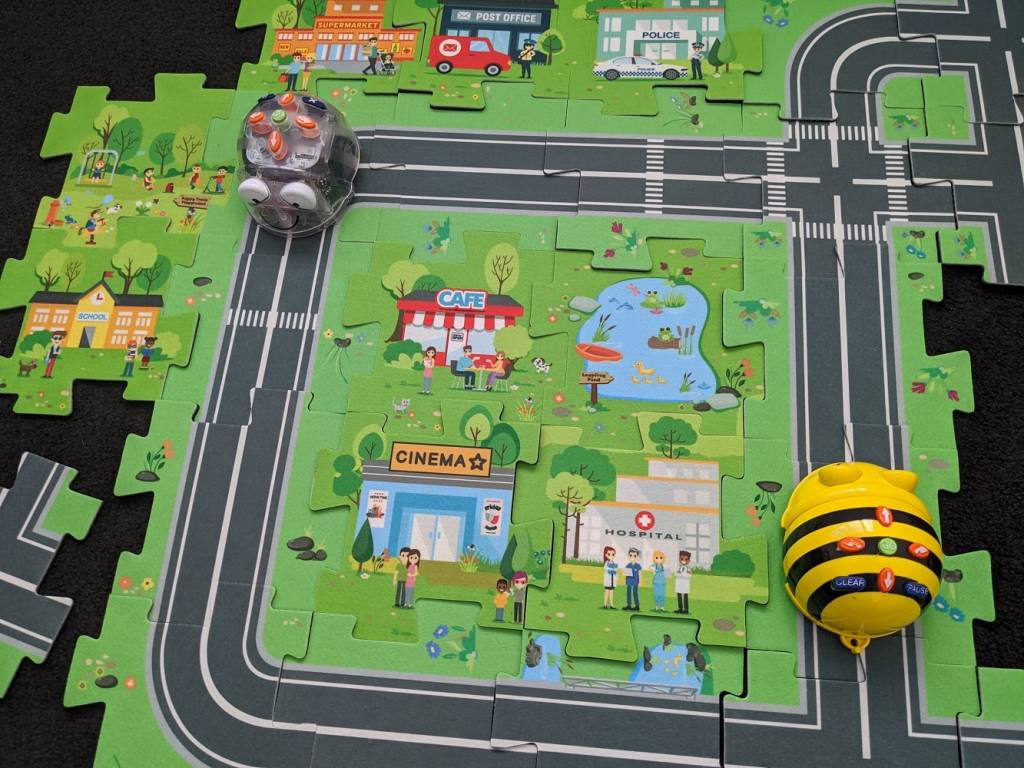
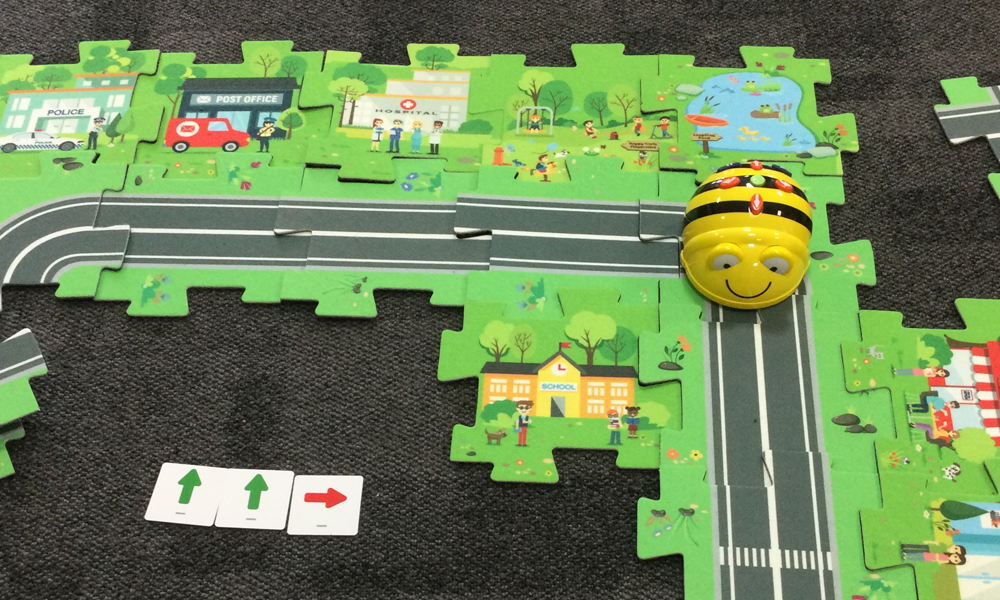
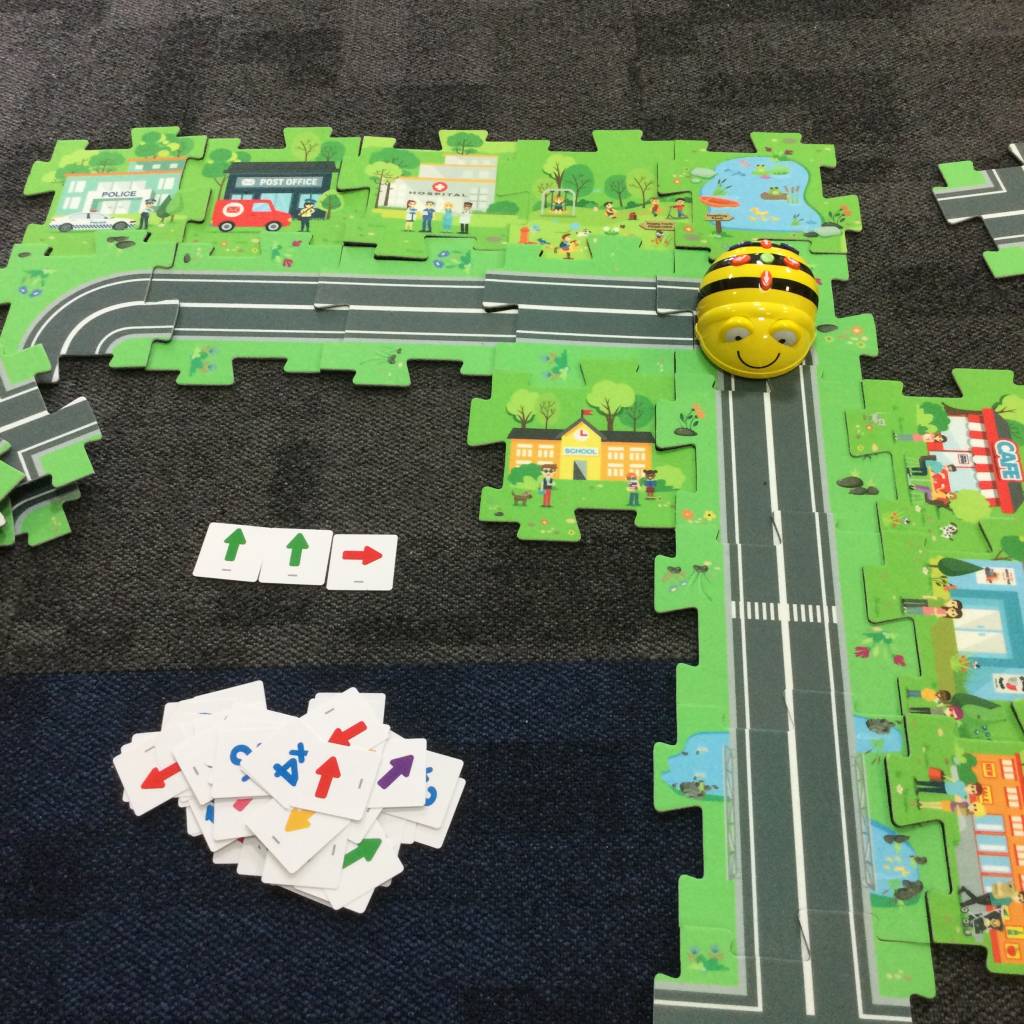
Bee-Bot Mats:
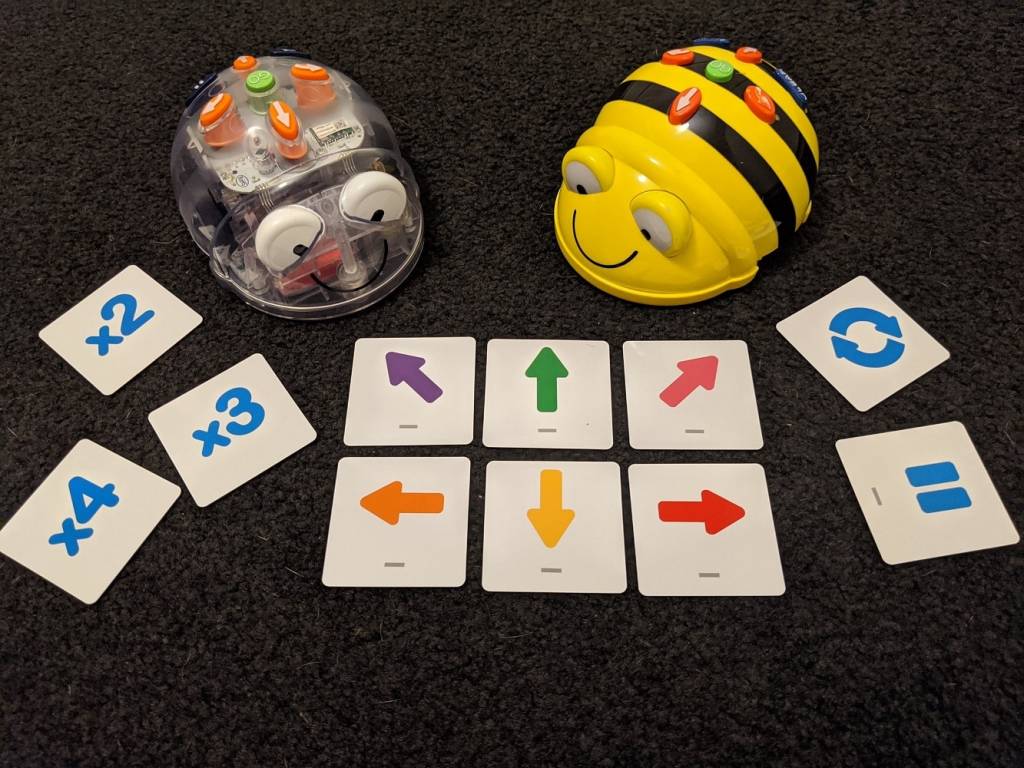
Bee-Bots are a great way to incorporate digital technology and mathematical concepts in the same lesson. They provide hands-on learning experiences that allow students to learn about directional movement by physically coding and seeing the Bee-Bot move in front of them. There are so many resources to support Bee-Bots in the classroom. I love using the Robotics Coding Cards for students to place onto the ground first before programming the Bee-Bot to move. This helps them to see their code and recognise any errors and to make changes if the Bee-Bot does not move accordingly.
Featured products:
Bee-Bot Road Maze Tiles Kit
Robotics Coding Cards – 60 Cards
Statistics & Probability
Data Representation & Interpretation
Australian Curriculum:
Foundation:
Answer yes/no questions to collect information and make simple inferences (ACMSP011)
Year 2:
Identify practical activities and everyday events that involve chance. Describe outcomes as ‘likely’ or ‘unlikely’ and identify some events as ‘certain’ or ‘impossible’ (ACMSP047)
What’s in the Bag?
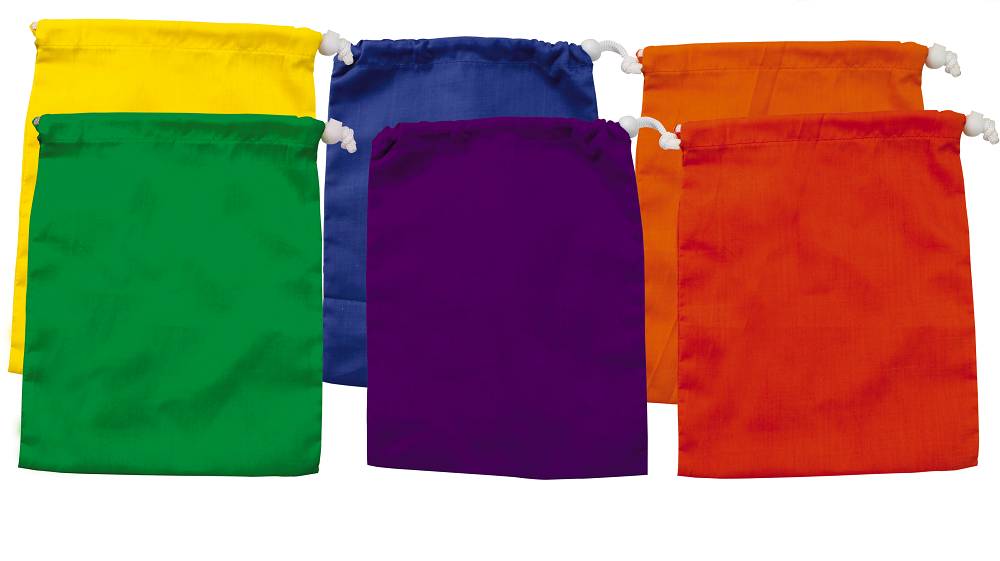
Teachers can place a selection of objects in these colourful drawstring bags to suit their learning intention. An example is having five yellow bears and two green bears in a bag.
The teacher could then ask;
– ‘Will I pick out a red bear?’ (Students can respond with ‘yes’, ‘no’ or ‘impossible’.)
– ‘Is it more likely that I’ll pick out a yellow or a green bear?’
These are just some of the ways you can incorporate play into your mathematics lessons. There are so many learning experiences we can create to support our students’ understanding of mathematical concepts through hands-on play, it really is just up to the creativity of your lesson design to meet your students’ needs.
What hands-on lessons have you created to support your students’ mathematical understanding? We’d love to hear from you!
About the author
Eleni Kyritsis is an award-winning Year 3 teacher and Leader of Curriculum and innovation from Melbourne, Australia. Eleni facilitates professional learning workshops around the world that focus on unleashing creativity and curiosity in classrooms. You can contact her at elenikyritis.com and @misskyritsis