I have been using Bee-Bots and Blue-Bots in my classroom for several years to introduce junior primary students to computational thinking and coding. I love how the versatility of these amazing robots enables me to design learning experiences that focus on the digital technologies curriculum and also integrate literacy and mathematical concepts.
I am often asked what the difference is between the Bee-Bot and the Blue-Bot and which robot would be more suitable to purchase. Yes, they are similar, but there are some differences that could help determine which robot is more suitable for your school. Whether you are using the Bee-Bot or the Blue-Bot, both robots support students in developing their understanding of directional language and basic coding algorithms.

Bee-Bot
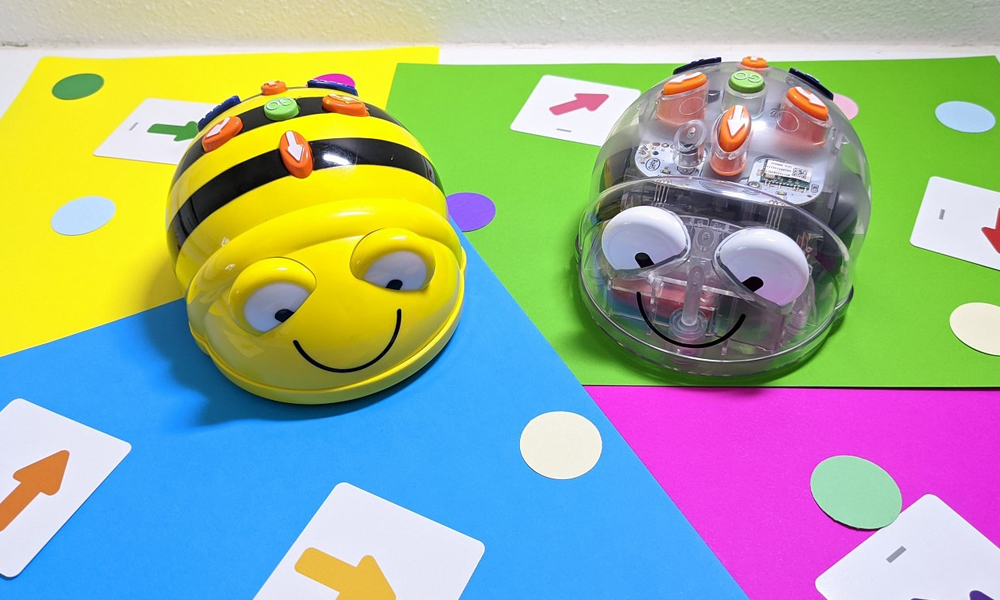
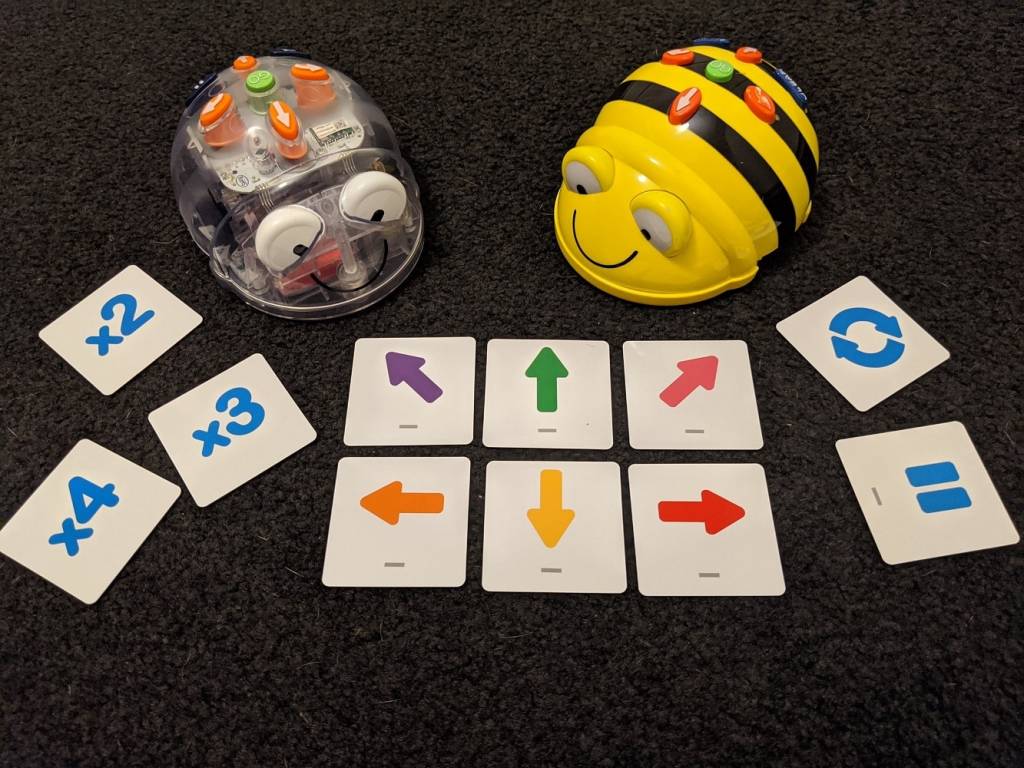
The Bee-Bot is a yellow bee-shaped robot that can remember a sequence of up to 40 commands. Users can direct it to move forwards and backwards in 15 cm increments, and to turn 90 degrees left and right using the four directional buttons, and has go, pause and delete buttons. After each command is performed, the Bee-Bot beeps and blinks, which allows students to count its movements and follow the sequence of code they developed to ensure its accuracy. This enables students to create simple algorithms while developing their problem-solving skills in a fun learning environment.
Blue-Bot
The Blue-Bot is a clear robot, allowing students to view the hardware within. It is the same size as the Bee-Bot and has the same command buttons, but the difference is the addition of its Bluetooth capability, which allows it to connect to the Blue-Bot app. Using the app, the Blue-Bot has the added functionality to turn 45 degrees and use repeats and loops in the development of code. The Blue-Bot app also works without a Blue-Bot, making it a great resource in itself for schools that don’t have the robot.
When introducing any new technology, I am a big advocate of allowing students the opportunity to play and explore the functionality and possibilities of the device. After this exploration time, a more structured approach of creating activities to engage and challenge students can be undertaken. Here are some ideas on how to introduce the Bee-Bot or Blue-Bot to your students.
Road Maze Tile Kit
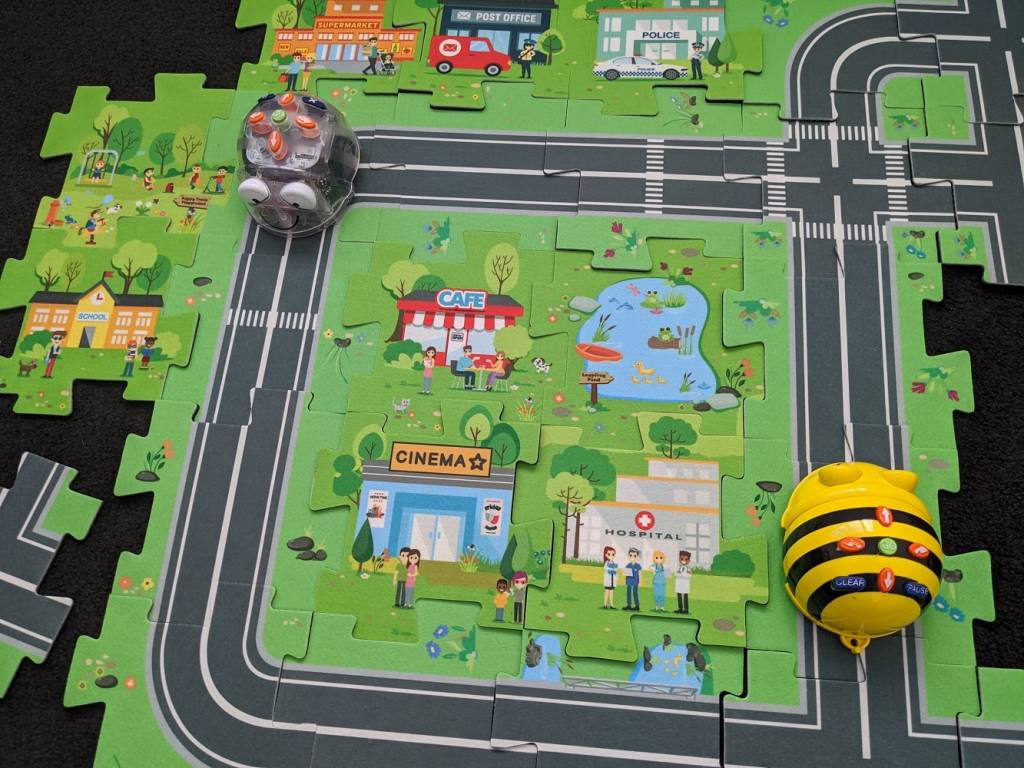
The Road Maze Tile Kit provides students with roads, buildings and park puzzle pieces they connect together to create an individual mat for their robot. A total of 27 pieces include many landmarks that can be arranged in any order so students can design their very own little city. Once assembled, students can program their Bee-Bot or Blue-Bot to manoeuvre to each landmark.
Robotics Coding Cards
The Robotics Coding Cards pack includes 60 double-sided directional instruction cards. Each card’s instruction command corresponds with the Bee-Bot and Blue-Bot’s buttons of forwards, backwards, left and right. On the reverse of the cards are more advanced commands of repeats, loops and turning degrees. These cards are a fantastic visual that students can use individually or collaboratively in small groups to structure the sequence of commands they will use to program their robot.
When the program has been entered into the robot and is ready to begin, students can follow both the robot and the coding cards to ensure their program is correct or to find where there may be an error in their program to help them understand what changes may need to be made to achieve success.
Mats – Variety
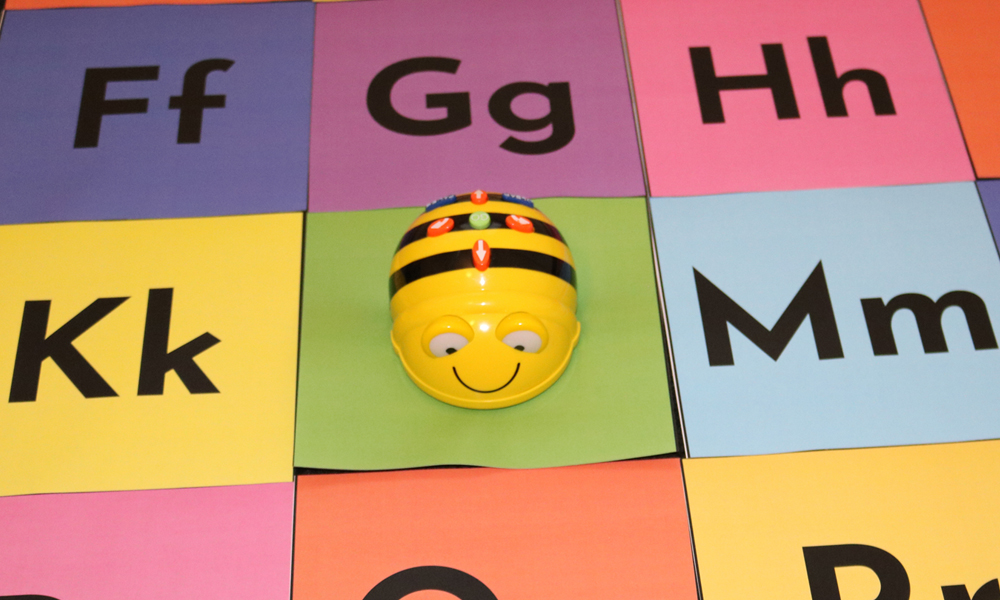
There are a variety of mats designed for both the Bee-Bot and Blue-Bot that can link student learning across curriculum areas. The Alphabet, Australia, Money, Shapes and many more themed mats are available to support cross-curricular learning as students program their robot to manoeuvre to specific locations on the mat being used.
Example: The Alphabet Mat is a great resource as students can program their robot to manoeuvre across the mat to develop letter recognition, link sounds and create words or names.

Pen Holders
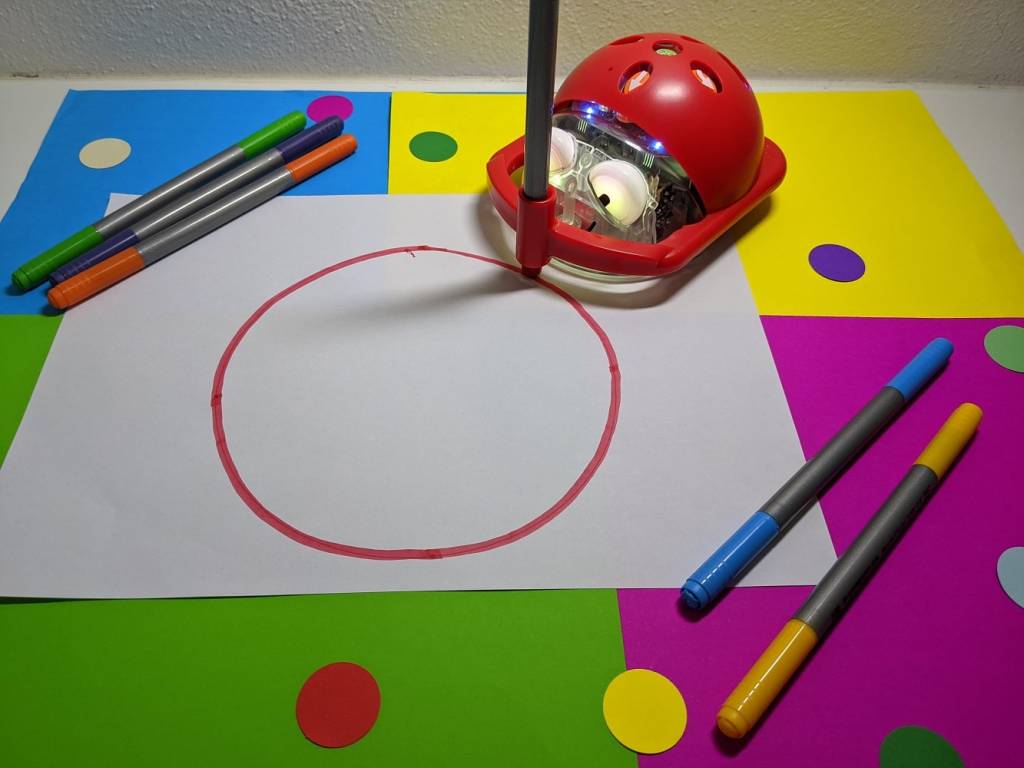
The Pen Holder is a shell that attaches to the Bee-Bot or Blue-Bot that allows students to use the robot as a drawing tool.
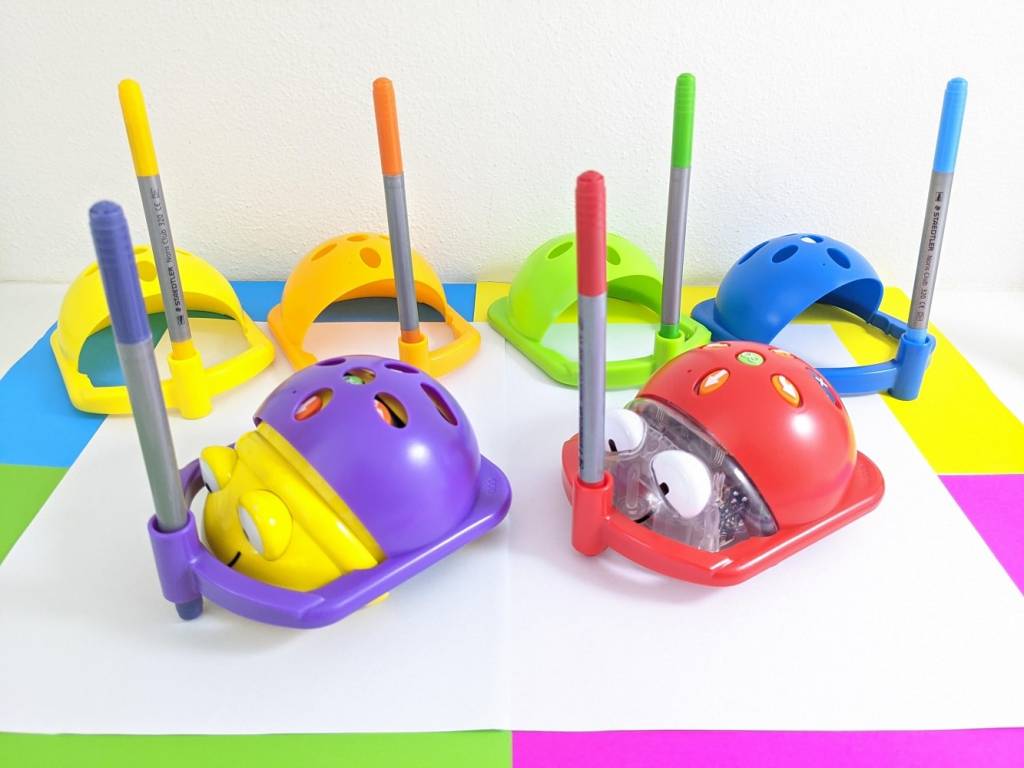
This is the perfect addition to the robot as students can program the robot to draw two-dimensional shapes or to trace a route the robot has travelled, giving them immediate feedback of their program.
View video of Blue-Bot in action here
How have you introduced Bee-Bots or Blue-Bots into your classrooms? We’d love the hear from you!
I have previously written posts on how I integrate these robots into literacy and mathematics. Here are 10 ideas that can be used in your classroom.
Five Literacy Bee-Bot Lesson Ideas for the Classroom
https://blog.teaching.com.au/5-literacy-bee-bot-lesson-ideas-for-the-classroom
Five Mathematics Bee-Bot Lesson Ideas for the Classroom
https://blog.teaching.com.au/5-mathematics-bee-bot-lesson-ideas-for-the-classroom
About the author
Eleni Kyritsis is an award-winning Year 3 teacher and Leader of Curriculum and innovation from Melbourne, Australia. Eleni facilitates professional learning workshops around the world that focus on unleashing creativity and curiosity in classrooms. You can contact her at elenikyritis.com and @misskyritsis