Being a school admin means being MANY things. Every day, you call, coordinate, communicate, order, organise, file, budget, laminate, print and distribute (that’s for starters). We see you, admins! You need to be ORGANISED! We’ve pulled together some new and popular resources to help you achieve boss-level organisation this year. Time to activate your admin superpowers.
Storage sorted in style
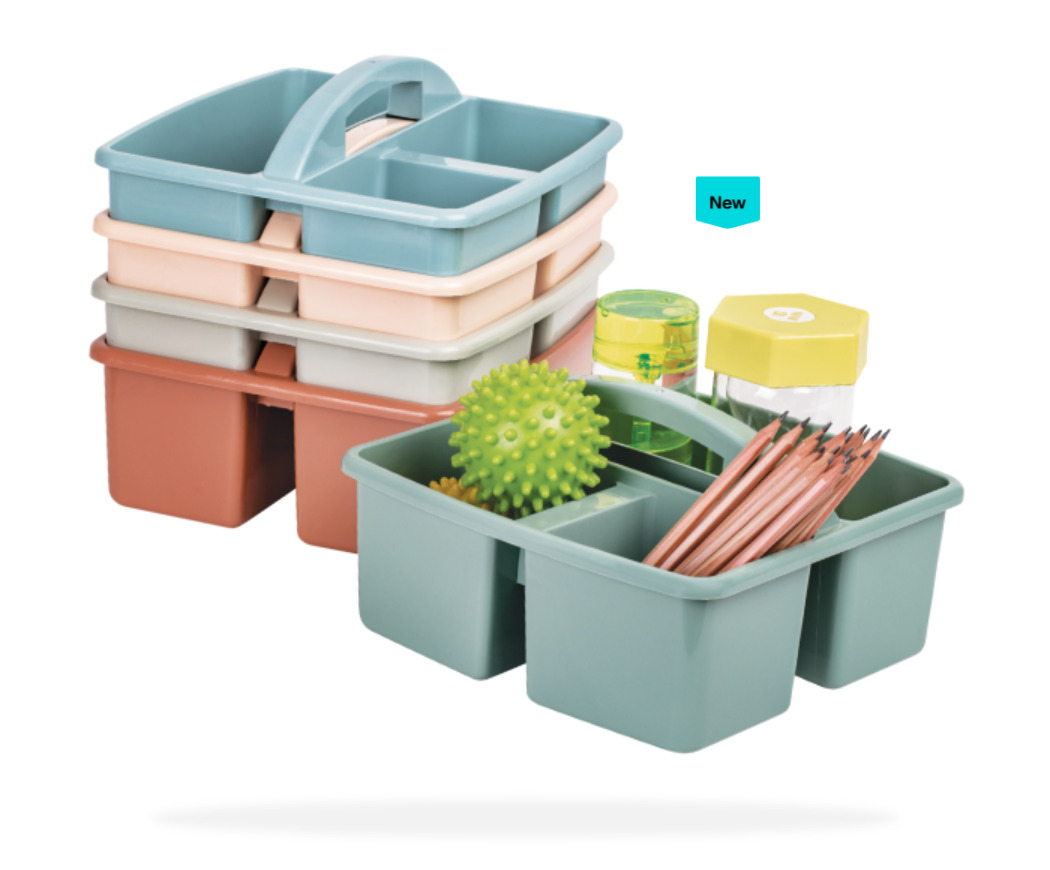
Let’s start with refreshing your storage. There’s a new range we LOVE that lets you modernise your tubs, trays, baskets and caddies. It’s our Colours of Australia collection and it’s gorgeous! It’s been created in a natural, earthy colour palette with the five colours (Mallee, Coral, Mountain Gum, Snow Gum and Ocean) representing the beauty of this country. The best news: all the pieces are stackable, durable, lightweight and versatile. Functional beauty, all yours, in sets of five! We think you’ll love these too.
Connector Tubs keep stationery items easily accessible, making them an ideal addition to your office environment. Pens, scissors, pencils, glue… these tubs keep everything in order.
Plastic Book and Storage Tubs will be your office filing BFFs. What you’ll love about these sturdy Storage Tubs is their high back, perfect for storing taller books, catalogues and folders.
Versatile is what these Small Plastic Caddies are about. They have so many uses around the office and adjoining areas. As well as storing office equipment and stationery, they can be a great holder for little student favourites (like fidget toys – see below!).
Multifunctional storage Literacy Tubs will be endlessly useful – on your desk, in the cupboards, on the shelves – wherever you need to file and find office paperwork at your fingertips.
Every educational office needs a Tote Tray or ten! These space-savers can house all your essentials and supplies. (You just know that educators will want this new range in their rooms too for all their organisational needs).
WHY NOT: Continue the look in your office decor
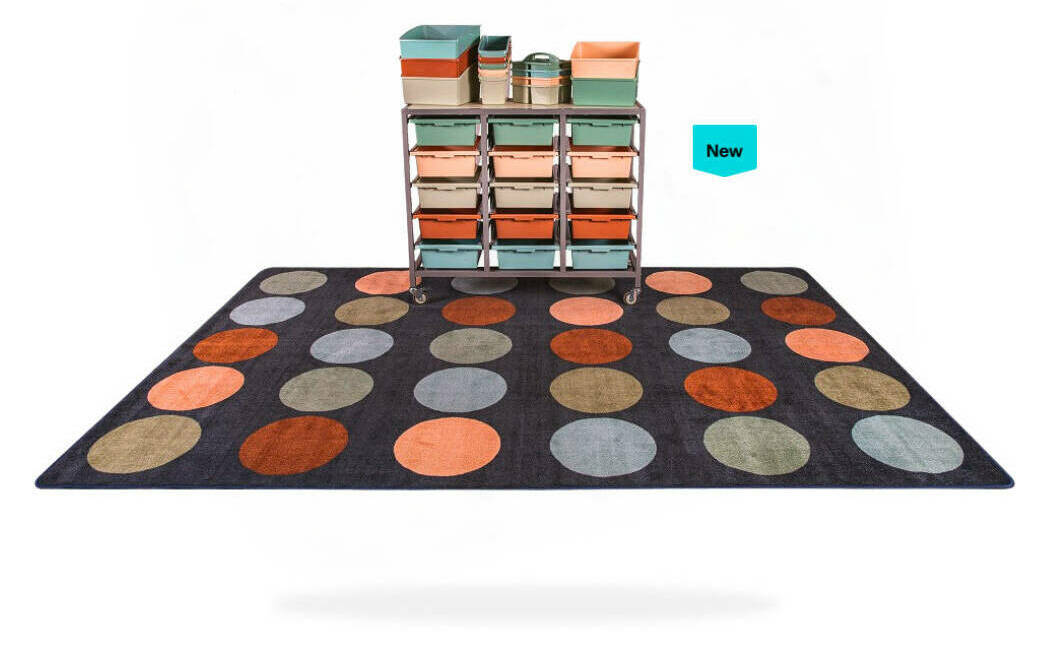
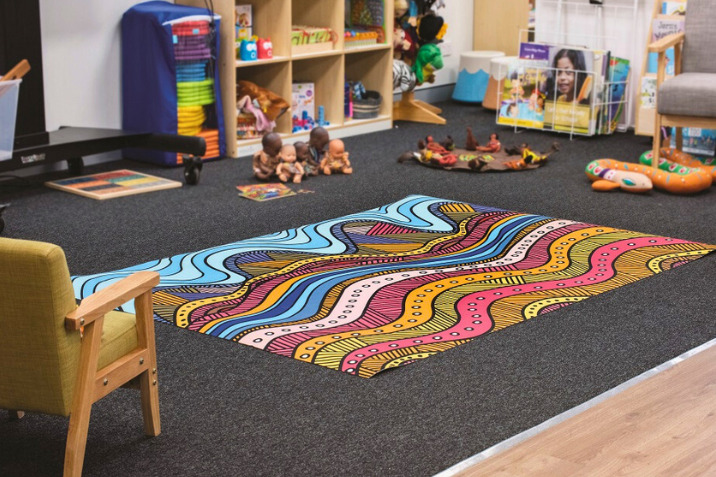
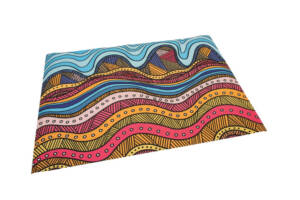
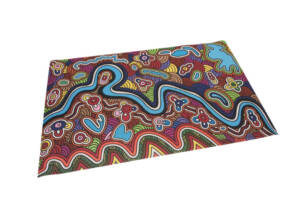
Why not extend your earthy office theming with a new Colours of Aus Rug? Choose squares or circles… whatever you prefer! These new additions to our range will look stunning in any office, reception area or foyer. They’re hard-wearing and durable too, made from high-quality cut pile polyester blend with a non-slip latex backing. Each one measures 4 x 3 m making a welcoming and calming sight in your space (and very matchy with the new storage tubs which is lovely!).
Stock up your ‘Slick’ Bay…
As an office admin, we know it’s part of your day to help little people who don’t feel their best or sometimes have medical emergencies. So, let’s make sure you have the slickest, most organised sick bay around.
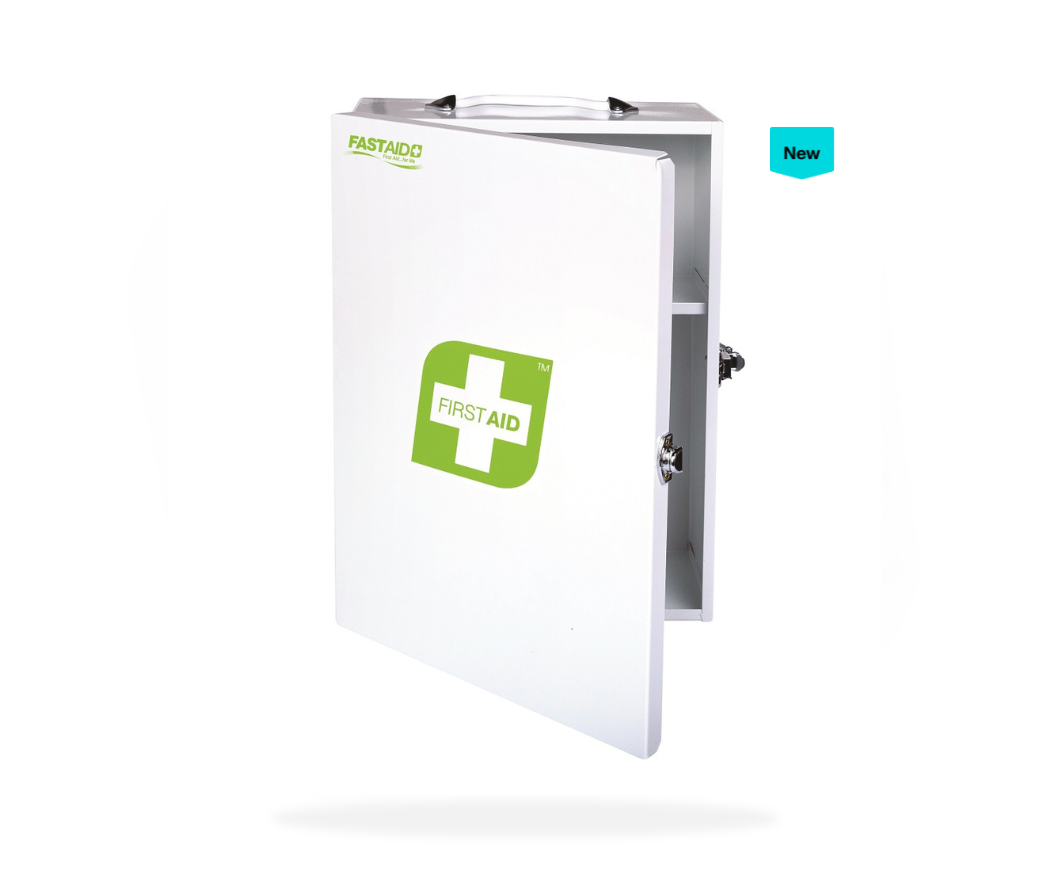
This metal wall-mounted cabinet is your go-to First Aid Kit. It comes fully stocked with all the essentials and can be easily refilled by using the colour-coded visualiser located inside the cabinet. You’ll love this visualiser! It lets you easily see what’s out of stock without having to perform a stocktake as the contents are easily seen, colour-coded and the use by dates are visible.
Grab and Run First Aid Kit Soft Pack
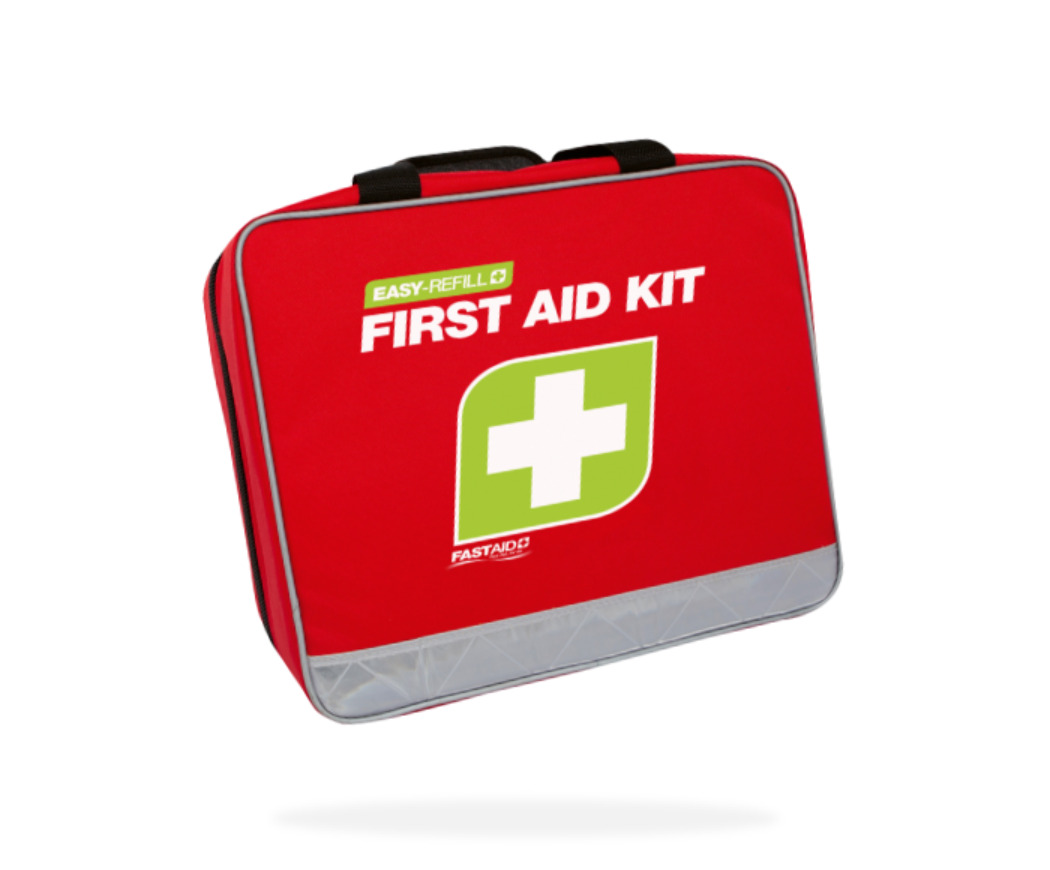
This is your on-the-go grab and run First Aid Kit. It’s also an ‘Easy Fill’ kit, simply refilled by using the colour-coded visualiser inside the pack.
Allergy Buddy Rapid Access Medical Panel & Pouches
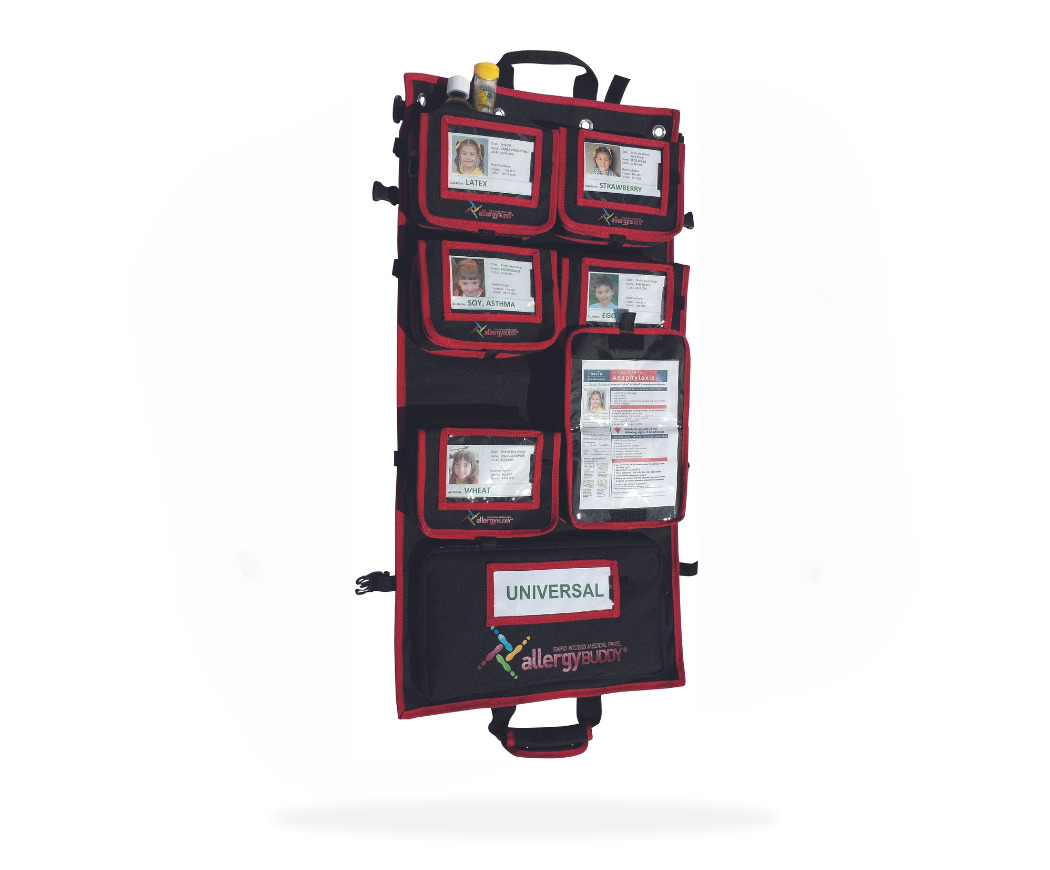
For any sick bay, you’ll want the Allergy Buddy Rapid Access Medical Panel, designed to display, store and rapidly access vital medicines and emergency information (such as medical alert ID card and a child’s Action Plan). When hanging, it’s 42 cm wide x 82 cm long and weighs 1.6 kg before the contents are added. The panel has the flexibility to be mounted on a wall or can be removed, folded into a satchel bag with the quick release clips, ready for mobile use!
Each Allergy Buddy Individual Pouch has room to hold a child’s emergency allergy medications such as EpiPen® (Adrenaline Auto-Injector), Antihistamine, Asthma Medications (Ventolin & compact aerosol spacer chamber). These pouches fit on to the Allergy Buddy Rapid Access Medical Panel where you can have six at one time.
Premium Snake Bite First Aid Kit
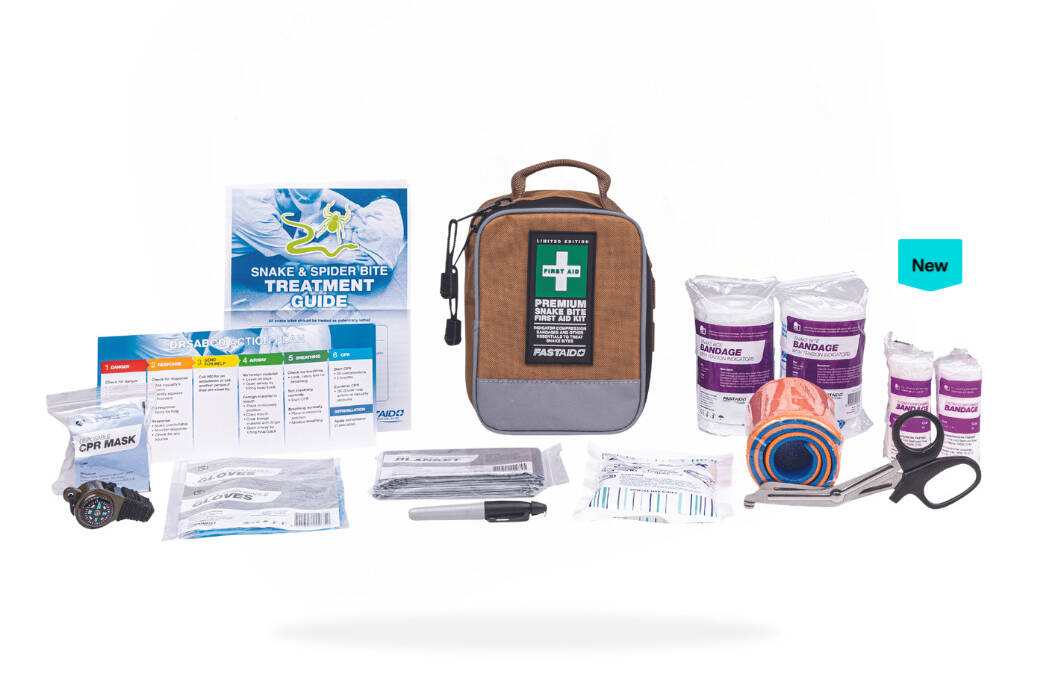
Situated in a snake or spider-prone area? You’d be smart to keep this Snake Bite First Aid Kit handy. The sturdy portable case with internal fold-out compartments is splash resistant for all conditions. Inside are premium latex-free snake bite compression bandages with indicators, ensuring quick and correct application. There’s a full colour snake and spider identification sheet, a treatment guide and additional items like a foam-padded splint, shears, a permanent marker, CPR mask and a whistle for attracting attention in emergencies.
Clean like a dream
We know the health and hygiene of your educational facility often falls to you. Ordering the right cleaning supplies can be tricky. Relax! Stock up the janitorial closet with these new cleaning essentials and you can tick cleaning off your admin list. Once you get these in there, your work is done! These Australian-made MTA newbies are ultimate by name and ultimate by nature!
Ultimate Neutral Cleaner Concentrate & Spray Bottle
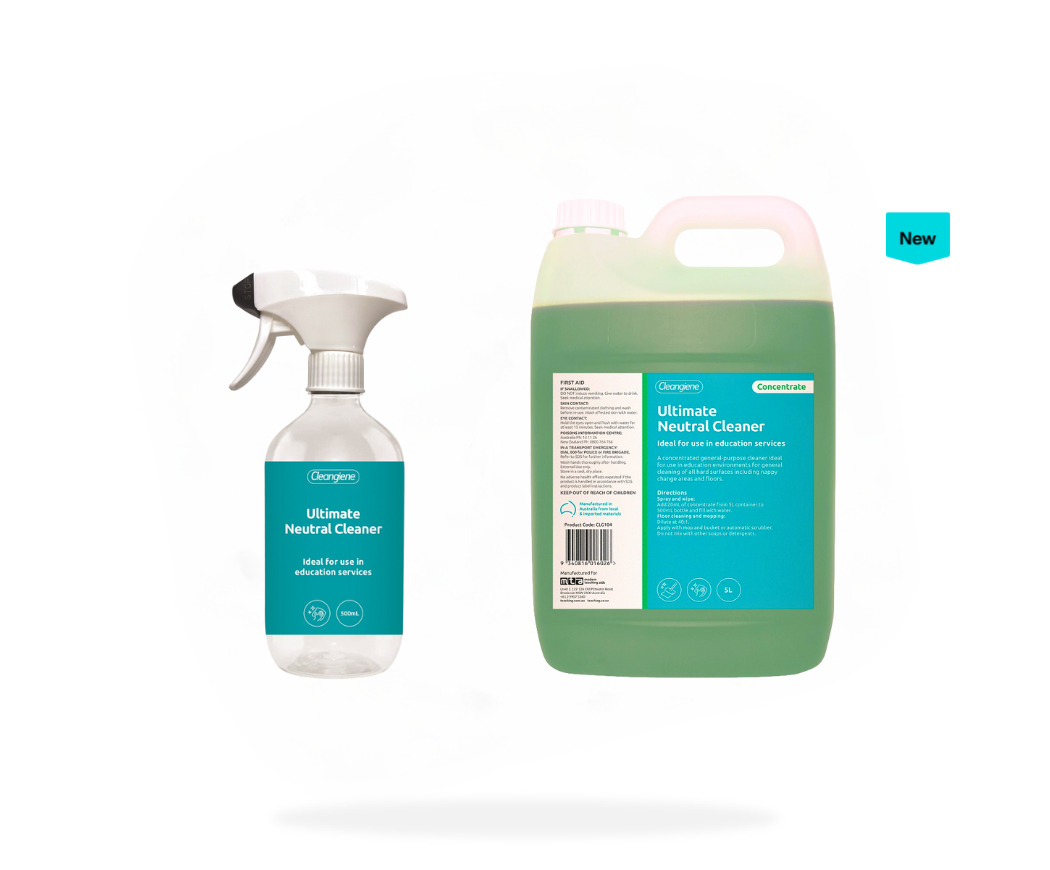
This is the perfect pH-neutral solution for maintaining cleanliness in your educational environment (and doing less harm to the global environment). It safely and efficiently cleans all hard surfaces, from nappy change areas to floors. And being a concentrate, it really goes the distance! It only needs 20 ml of concentrate from this 5 L container to a 500 ml spray bottle and then fill the rest with water. Then spray away! This all-in-one replaces the need for a spray and wipe, disinfectant, floor cleaner and bathroom cleaner. For floor cleaning and mopping, dilute the concentrate at 40:1.

We think you’ll love these Bamboo Biodegradable Wipes because they tick all the modern cleaning boxes – they’re thick, absorbent and environmentally friendly. Made using natural biodegradable bamboo fibres (and of course plastic-free cloth and packaging!), each roll contains a whopping 45 metres of wipes, complete with 90 easy-to-tear perforated sheets. Choose from blue, green or red!
Student support (and smiles)
It’s nice to have some smile-making resources on hand to keep students occupied and feeling supported when they turn up at your door or office window. Sometimes, they have a little bit of dwell time (when they’re in sick bay or waiting to be picked up) or maybe you just want to have a little something to greet them when they turn up in the office.
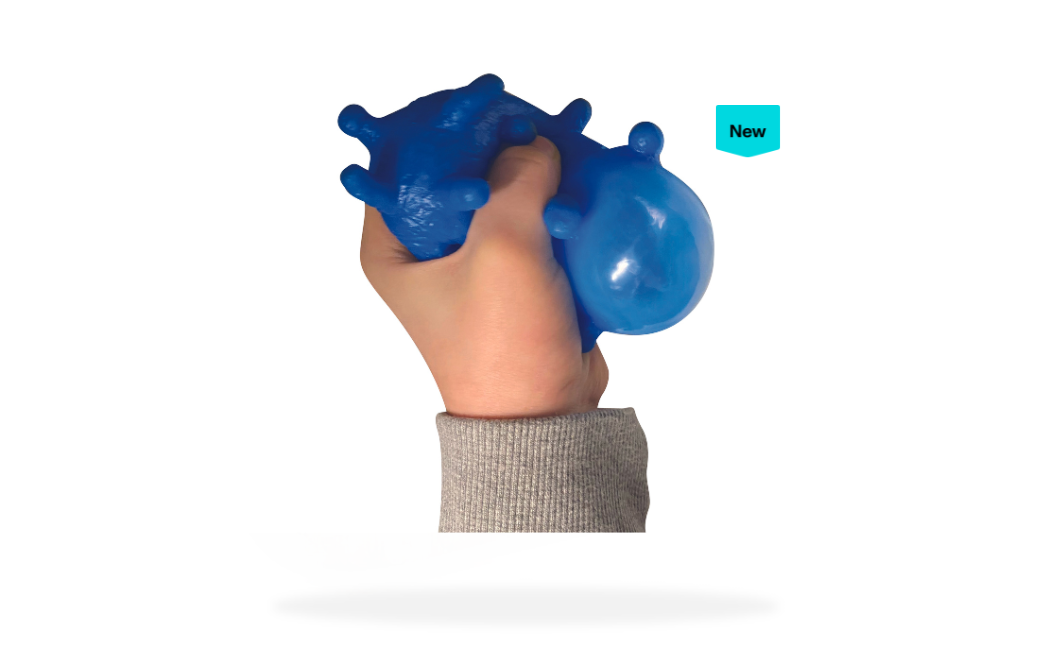
Soft rubber air-filled stress balls are all the rage, as you know! Puffer Stress Balls are ever-so-soothing, sensory resources and come with a messy foam finish that makes them oddly attractive and likeable. Pick up a pack with four balls in purple, red, blue and green to keep on hand for little hands aged three and above.
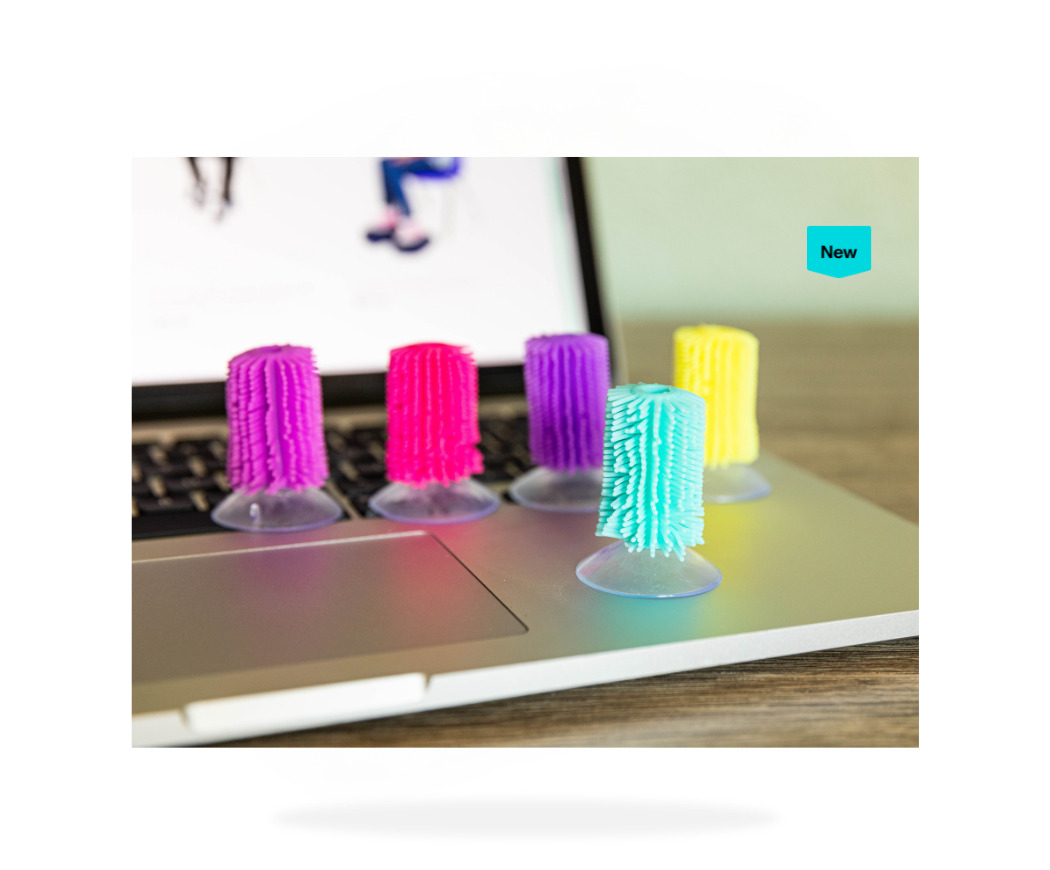
Have the coolest office or reception area around, with these calming, silent and satisfying sensory Flick Sticks. With the ability to tap, twirl or play with their rubbery fibres, they’re known to reduce stress and anxiety which can be helpful in an office scenario. They also relieve tension and provide an outlet for excess energy. These cute fidget toys attach to screens, windows, surfaces and keyboards thanks to a suction cup that keeps them in place.
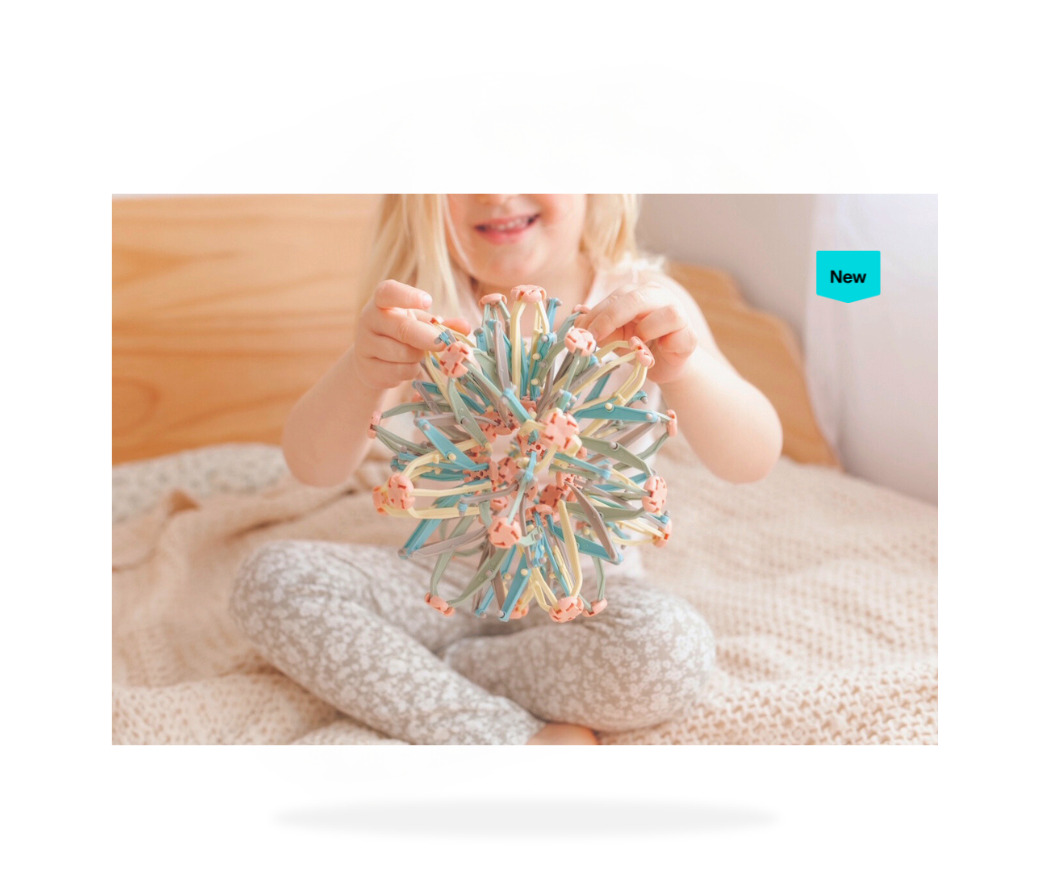
This expandable Mindfulness Magic Ball can teach children to follow their breath (one of the key techniques of mindfulness practice). This can be so helpful in the office if a child is anxious or a little stressed. Designed in a soft colour palette, little ones will love the addition of the Mindfulness Magic Ball in an office, reception or foyer space. Suits little ones aged 3 years and above.
Love these? Find more Handheld Fidget Resources here for your office space.
Teachables Magnetic Whiteboards, Coloured Markers & Mini Erasers Kit
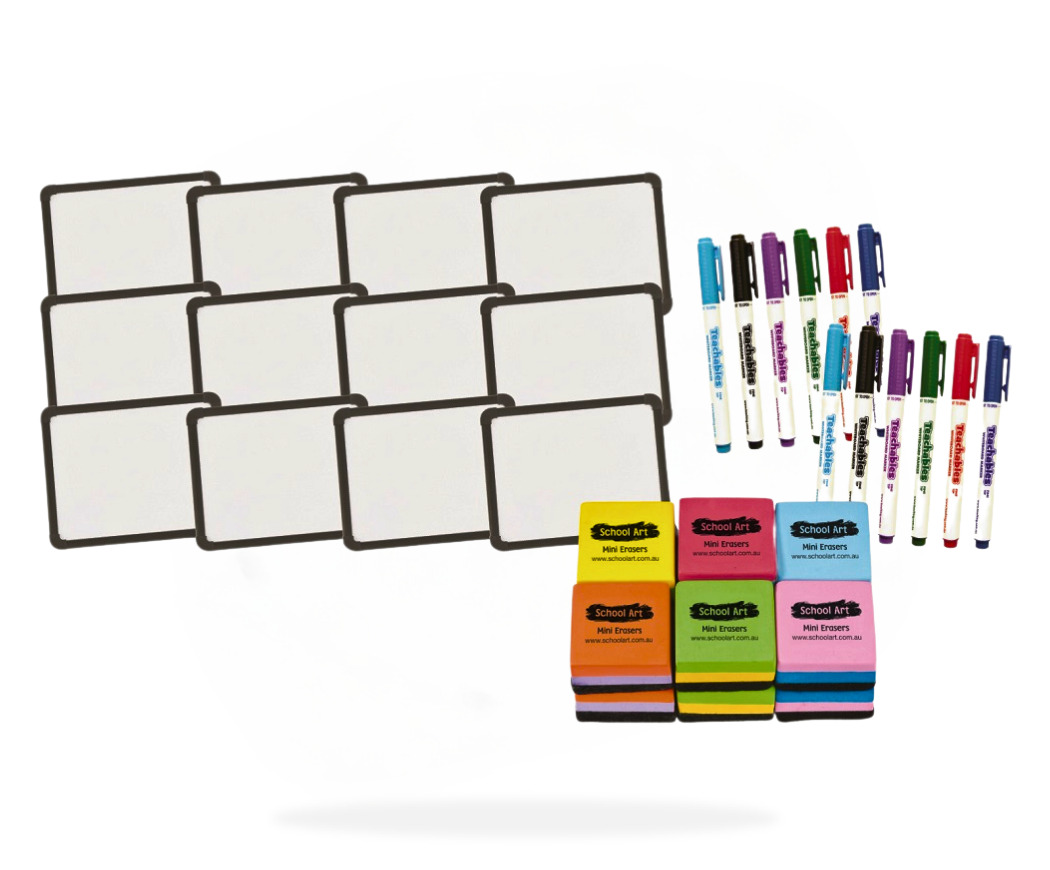
Doodling, drawing and dreaming… we think this kit could be a great addition to your office or reception area while you’re supporting students as they wait. The kit includes 12 small hand-held magnetic whiteboards (25 x 30 cm), 12 coloured non-toxic markers and 12 small erasers. The whiteboards have a wipe-clean white surface so they can be enjoyed again and again and again.
Waiting room wows
An organised and inviting waiting area is soooo easy. And now it can have all the wows too. Just follow our tips and your office waiting area will take on a life of its own while educators, parents, carers, visitors, guests or students are, well… waiting.
Bring in some cultural touches

Start with these sturdy Indigenous Magazine Boxes to brighten your waiting area and hold a variety of A4 sized school reading material or magazines. This set features the stunning artwork of Dharug artist-educator Leanne Watson Redpath (the Earth set features an emu, kangaroo and a quokka). The vibrant colours and Australian bush scenery will brighten any office. They’re hardy too, as they’re laminated for strength and durability.
Create a warm, welcoming space
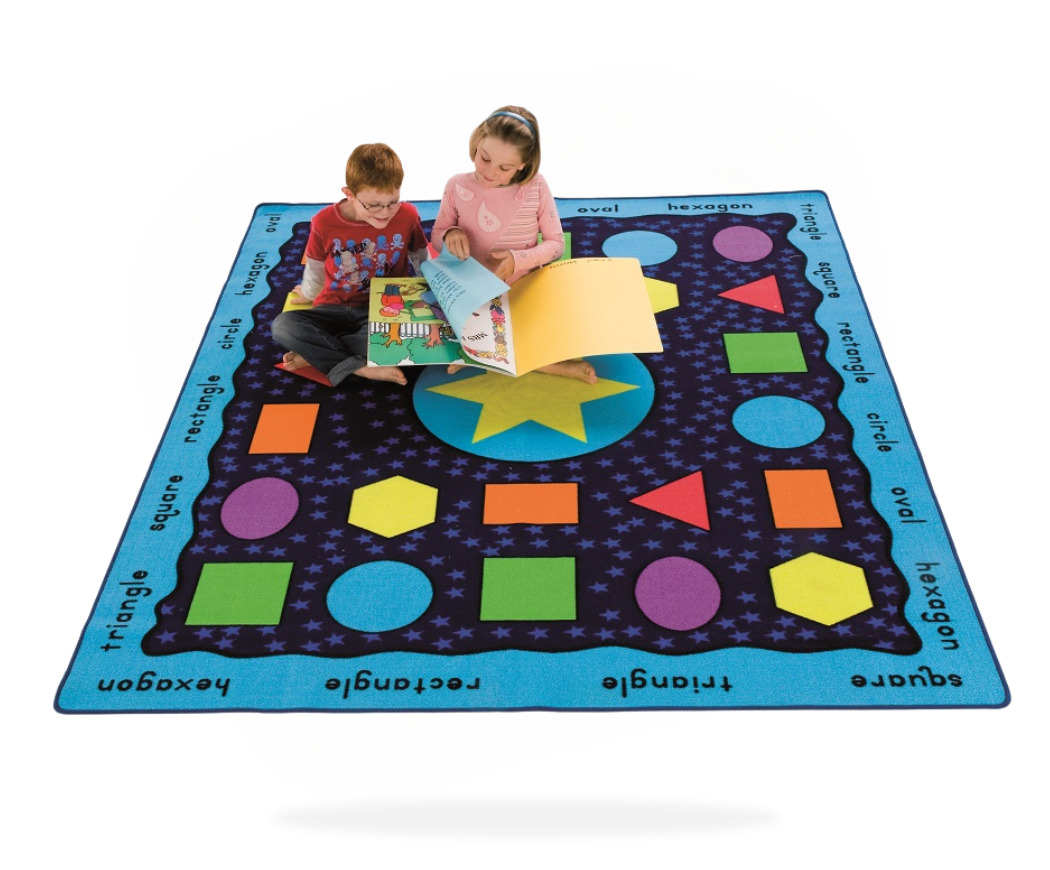
Isn’t this bright, vibrant Shapes and Words Carpet a great solution for your waiting room area? Another great advantage of a beautiful carpet is the sound muffling qualities versus a traditional wooden or tiled floor. No need to hear distracting footsteps all day long! We think The MTA Spaces Shapes and Words carpet will be a favourite for little office visitors who are exploring early literacy and numeracy. While they’re waiting, they can brush up on their basic skills in colours, shapes, letter recognition and naming. It comes with a range of shape related words along the border to keep them busy too!
Like any hard-working carpet, it features a thick and durable nylon pile with a sturdy rubber backing for strength and support (it’s a great size too for most foyers or reception spaces measuring 195 x 240 cm). Coloured Space Carpets are designed in Australia and manufactured using lead free dyes.
The ideal office sofa exists!
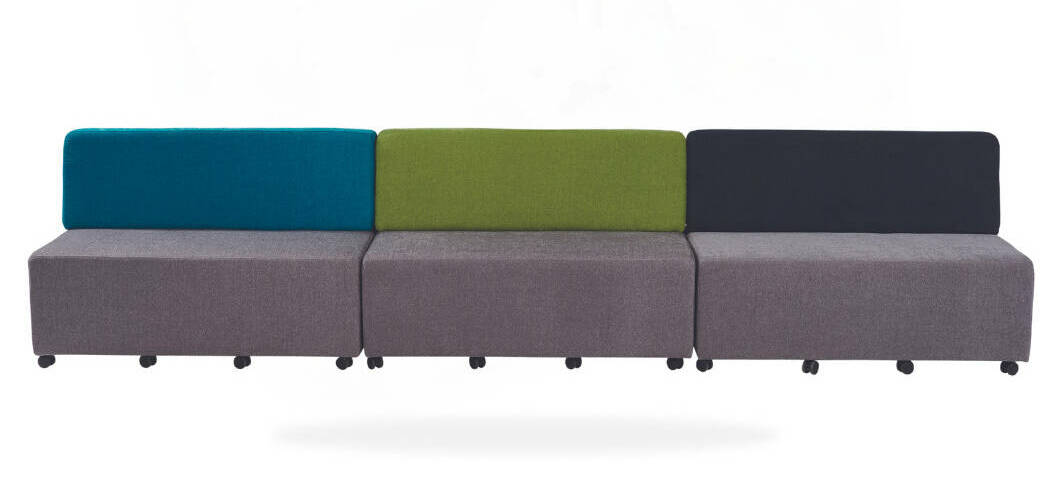
No waiting area, foyer or reception area would be complete without a durable sofa lounge… or more if space permits! The Aalto Double Sofa is part of the flexible modular Aalto range of upholstered fabric ottomans with back rests. Just like carpets, using furniture such as upholstered ottomans helps to reduce noise and improve acoustic levels in a space by partially blocking sound waves and absorbing them.
This range of Aalto ottomans, poufs and sofas features commercial grade, high quality upholstery fabric that includes a grade 4 stain protection treatment to help prevent stains. Handy! Other practical features include a FSC sustainable timber frame and supportive, comfortable padding. The Aalto range is available in a variety of colours which can suit almost any room setting or configuration. This double lounge sofa chair measures 120cm long x 60cm deep x 80cm high, comes with lockable castors as well as plastic feet, allowing for flexibility. Combine two of these comfy chairs together to make a larger sofa or combine with our single sofa.
Inspired? Check out the full range of Reception & Foyers options here.
Versatile displays for all the things!
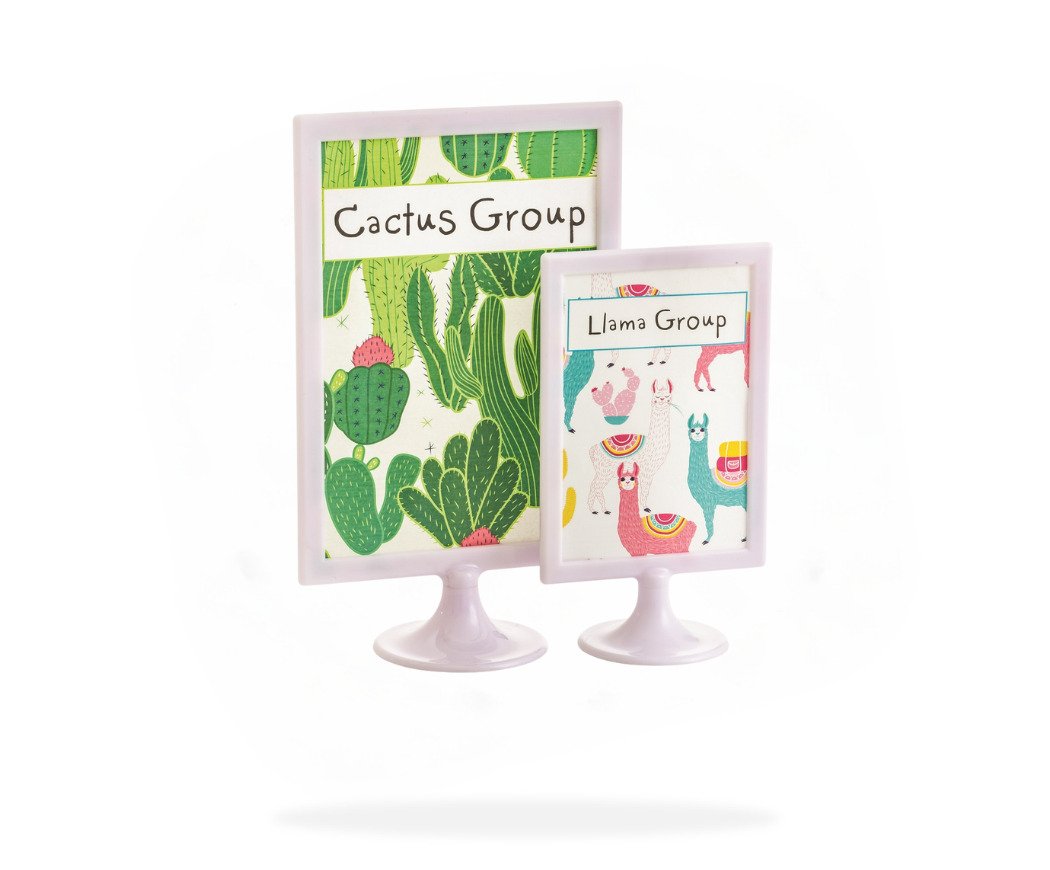 The super handy and versatile two-sided Photo Frame with Stand can display any number of messages, information, images, updates… you name it! Available in A4 and A5, these frames will work hard delivering important messages. Simply slide in the notice and pop them on any stable surface.
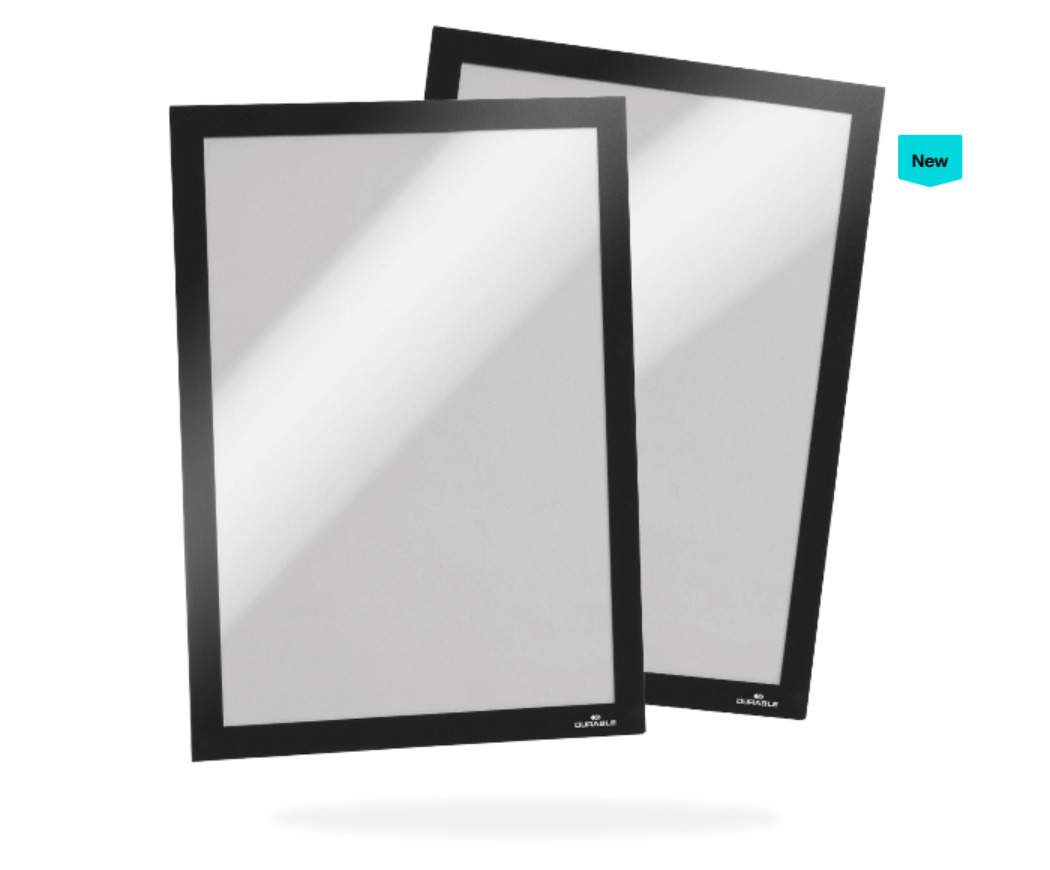
Every office window needs a large sign holder. Voila! The Duraframe Sign Holder is perfect for displaying signs, notices or artwork on glass. The frame can be attached to glass with static and is easily removable. Your signs can be read from both sides of the glass and are perfect for windows, doors with glass panels or even glass boards. This winner frame comes in A3 size and is available in a pack of two, but it’s also available in an A4 size.
Need more ideas for noticeboards? Check out our full range of Noticeboards here.
Fabulous faux-liage

Some say fake, we say fabulous! Here are some faux foliage facts:
-
-
-
- FACT ONE: If you want a low-maintenance forever friend, an artificial plant will smile at you 24/7 from its corner.
- FACT ONE: If you want a low-maintenance forever friend, an artificial plant will smile at you 24/7 from its corner.
-
- FACT TWO: Studies prove that exposure to nature, even through images, positively impacts our mood and disposition. Since artificial plants mimic nature, they will also elicit these responses.
-
- FACT THREE: Faux indoor plants can be stress-busting. Because they can improve mood, they can make you calmer and more composed, thereby lowering stress levels. Experts advise that having lush, beautiful plants close by is one of the simplest ways to de-stress after a difficult or tiring day
-
- FACT FOUR: Did we mention they are virtually maintenance-free? (No water, fertiliser or sunlight needed!).
-
-
-
- The Ficus Artificial Plant is available in two sizes (90 (H) cm or 180 (H) cm) depending on the space you need to fill. a gorgeous Artificial Ficus Plant makes a bold statement and effortlessly transforms a room into a veritably verdant haven! The full, bushy structure and canopy of leaves make your ficus a natural focal point and a key part of a luscious setting. Prefer a palm? Renowned for bringing a burst of lush tropical life to any setting, this Artificial Palm evokes the relaxed vibe of sunny coastlines and balmy climates. The 100 cm tall Outdoor Artificial Palm Tree is a natural fit for contemporary decorating in the office, with its breezy appearance and life-like fronds that sway with a suggestion of movement. Brings the aesthetics of the sun-drenched tropics into your everyday. Who needs a green thumb!?
Find more for the office, reception or foyer to add a bit of colour in our Classroom Display. Why should the teachers have all the fun?
Personal organisation
Finally, it’s hard to achieve boss level organisation and activate your admin superpowers without a few personal organisation faves.
Multi-purpose organisational pouches
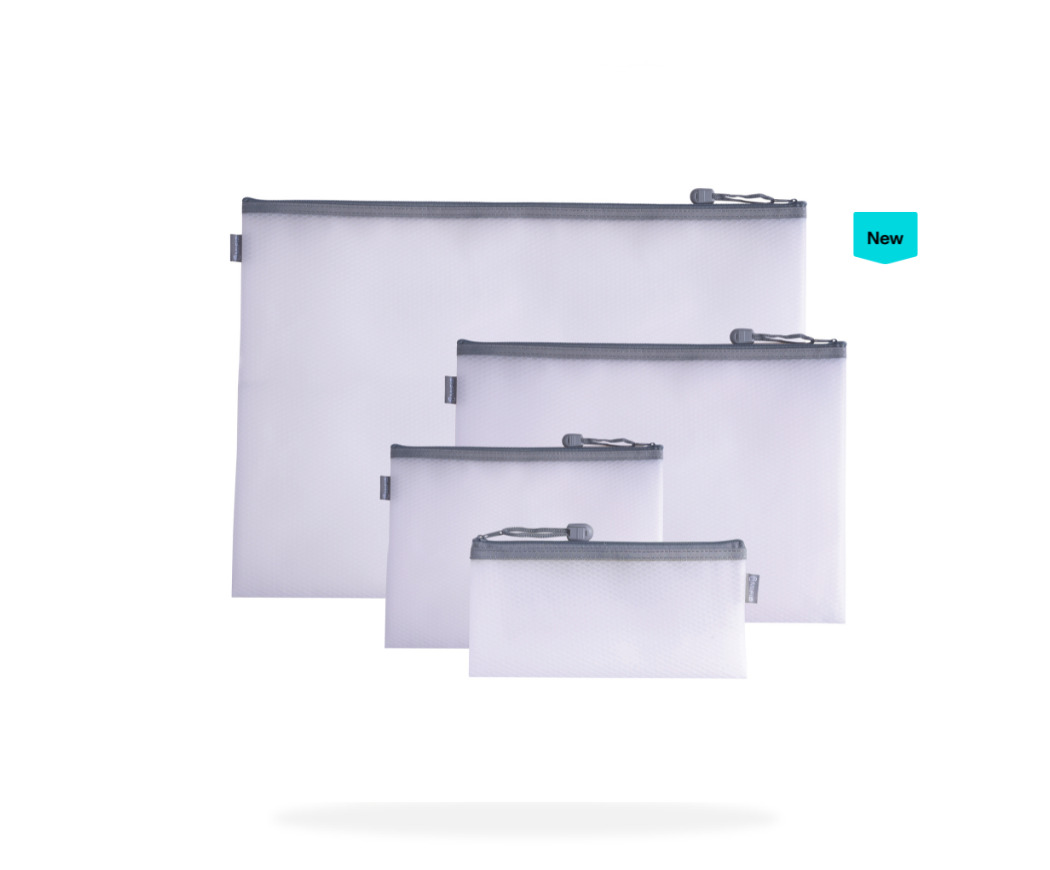
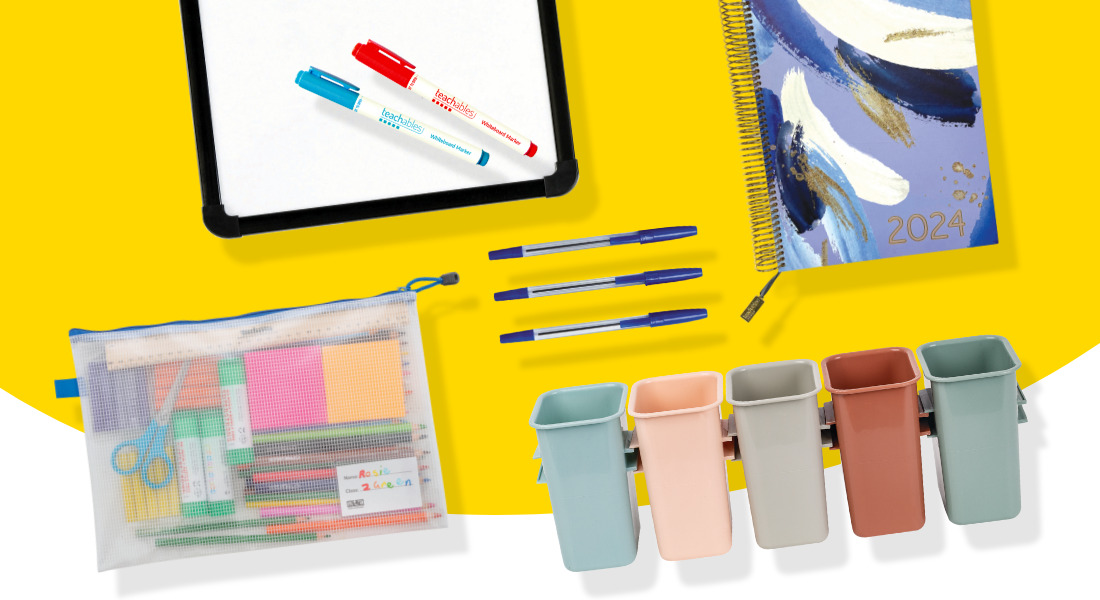
These Teachables Pouches are made of durable, flexible EVA mesh, with a quality zipper that’s designed to last. Store stationery, reward stickers, notes, office essentials and documents. Use A3 for large documents; A4 for standard-sized papers; A5 for on-the-go compact organisation; DL size for envelope-sized essentials.
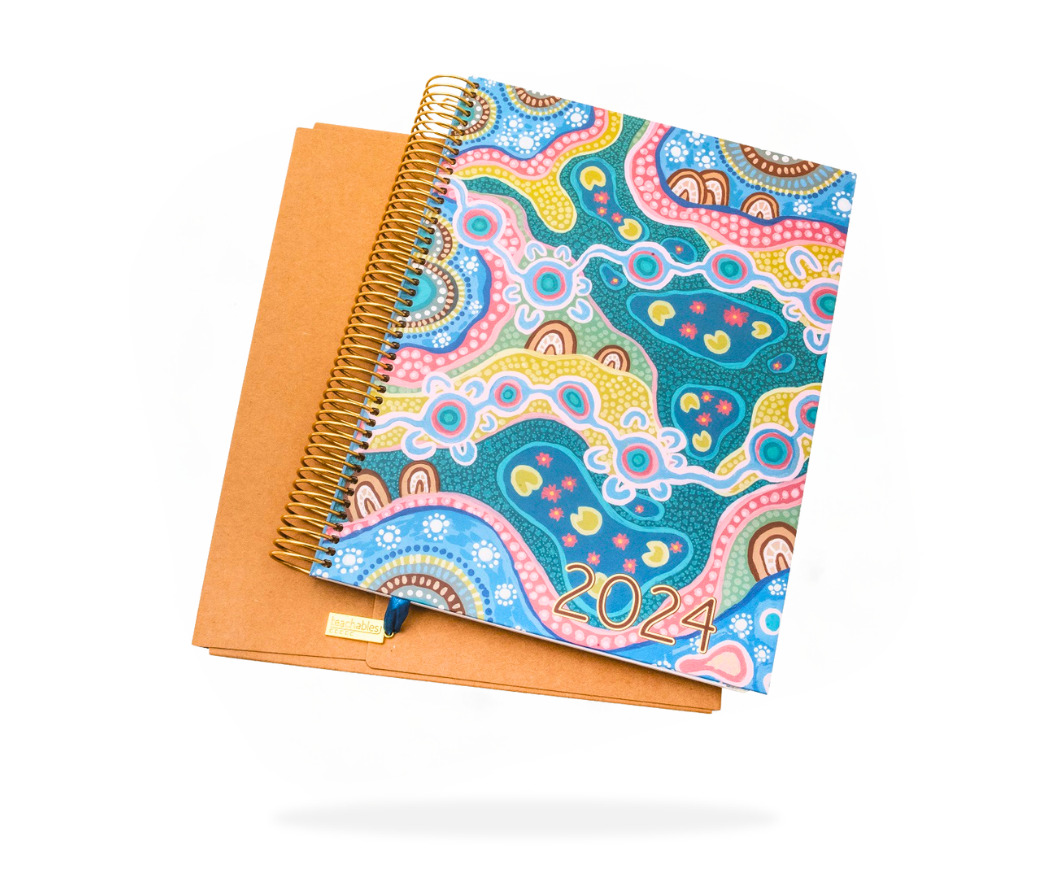
Every year, we create these much-loved MTA Early Years & Teacher Planners. They’re the ultimate organisational tools, developed in tandem with teachers & educators. But school admins can also find these the perfect premium quality A4 spiral bound planner with 53 week-to-view spreads and important dates/term dates for 2024/2025. Perhaps keep a planner or two on hand to welcome new and casual teachers as well?
Want more display and organisational inspo? Find it here in our Folders, Filing & Display section.
So there you have it. Office organisation sorted. Of course, MTA has a LOT more to choose from (with 27,000 educational resources for teachers and educators and over 1,350 new resources in 2024 alone). Tell us anything else you’d love to make your office sing, and how you’ll achieve boss-level organisation @modernteaching
Shop the admin superpowers wishlist: here


 Leanne Watson Redpath has also designed this


 No holiday season is complete without a gingerbread house – the sort you can eat and the sort you can treasure, like these! Whimsical and looking oh-so-delicious, these quaint pop stick houses make beautiful seasonal displays. They’re so pretty to hang around the classroom, on the Christmas tree at home or to gift as thoughtful presents!